Last June I was kayaking alone off Ocean City (NJ) when I misgauged the day’s conditions or terrain or tides or all of the above, and wound up in breakers approaching an inlet into the back bay trying to return. I got flipped and recovered a couple times, but then dislocated my shoulder—game over. Eventually a pair of Philly bros headed out in their motorboat for some early evening fishing plucked me out of the Atlantic while I was trying to raise the Coast Guard on the radio. A year later, including four months of PT with a trainer, my shoulder is reasonably ok and I’ve learned a lot, but also very little! So this past weekend I set off alone to kayak from the east side of the greater Seattle area, across the lakes, across Puget Sound, camp on Bainbridge Island, and paddle back the next day.
This was a fantastic trip, and ultimately pretty smooth. I wound up doing just about 37 miles of kayaking between the two days, about 7 hours in the boat each day though two of those hours on Sunday were just waiting for the Ballard Lock. I saw a lot of cool stuff, spent time with some great people, and didn’t have any significant troubles. As part of the effort I also learned some kayak rigging, designed my own tarp tent, and worked out a palm blister wrapping. The following is a bunch of photos and notes from the experience.
Disclaimer
N.B.: This is one of those trips that looks like and probably will work out fine if you just head out the door and go, but could instantly turn extremely serious. As I tried to convey to a non-kayaker at the campground who was eager to give it a try and wanted to know all about my “training,” the physical effort isn’t the biggest consideration. Puget Sound is cold enough most of the year to be potentially immediately lethal from cold shock, let alone hypothermia. Then there’s the possible sea conditions, shipping traffic, etc., and only then the strength & endurance aspects. I’m not an expert, but at minimum I’m appropriately dressed for immersion in gear I’ve tested, wear my PFD at all times, carry multiple emergency comms and signaling options, can self-rescue proficiently, have a suitable boat, have experience staying fueled & hydrated in challenging efforts, and know myself well. Please do not look at this trip, grab any old boat on a sunny day, and hit the waves.
The Boat
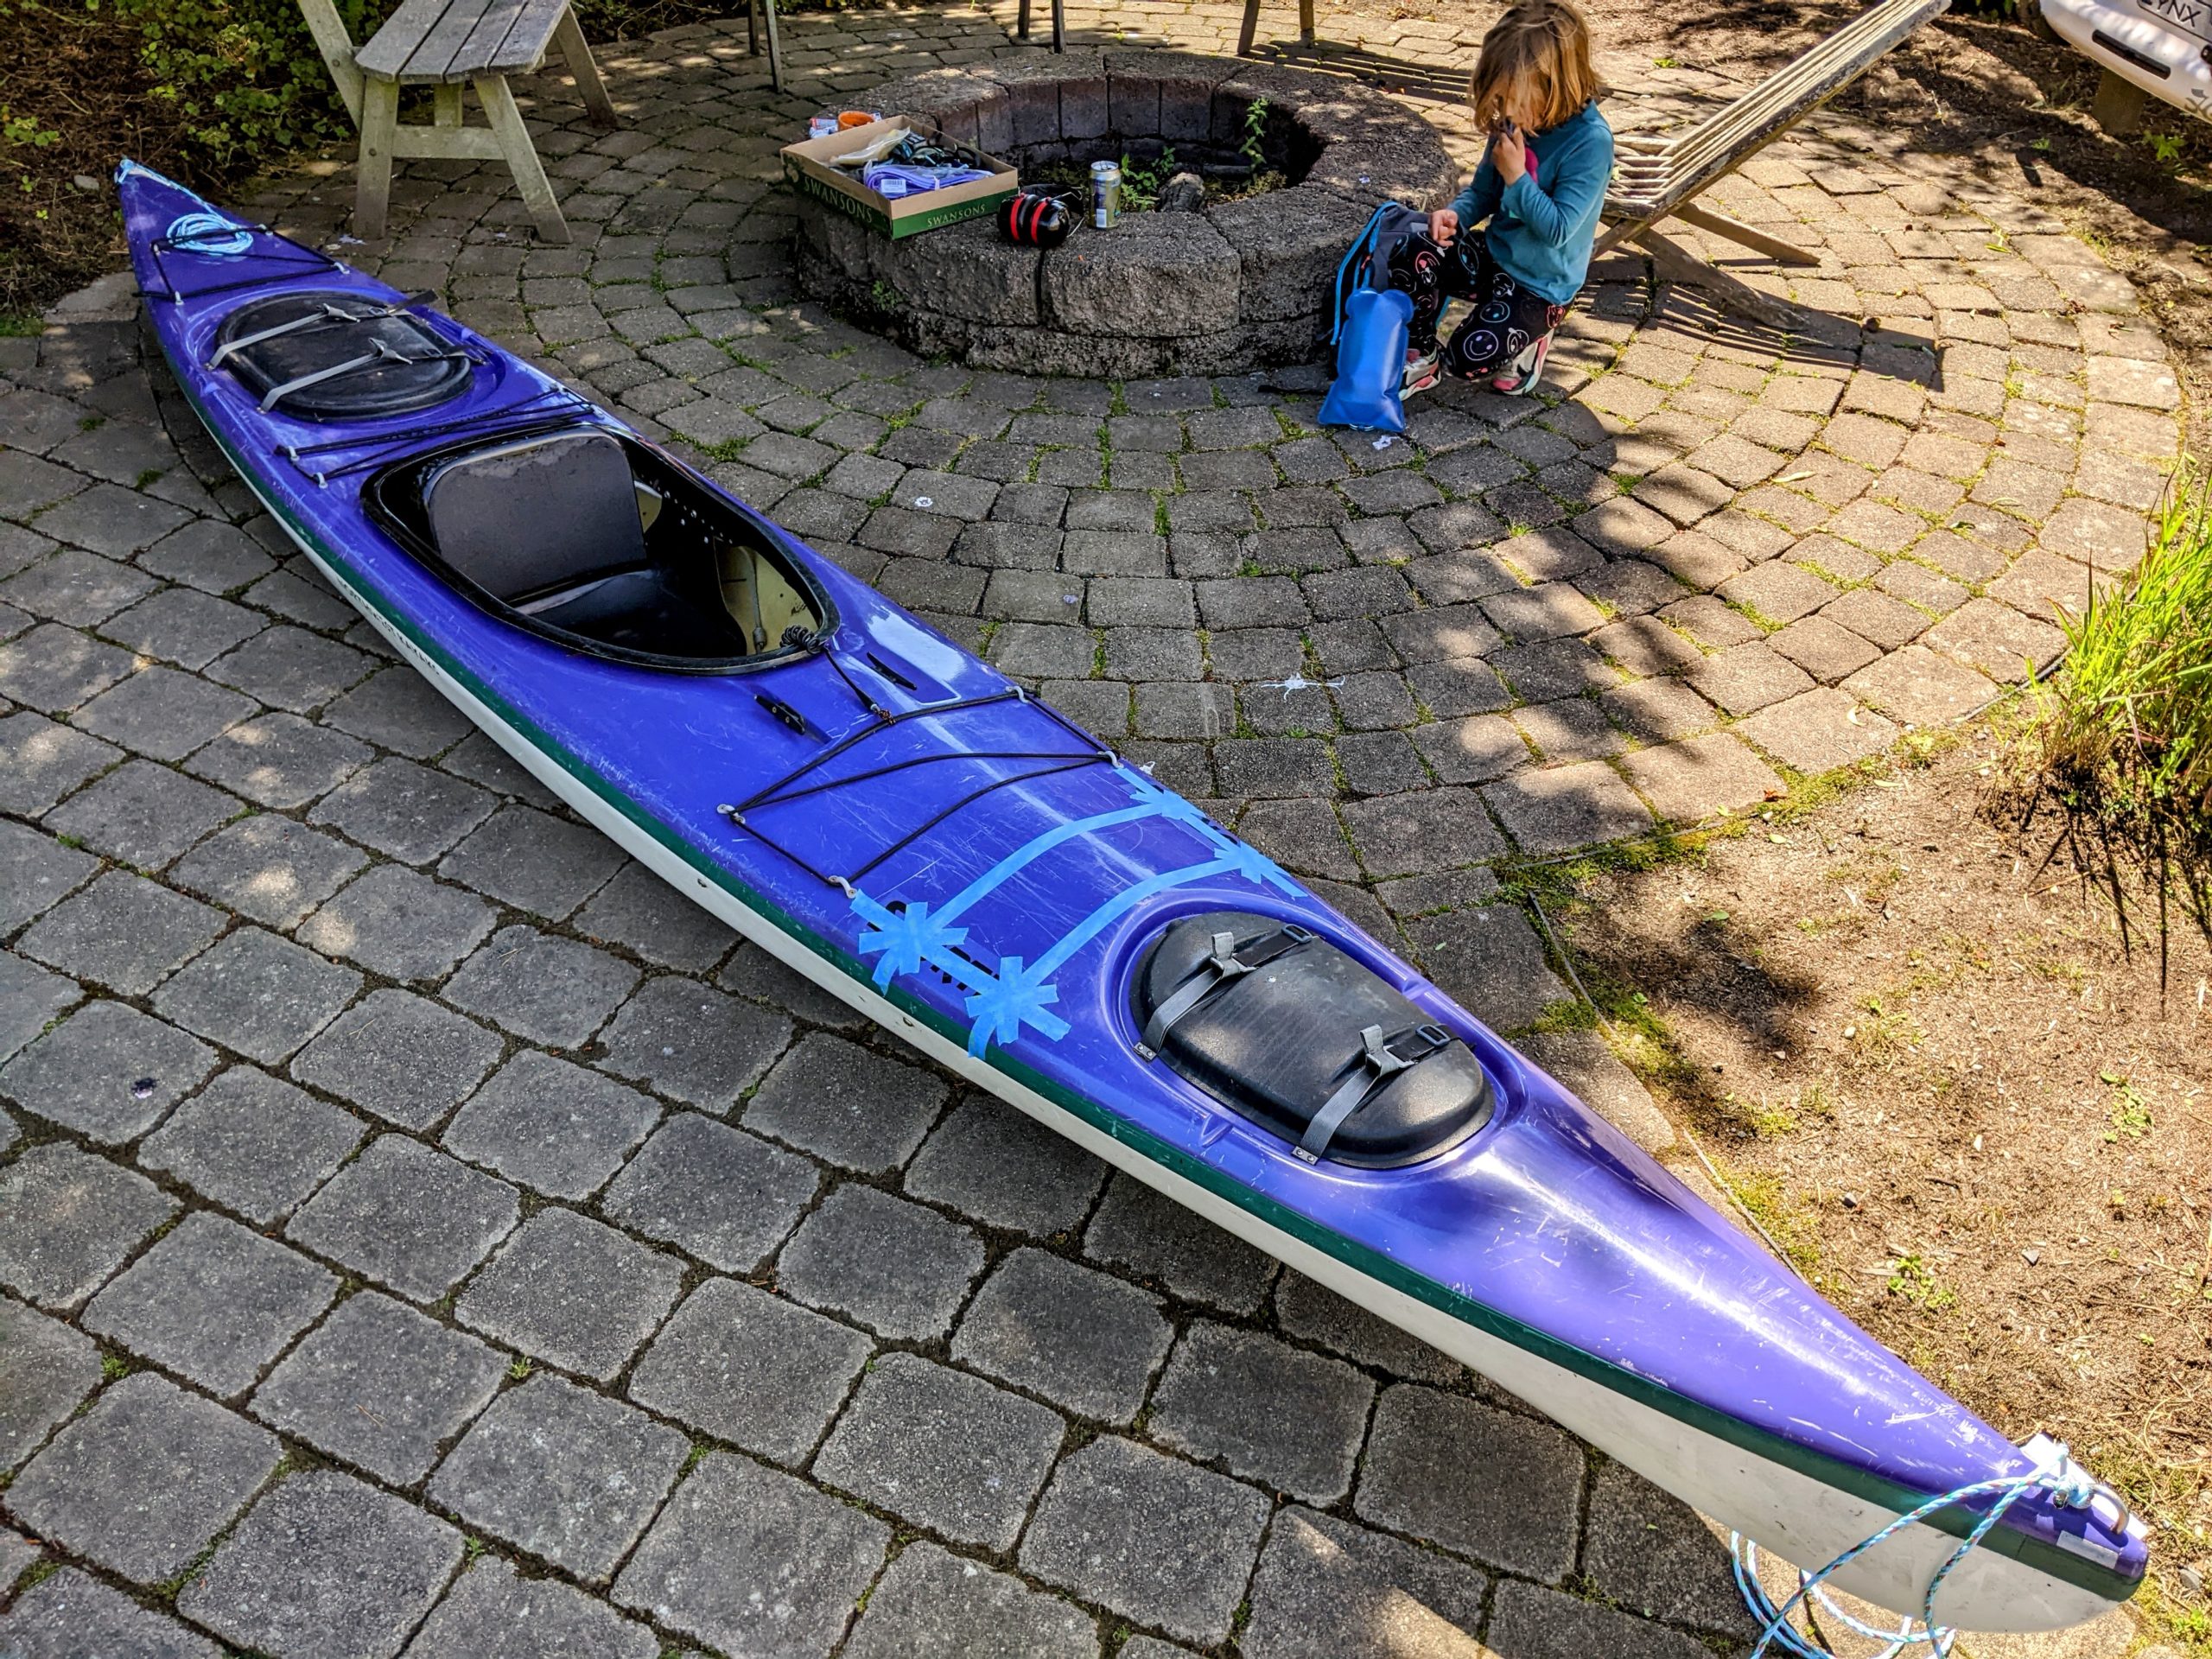
My in-laws have a pair of kayaks I use out here on the west coast, 13.5′ fiberglass Northwest Kayaks Sportee Elites. I believe they were made locally in Redmond until the company went defunct some time ago. I really like them even though their dark purple is not ideal for visibility and they don’t fit me easily. The small oval (as opposed to keyhole) cockpit is hard for me to enter & exit from shore (though no problem in a self-rescue from the water). Compared to my main boat at home the traditional flat deck line is also really rough on my knees the first couple rides every summer, until I adjust to the more Inuit-worthy posture enforced by the shallowness.
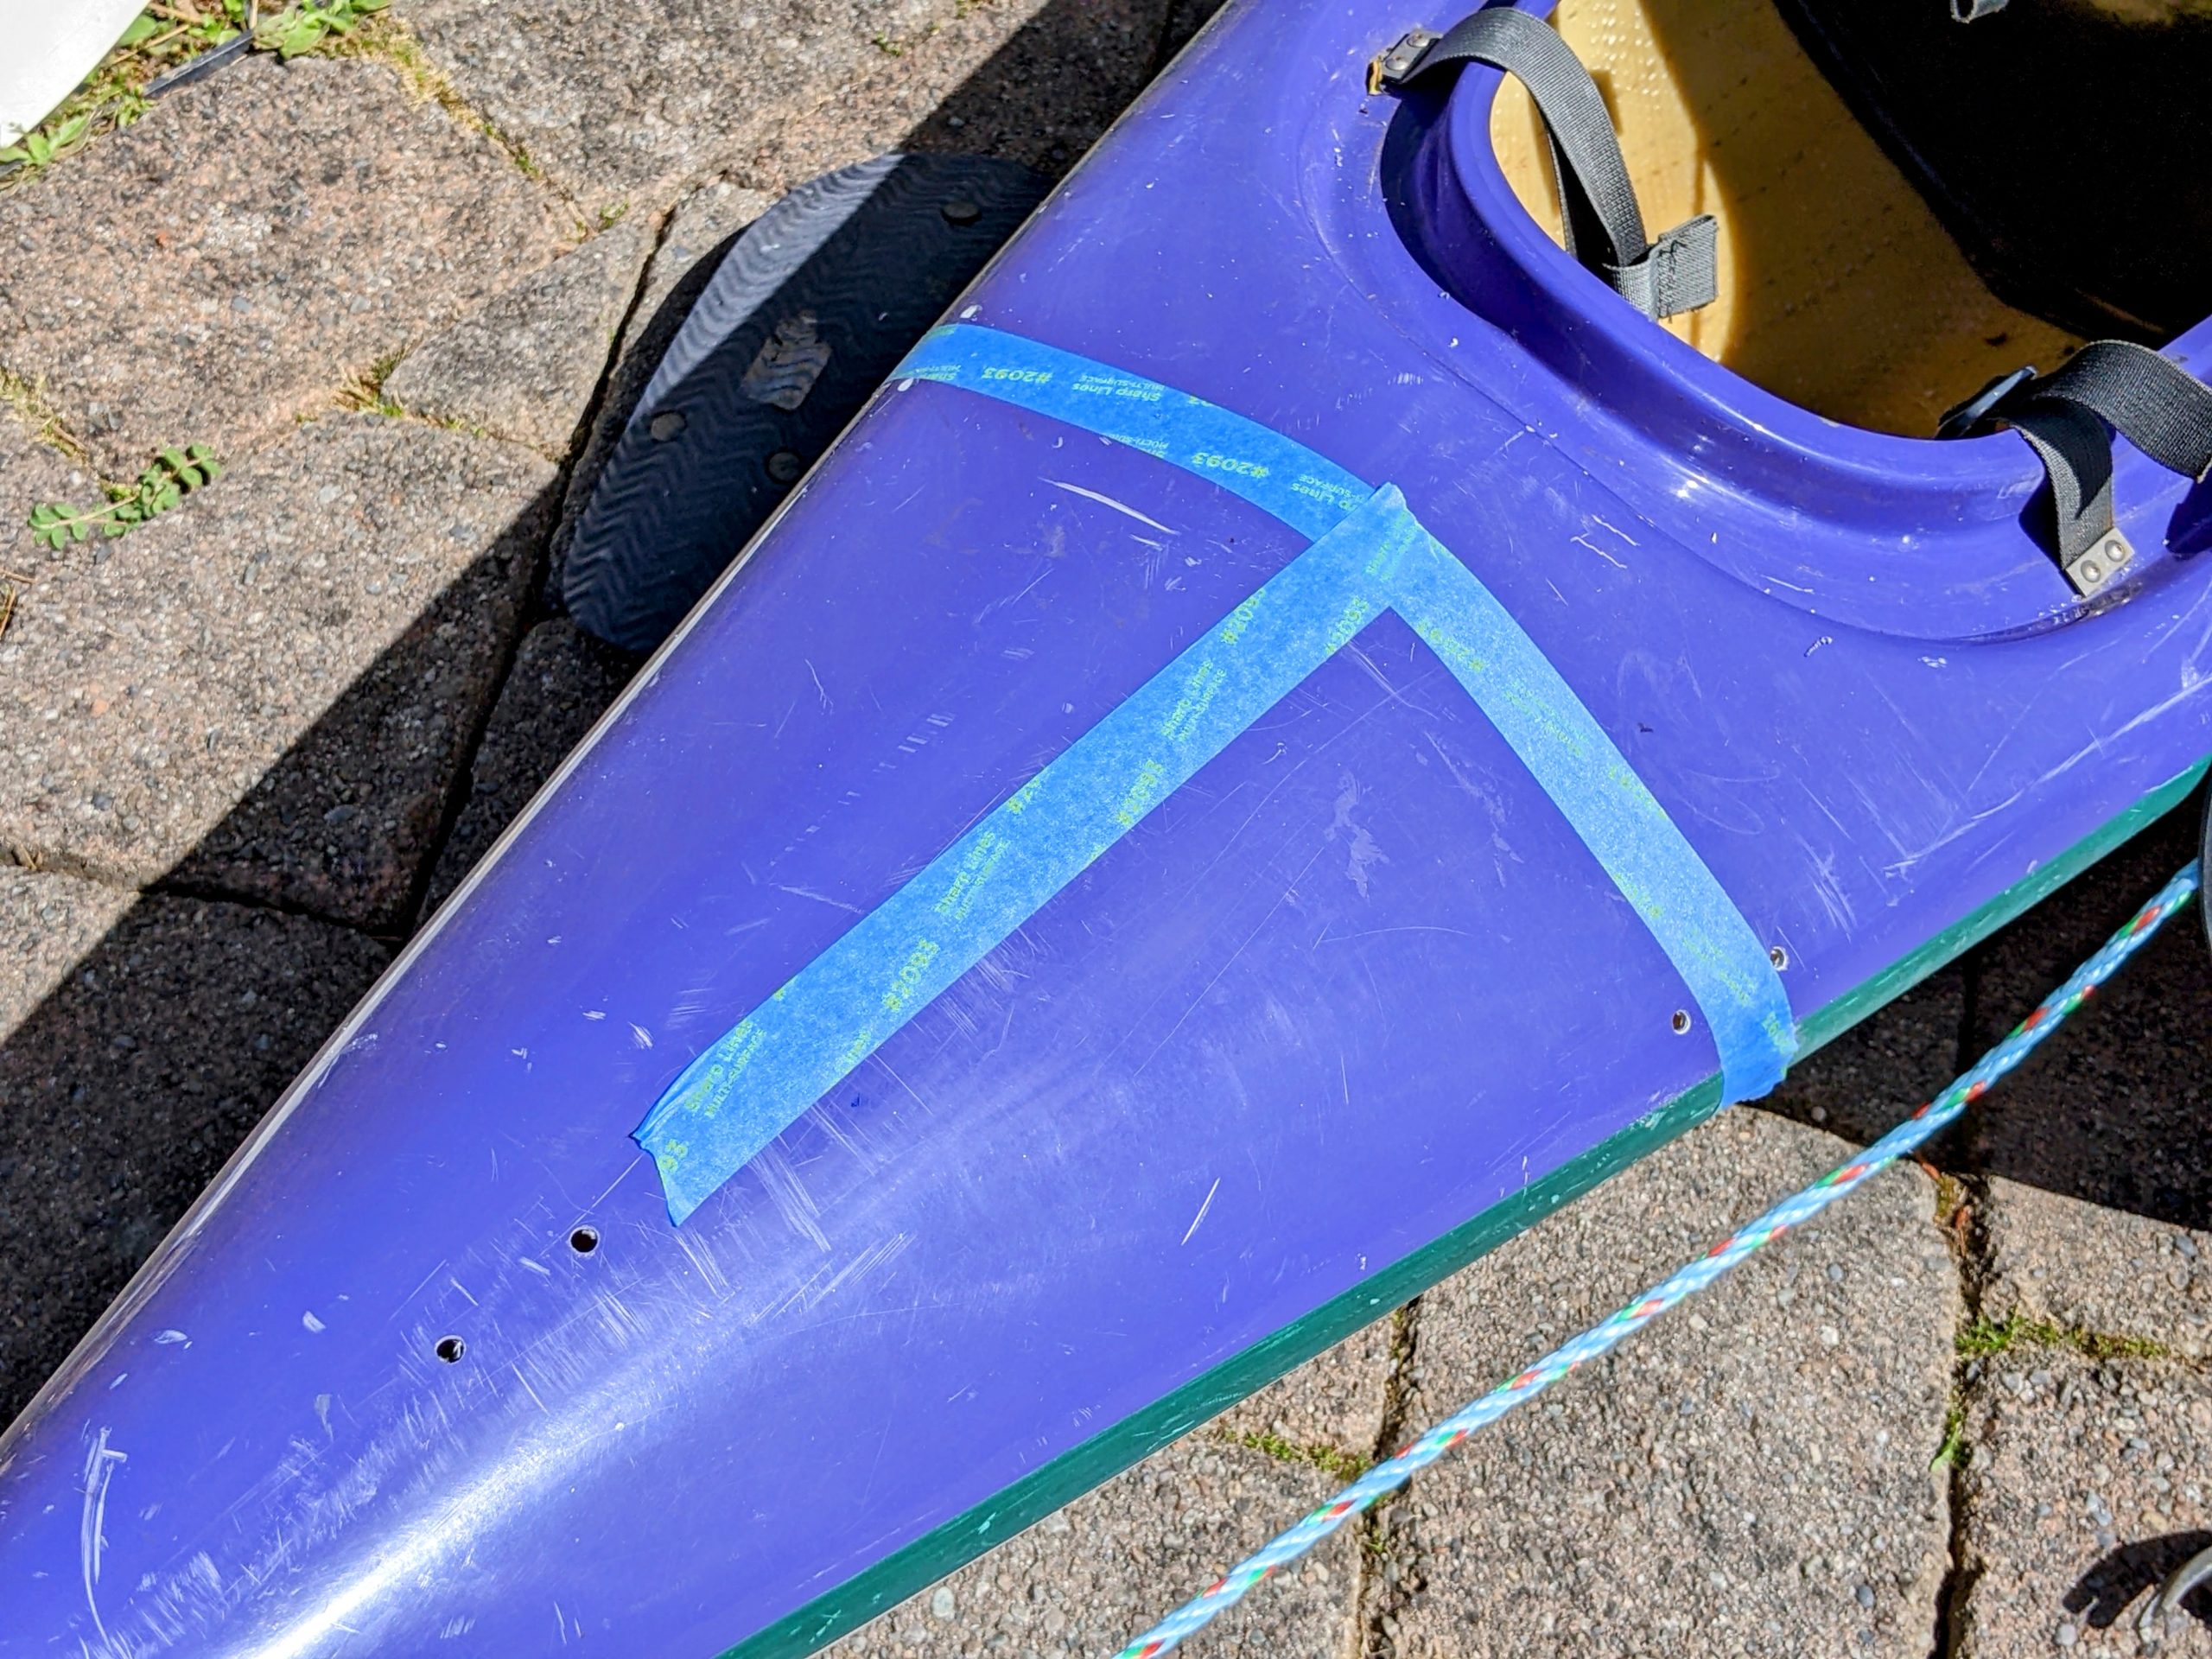
In any event, I’ve adopted & christened #7, previously unlabeled but its partner had been marked #5 by the guiding outfit my in-laws bought them from at the end of the last century. Assuming that company used them for 1–3 seasons, they’re coming right up on 25 years old now. Some maintenance was due, particularly replacing all the worn out lines. In accordance with mandatory regulations I embarked on this effort Friday evening before the planned Saturday AM departure and worked all through the night (literally) to get it just as I wanted. As a special bonus in that vein, none of this rigging, including drilling the gel coated fiberglass, was anything I’d done before.
Additions and changes:
- Perimeter static lines on bow and stern, for manipulating the boat or myself in the water (e.g., to get upstream for a self-rescue).
- Paddle trap dynamic line on the bow, as well as a paddle keeper / multi-purpose dynamic loop fore of the cockpit.
- Additional brackets fore of the cockpit for easily attaching a deck bag, with a new extended set of crossed dynamic lines for storage.
- Removed and added brackets to lengthen the sides of the rescue lines aft of the cockpit, which were also double strung, so that a paddle will actually fit and can be strongly secured under them for a self-rescue.
- Adhesive foam gasket around the collar of the aft hatch, which leaked a bit much.
- Replaced the fore hatch buckle that exploded tightening it down just before launching.
- Epoxied some minor cosmetic hull damage.
- New bow & stern tie-up lines.
- Reflective tape on deck and paddles for better visibility.
- Fancy native-styled salmon art sticker for the front to be my spirit animal.
- Faux fleet ID and racing numbers to look cool and go faster.

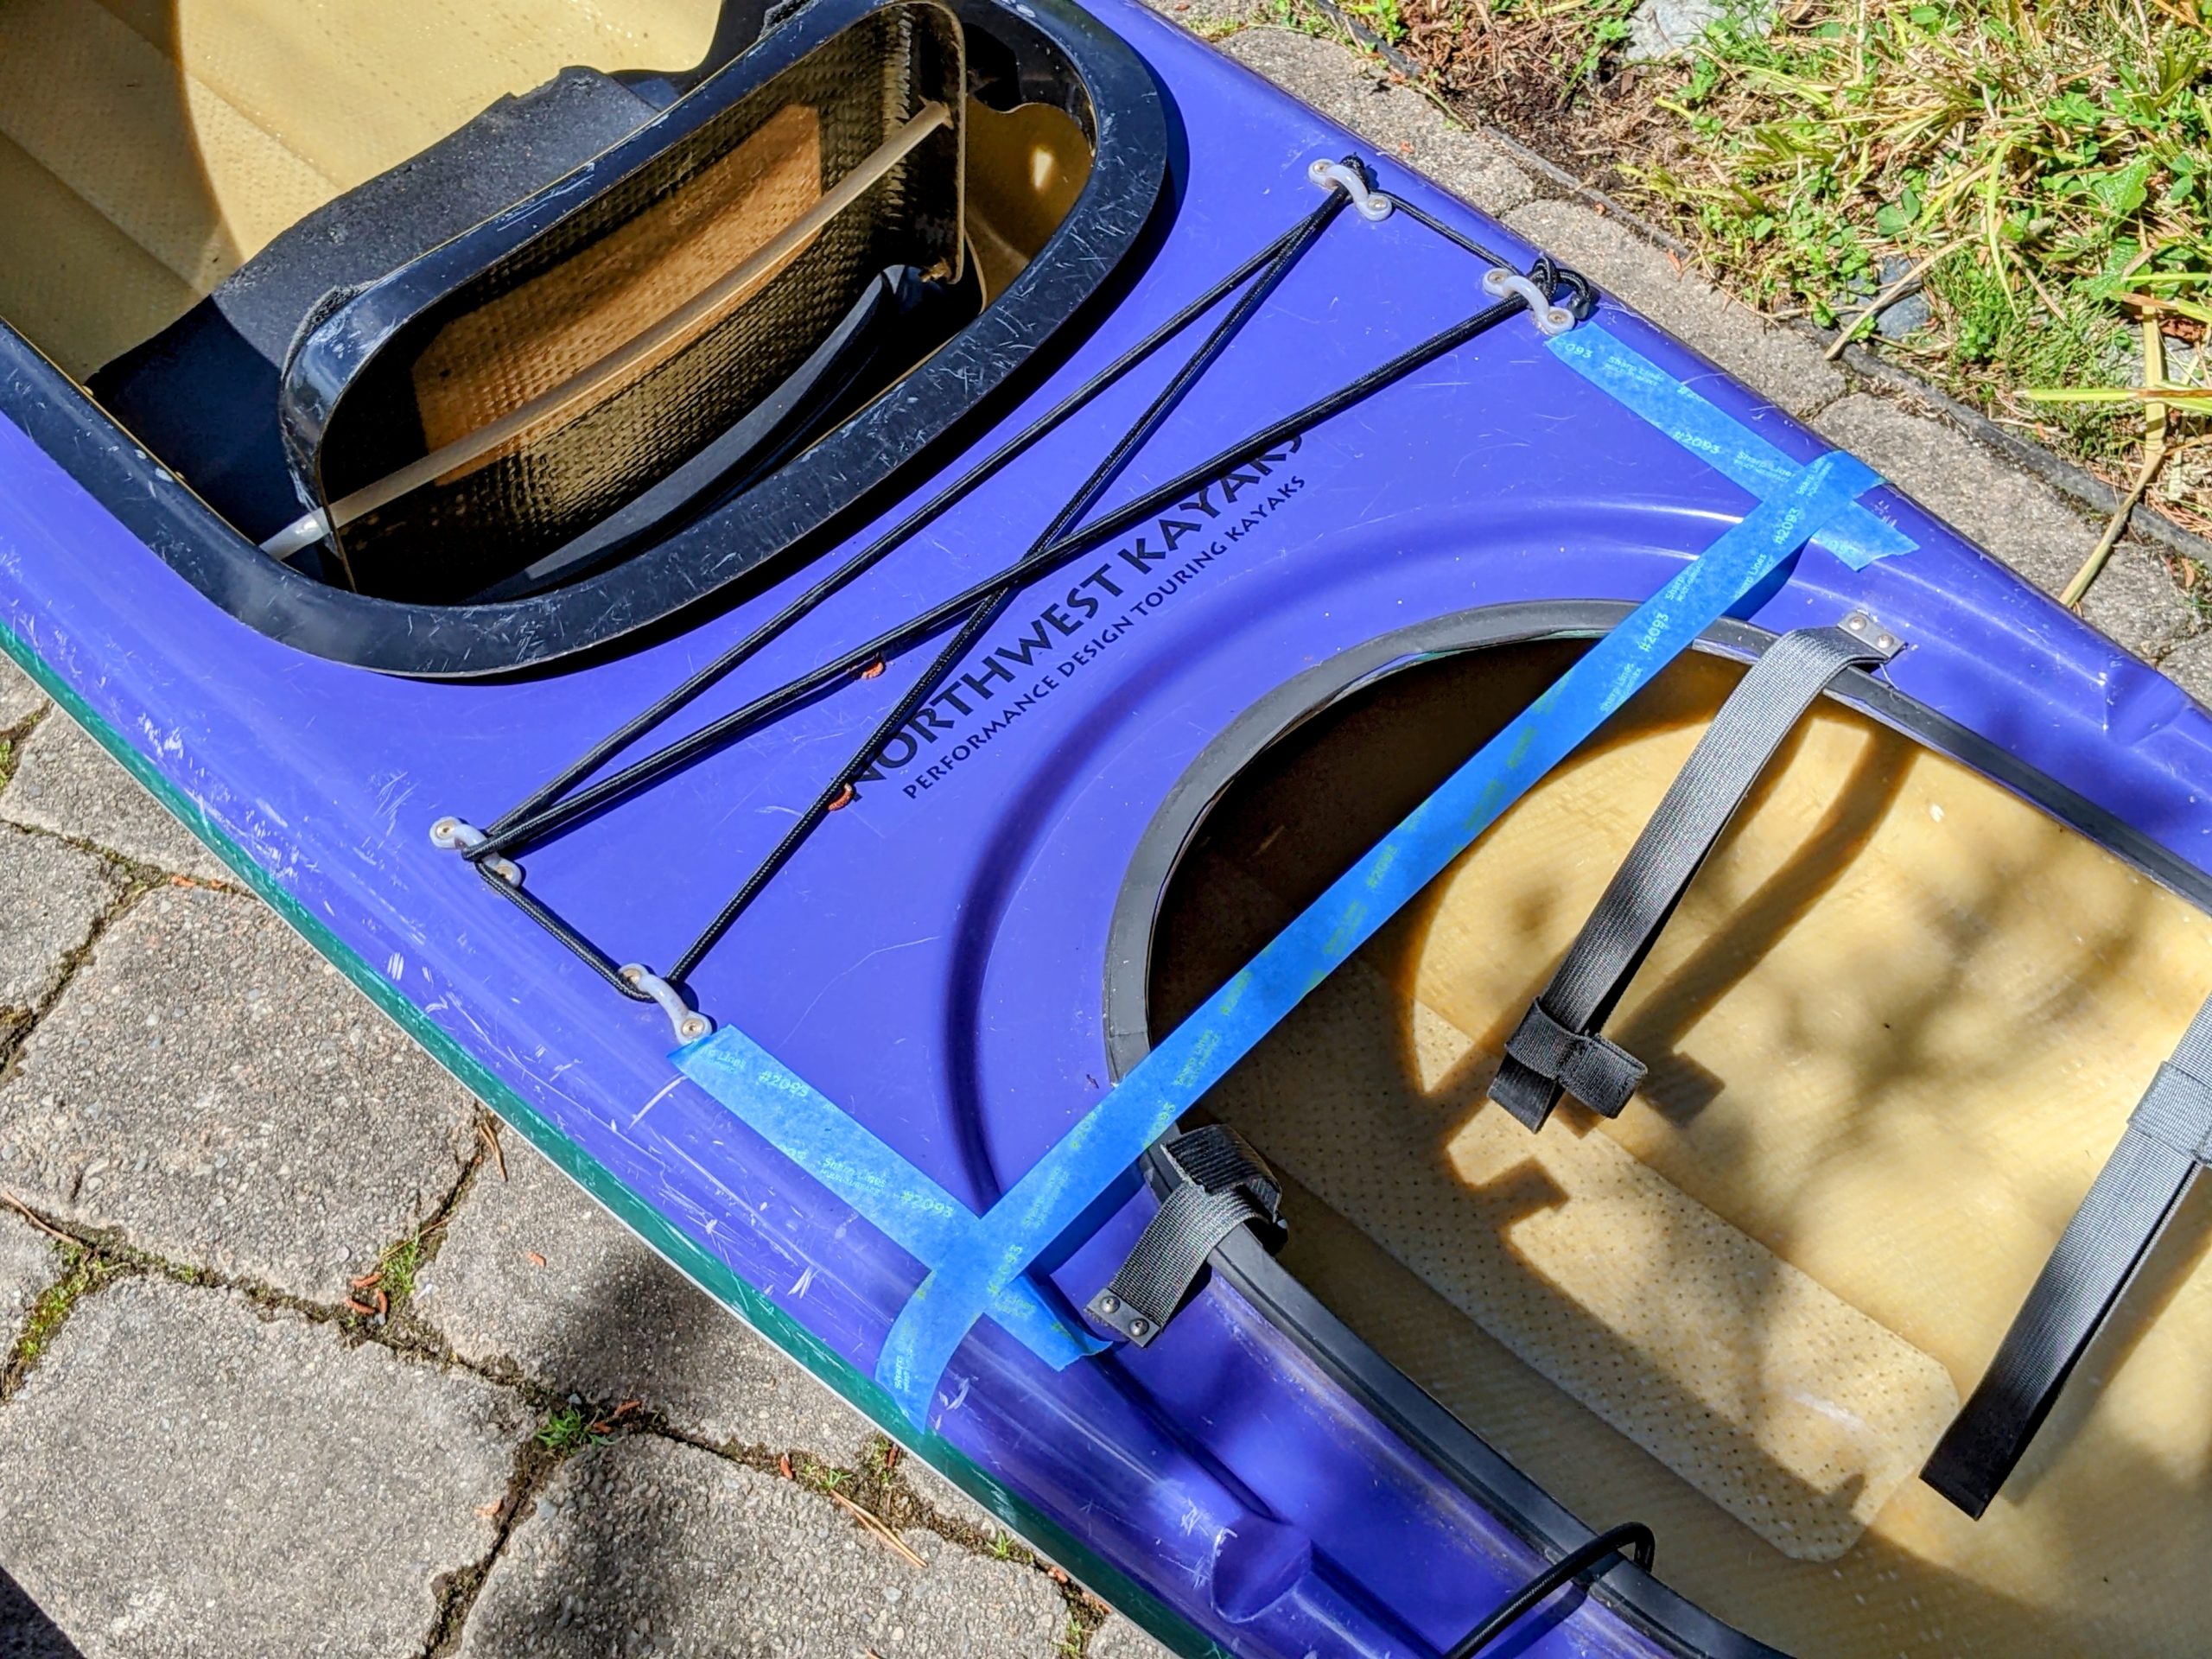

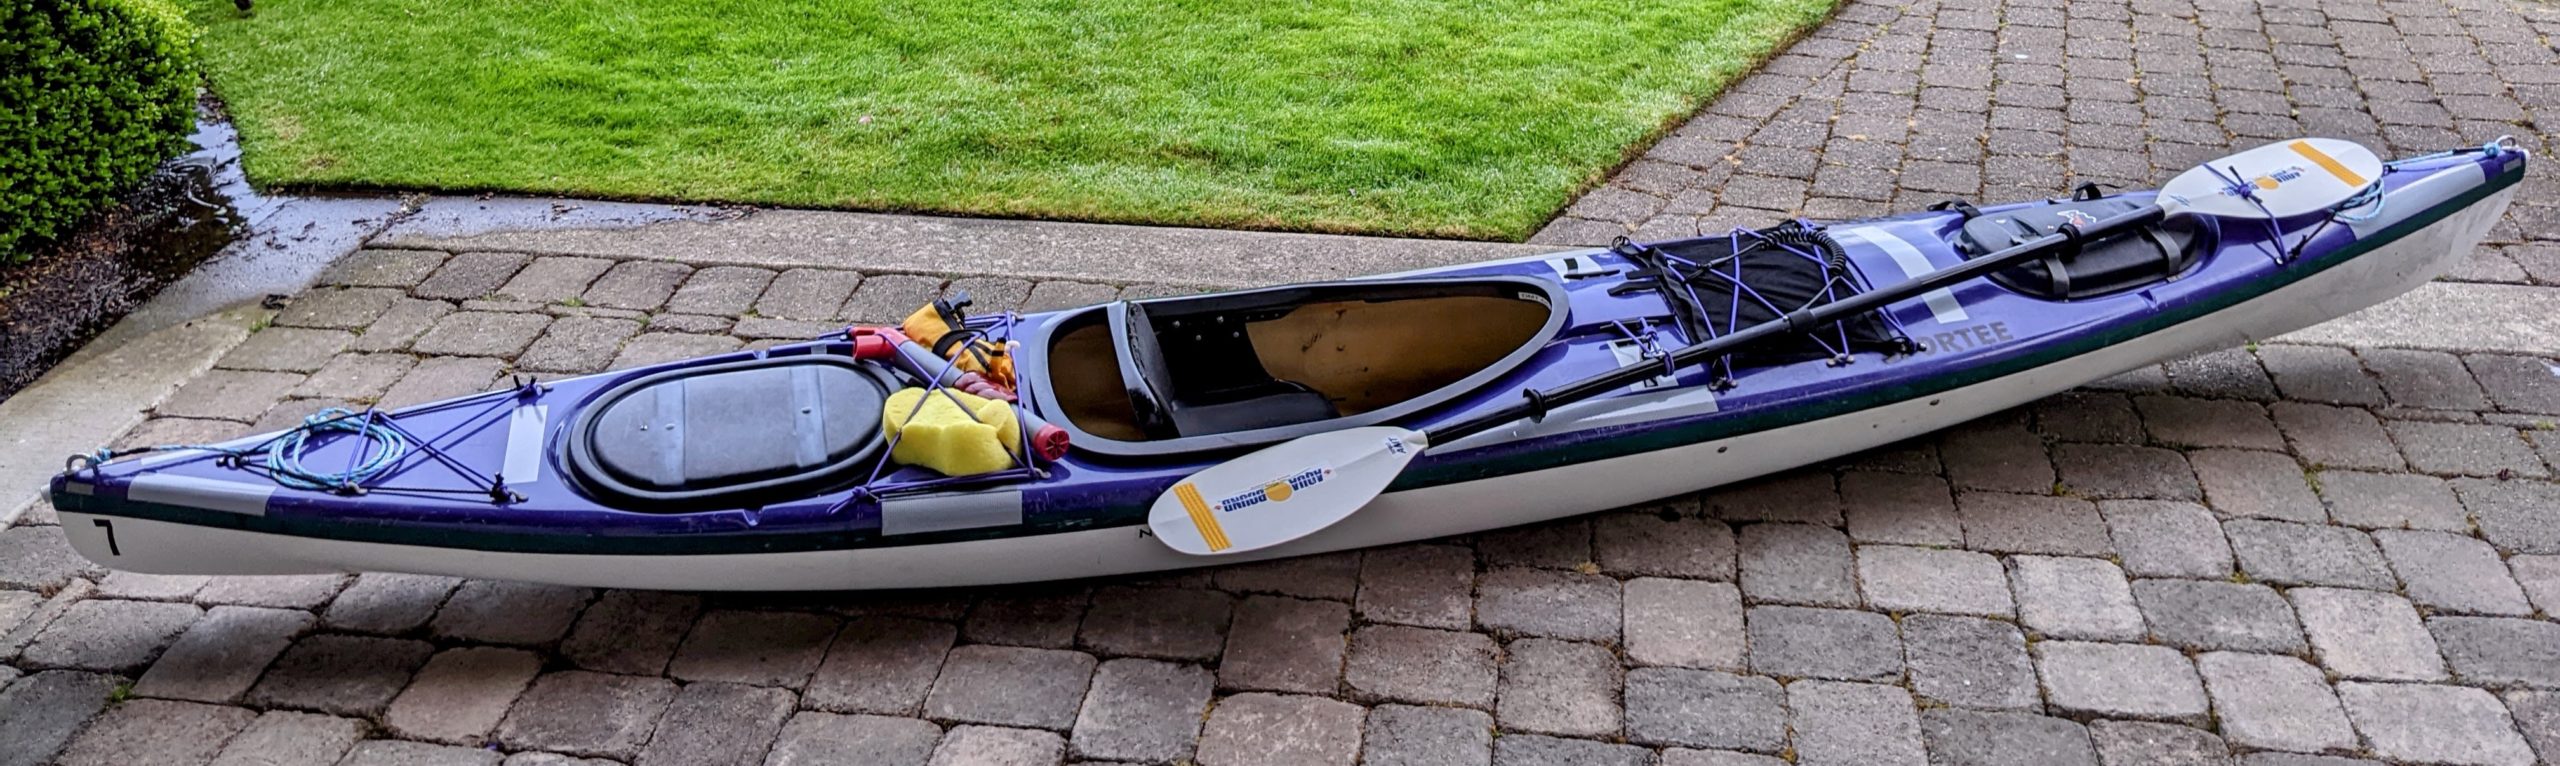
This updated rigging worked pretty great. The deck bag storage in particular, which was the genesis of the whole project, functioned well. The paddle trap and keeper are a bit tight, but useful enough. Given more time or planning I would incorporate a small ball, a toggle, or even just a bulkier knot to hold the paddle trap off the deck a bit more and make it easier to slide the paddle underneath. A whole additional effort I would like to do in the future is add brackets behind the seat and in the storage compartments for running lines, straps, or a mesh to prevent gear from shifting around when those volumes aren’t full.
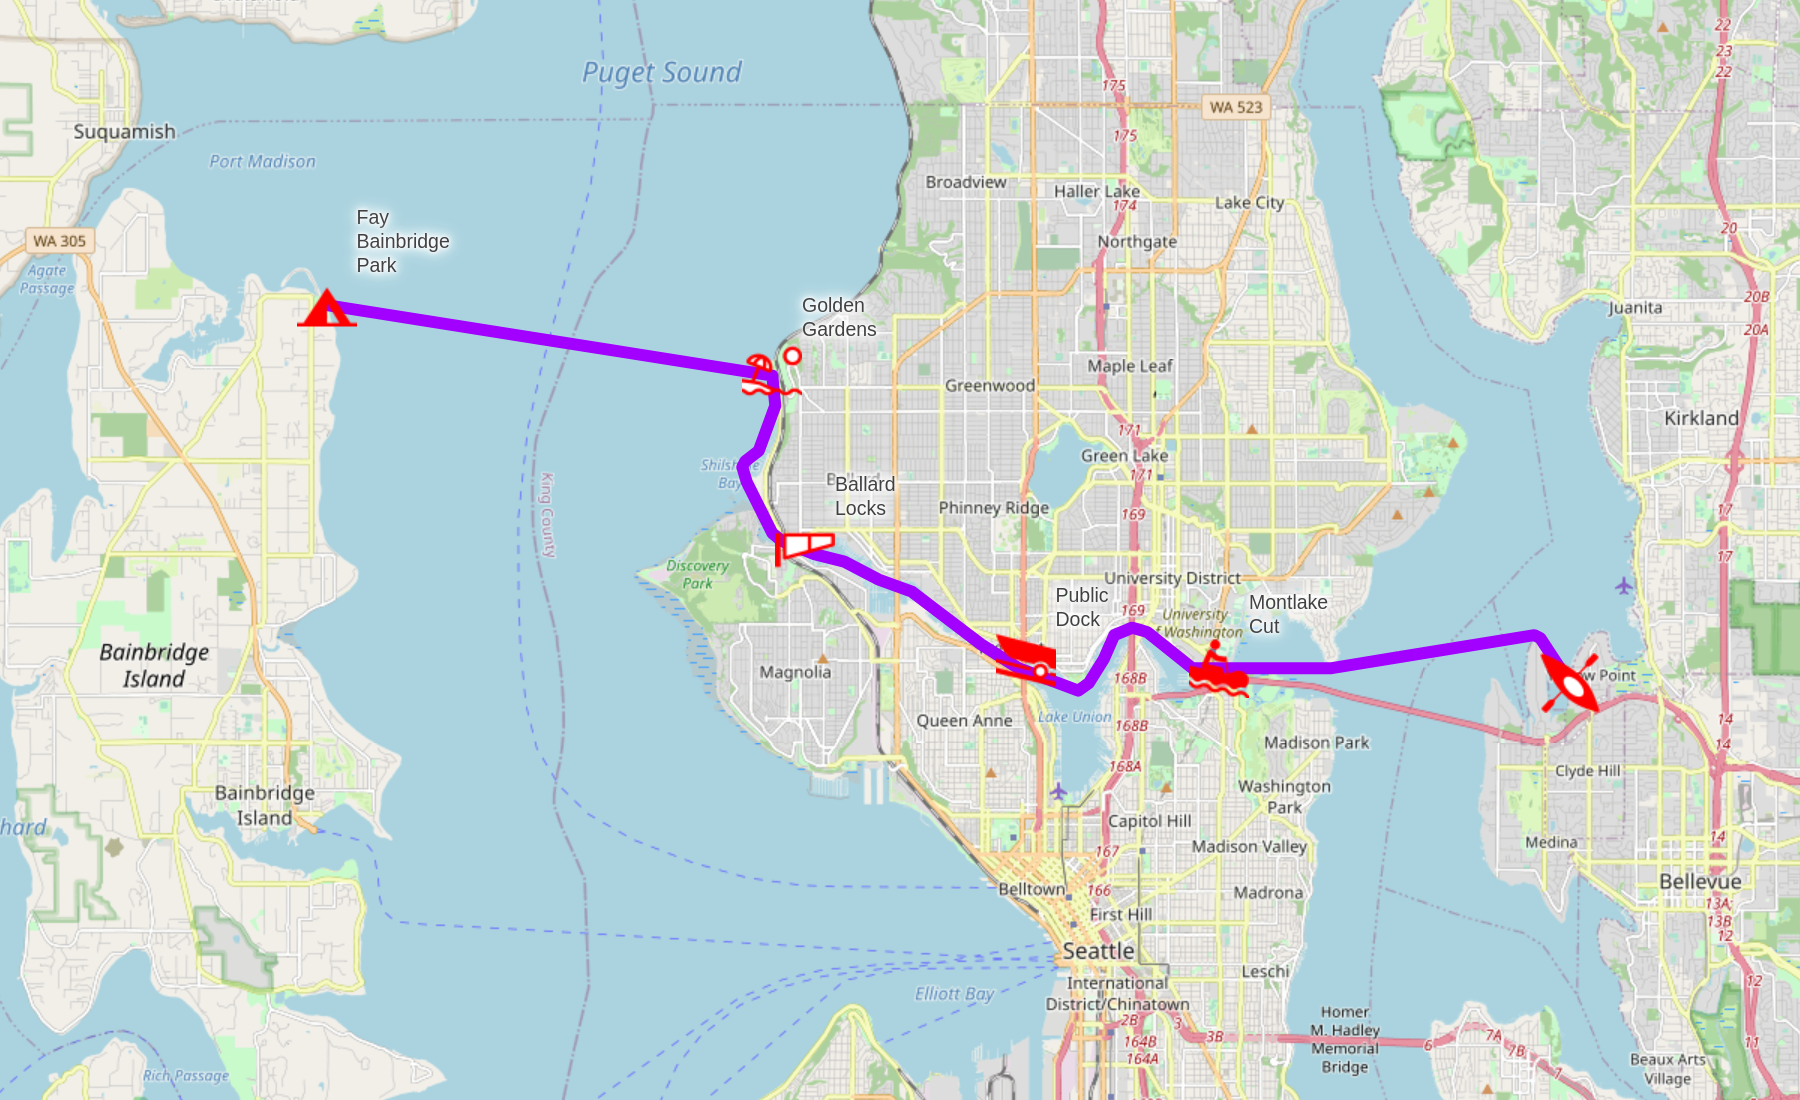
The Route
Mentally this route has three major components; in westbound order they are:
- Lake Washington, the Montlake Cut, Portage Bay, and Lake Union, ending around Gasworks or Fremont.
- The Ship Canal, Salmon Bay, the Ballard Locks, and Shilshole Bay, ending at Golden Gardens.
- Across Puget Sound, ending at Bainbridge Island.Part of the Montlake Cut and its rowing graffiti.
It’s about 16.5 miles traveling as direct as possible.
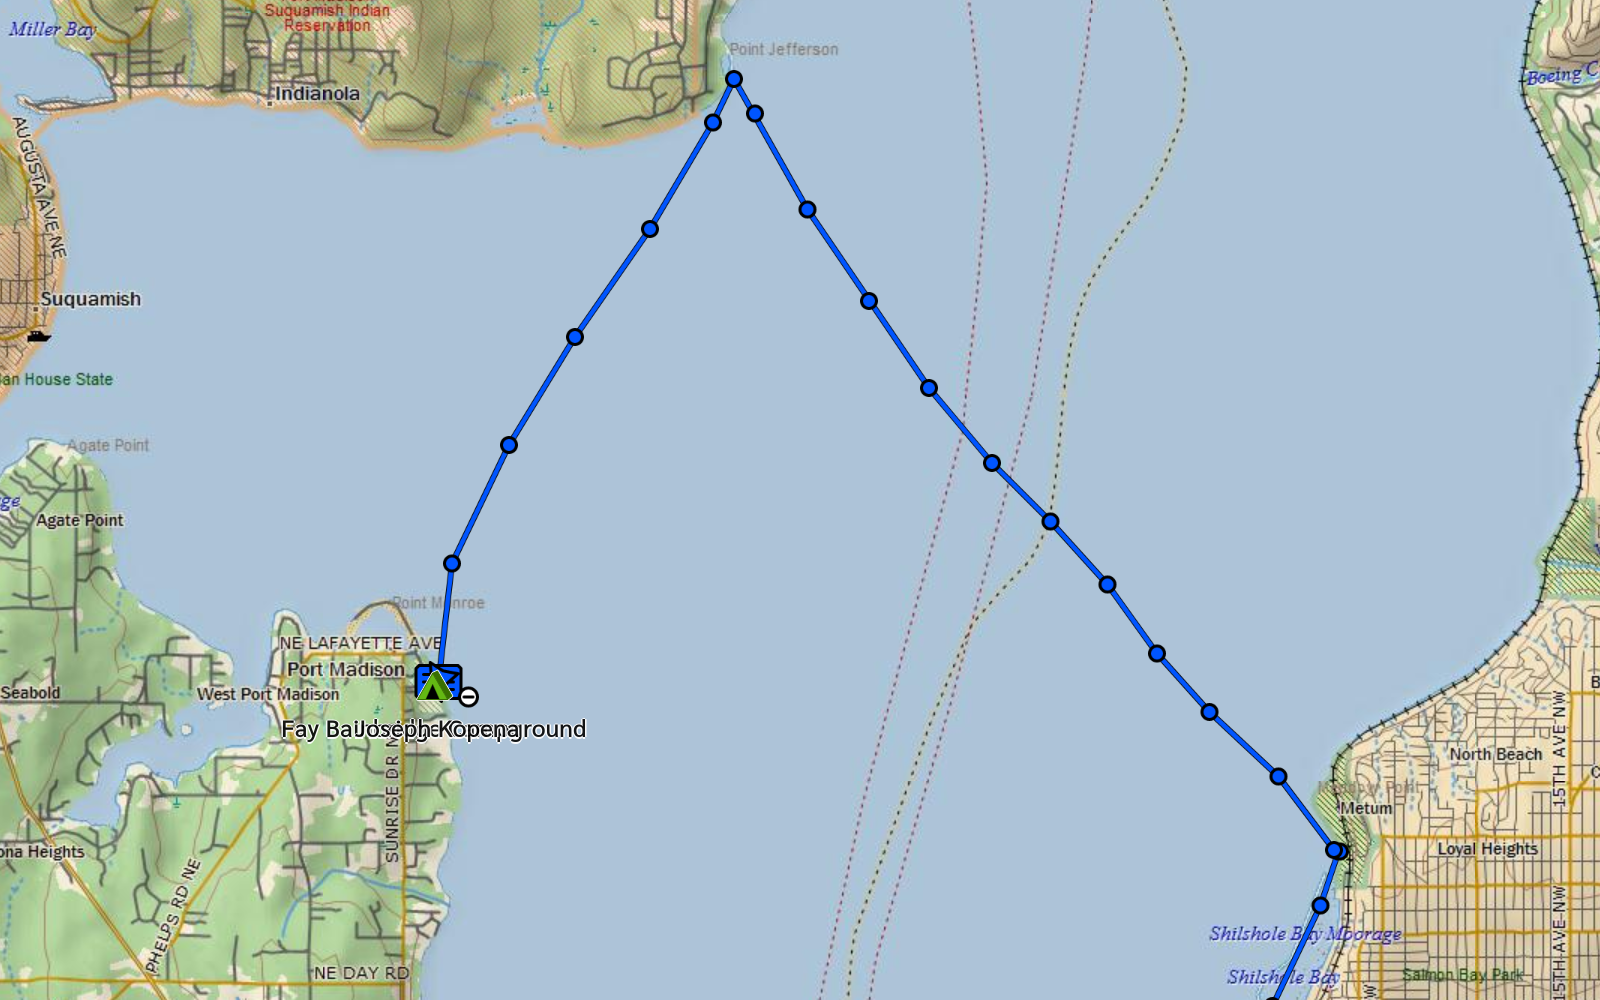
I have a public CalTopo map of the route available here.
Departure
The first stretch across Lake Washington is smooth and quiet in the mornings, trending to modestly choppy and busy with recreational motorboating by evening. The Montlake Cut can be exciting if there is motorboat traffic going through it. Their wakes echo off the sidewalls, amplifying and interacting in unpredictable ways. The sides of the Cut are decorated by rowing teams that have painted various tribal claims.
Headed out from Yarrow Point on the east side of Lake Washington.
Part of the Montlake Cut and its rowing graffiti.
After that, Lake Union and its east and west approaches have a lot going on—rec boats, tour boats, house boats, float planes, you name it. But that activity includes numerous kayaks and paddleboards, so those are expected by other boaters and not out of place. Gasworks Park has several places where you could pull up but it’s prohibited and they’re not great anyway. On the east side of the Aurora Bridge though there’s a public floating low dock that’s made for sculls, kayaks, etc., and is where I stopped for a break.

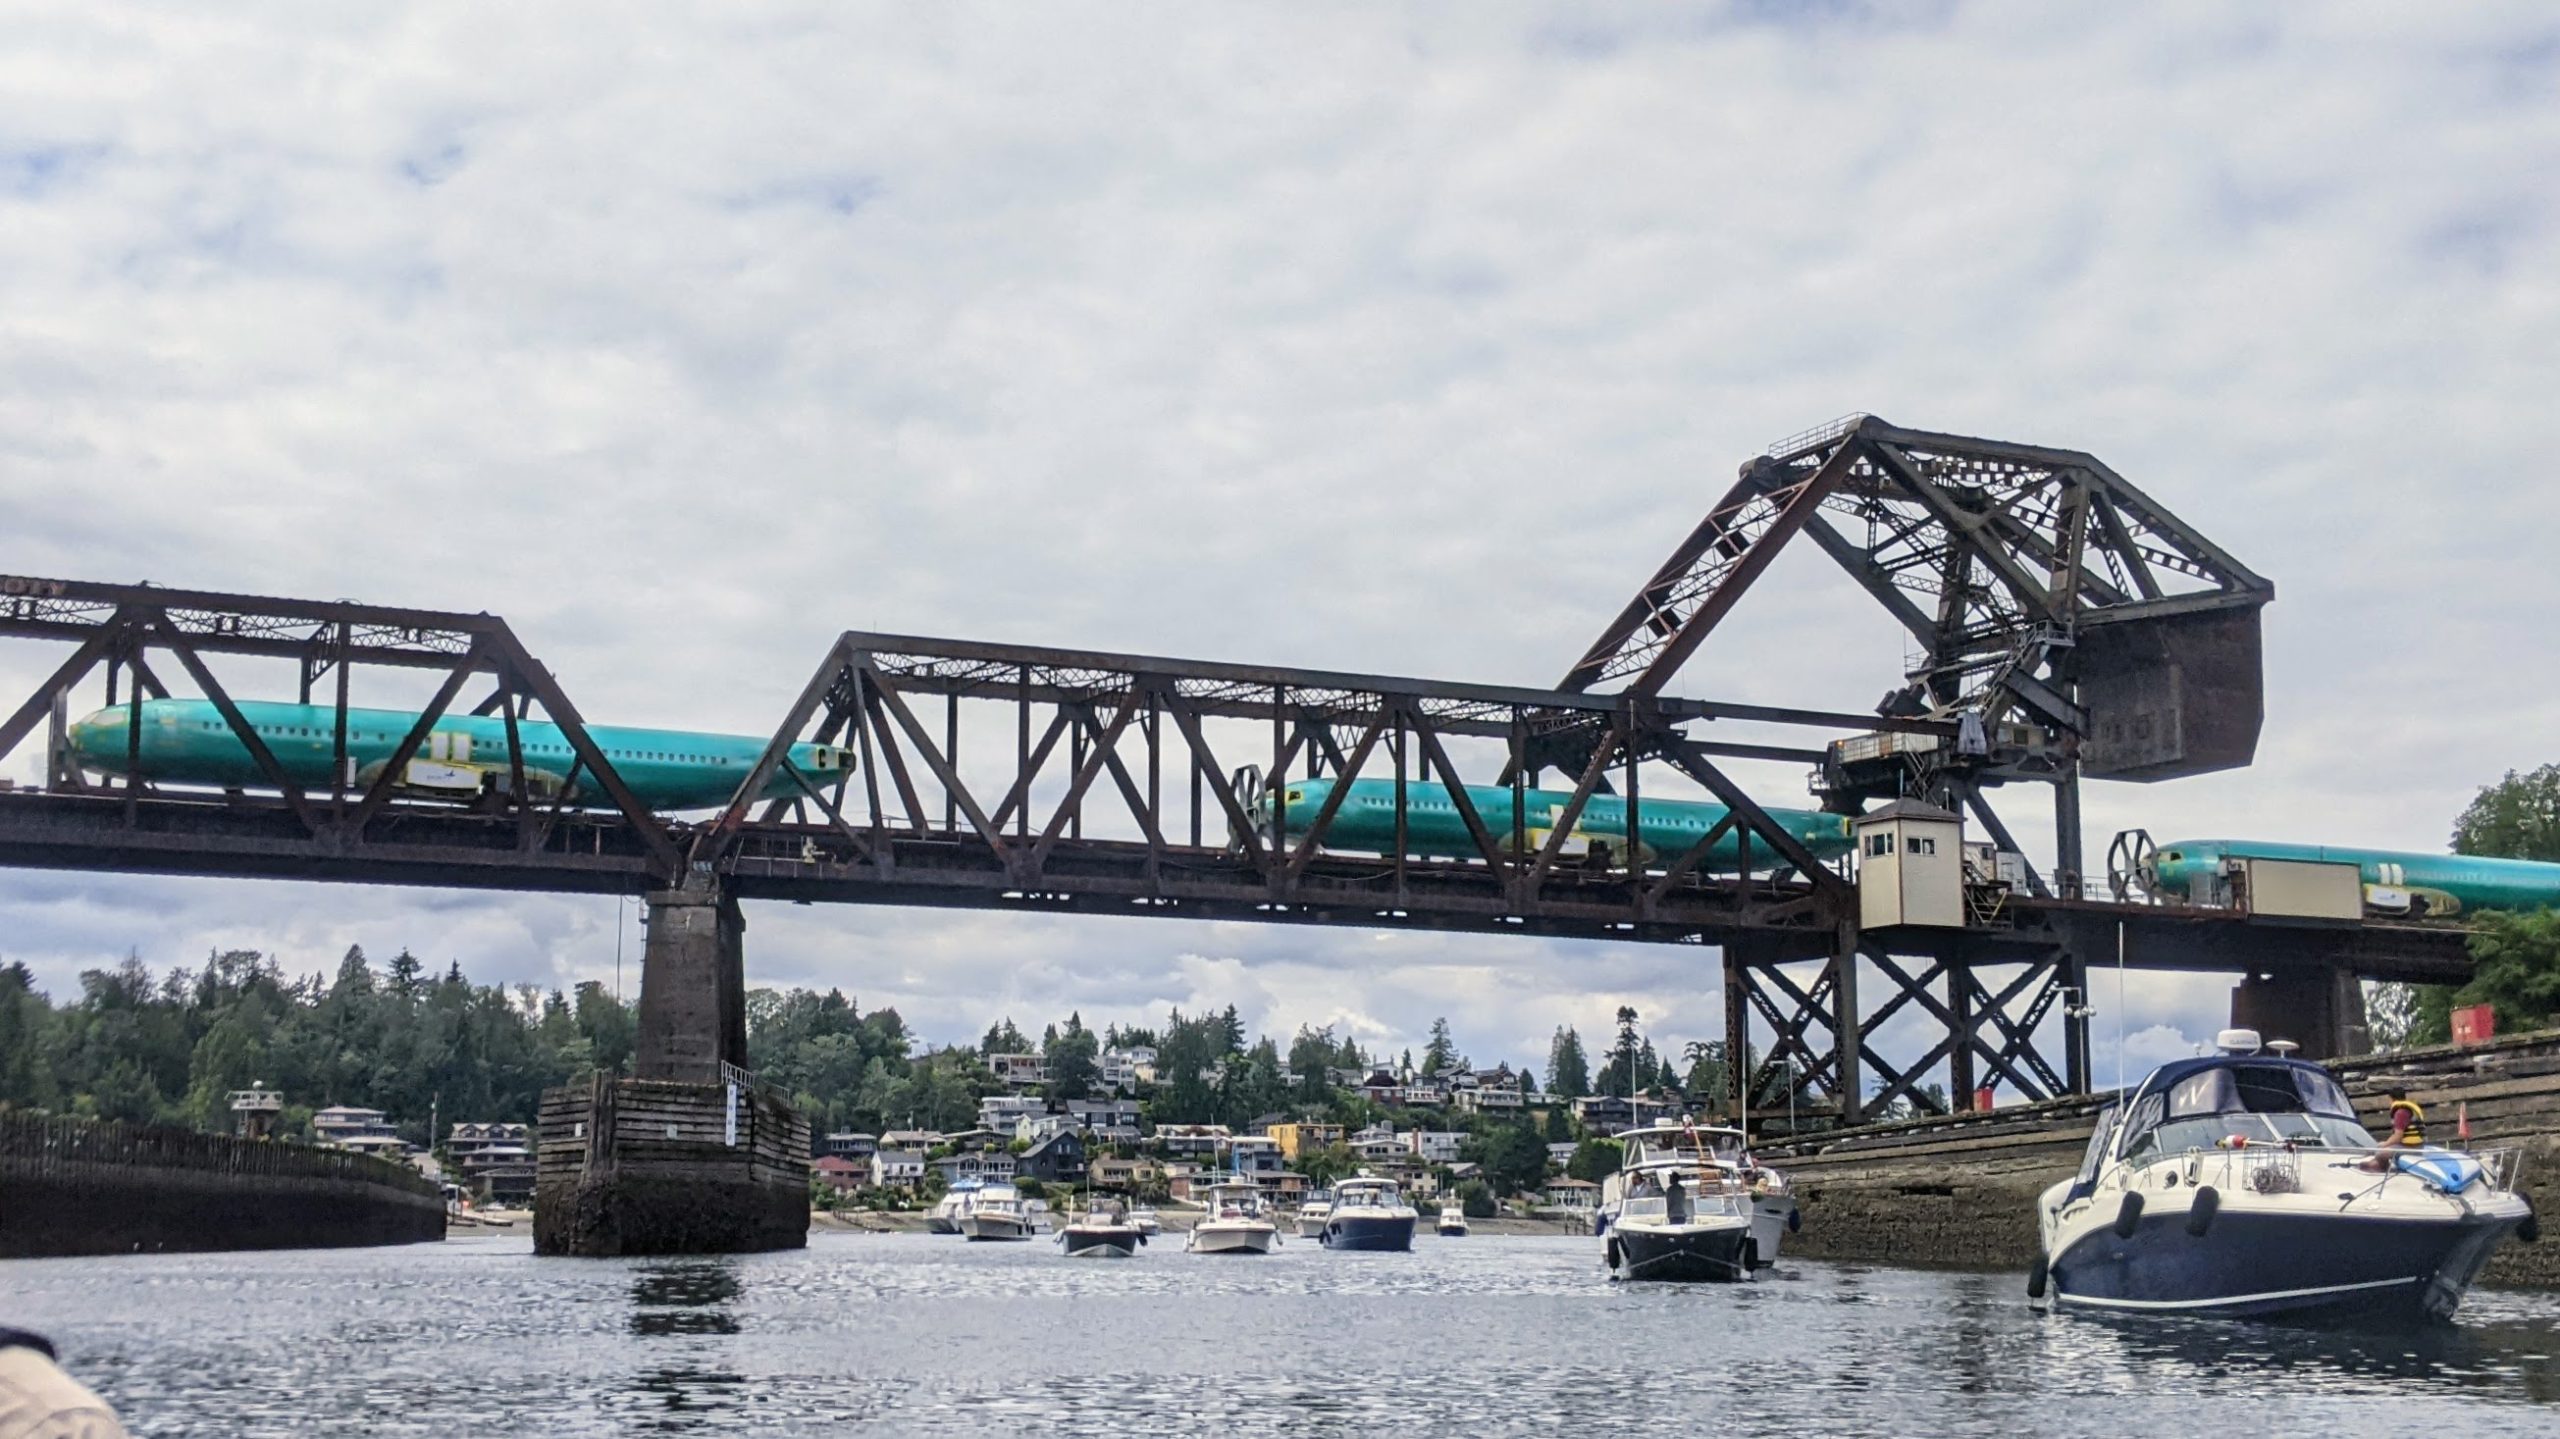
Ballard Locks
Continuing westward from Fremont you go through a narrow portion of the ship canal, a nice green section with grass, trees, and paths alongside. After that the water gets more commercial, with ocean tugs, large arctic fishing boats, and so on docked all around.
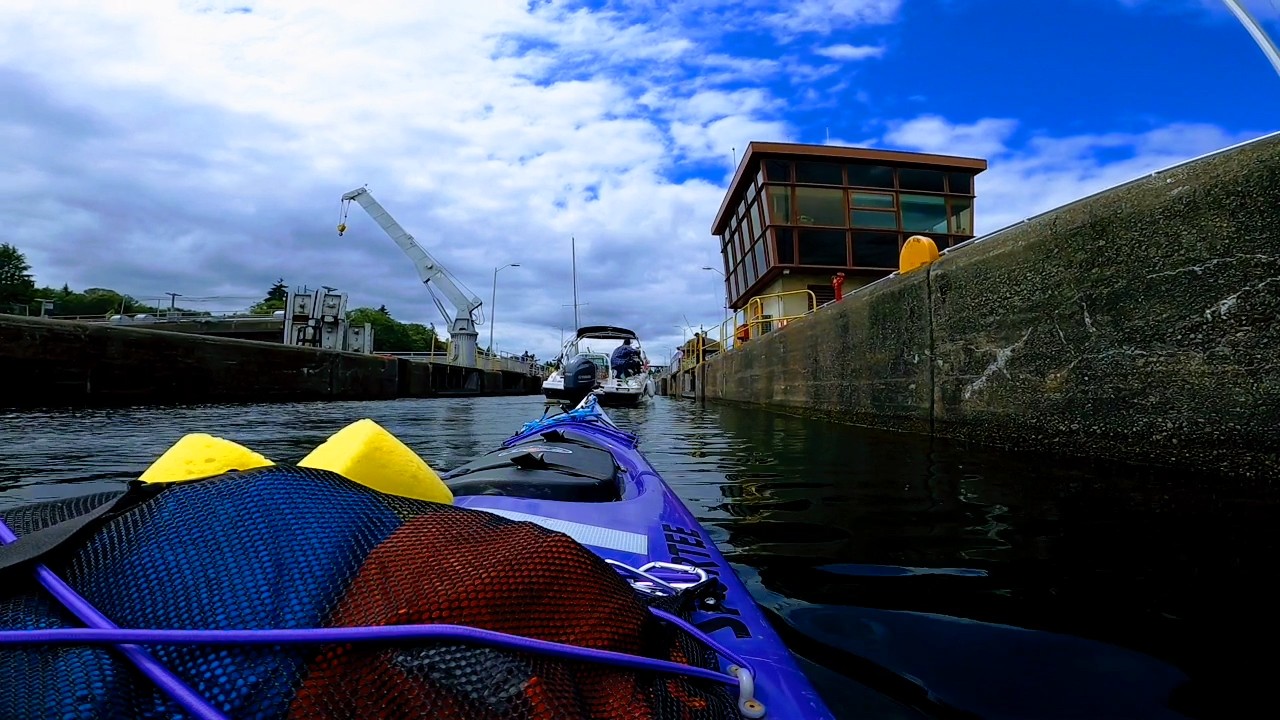
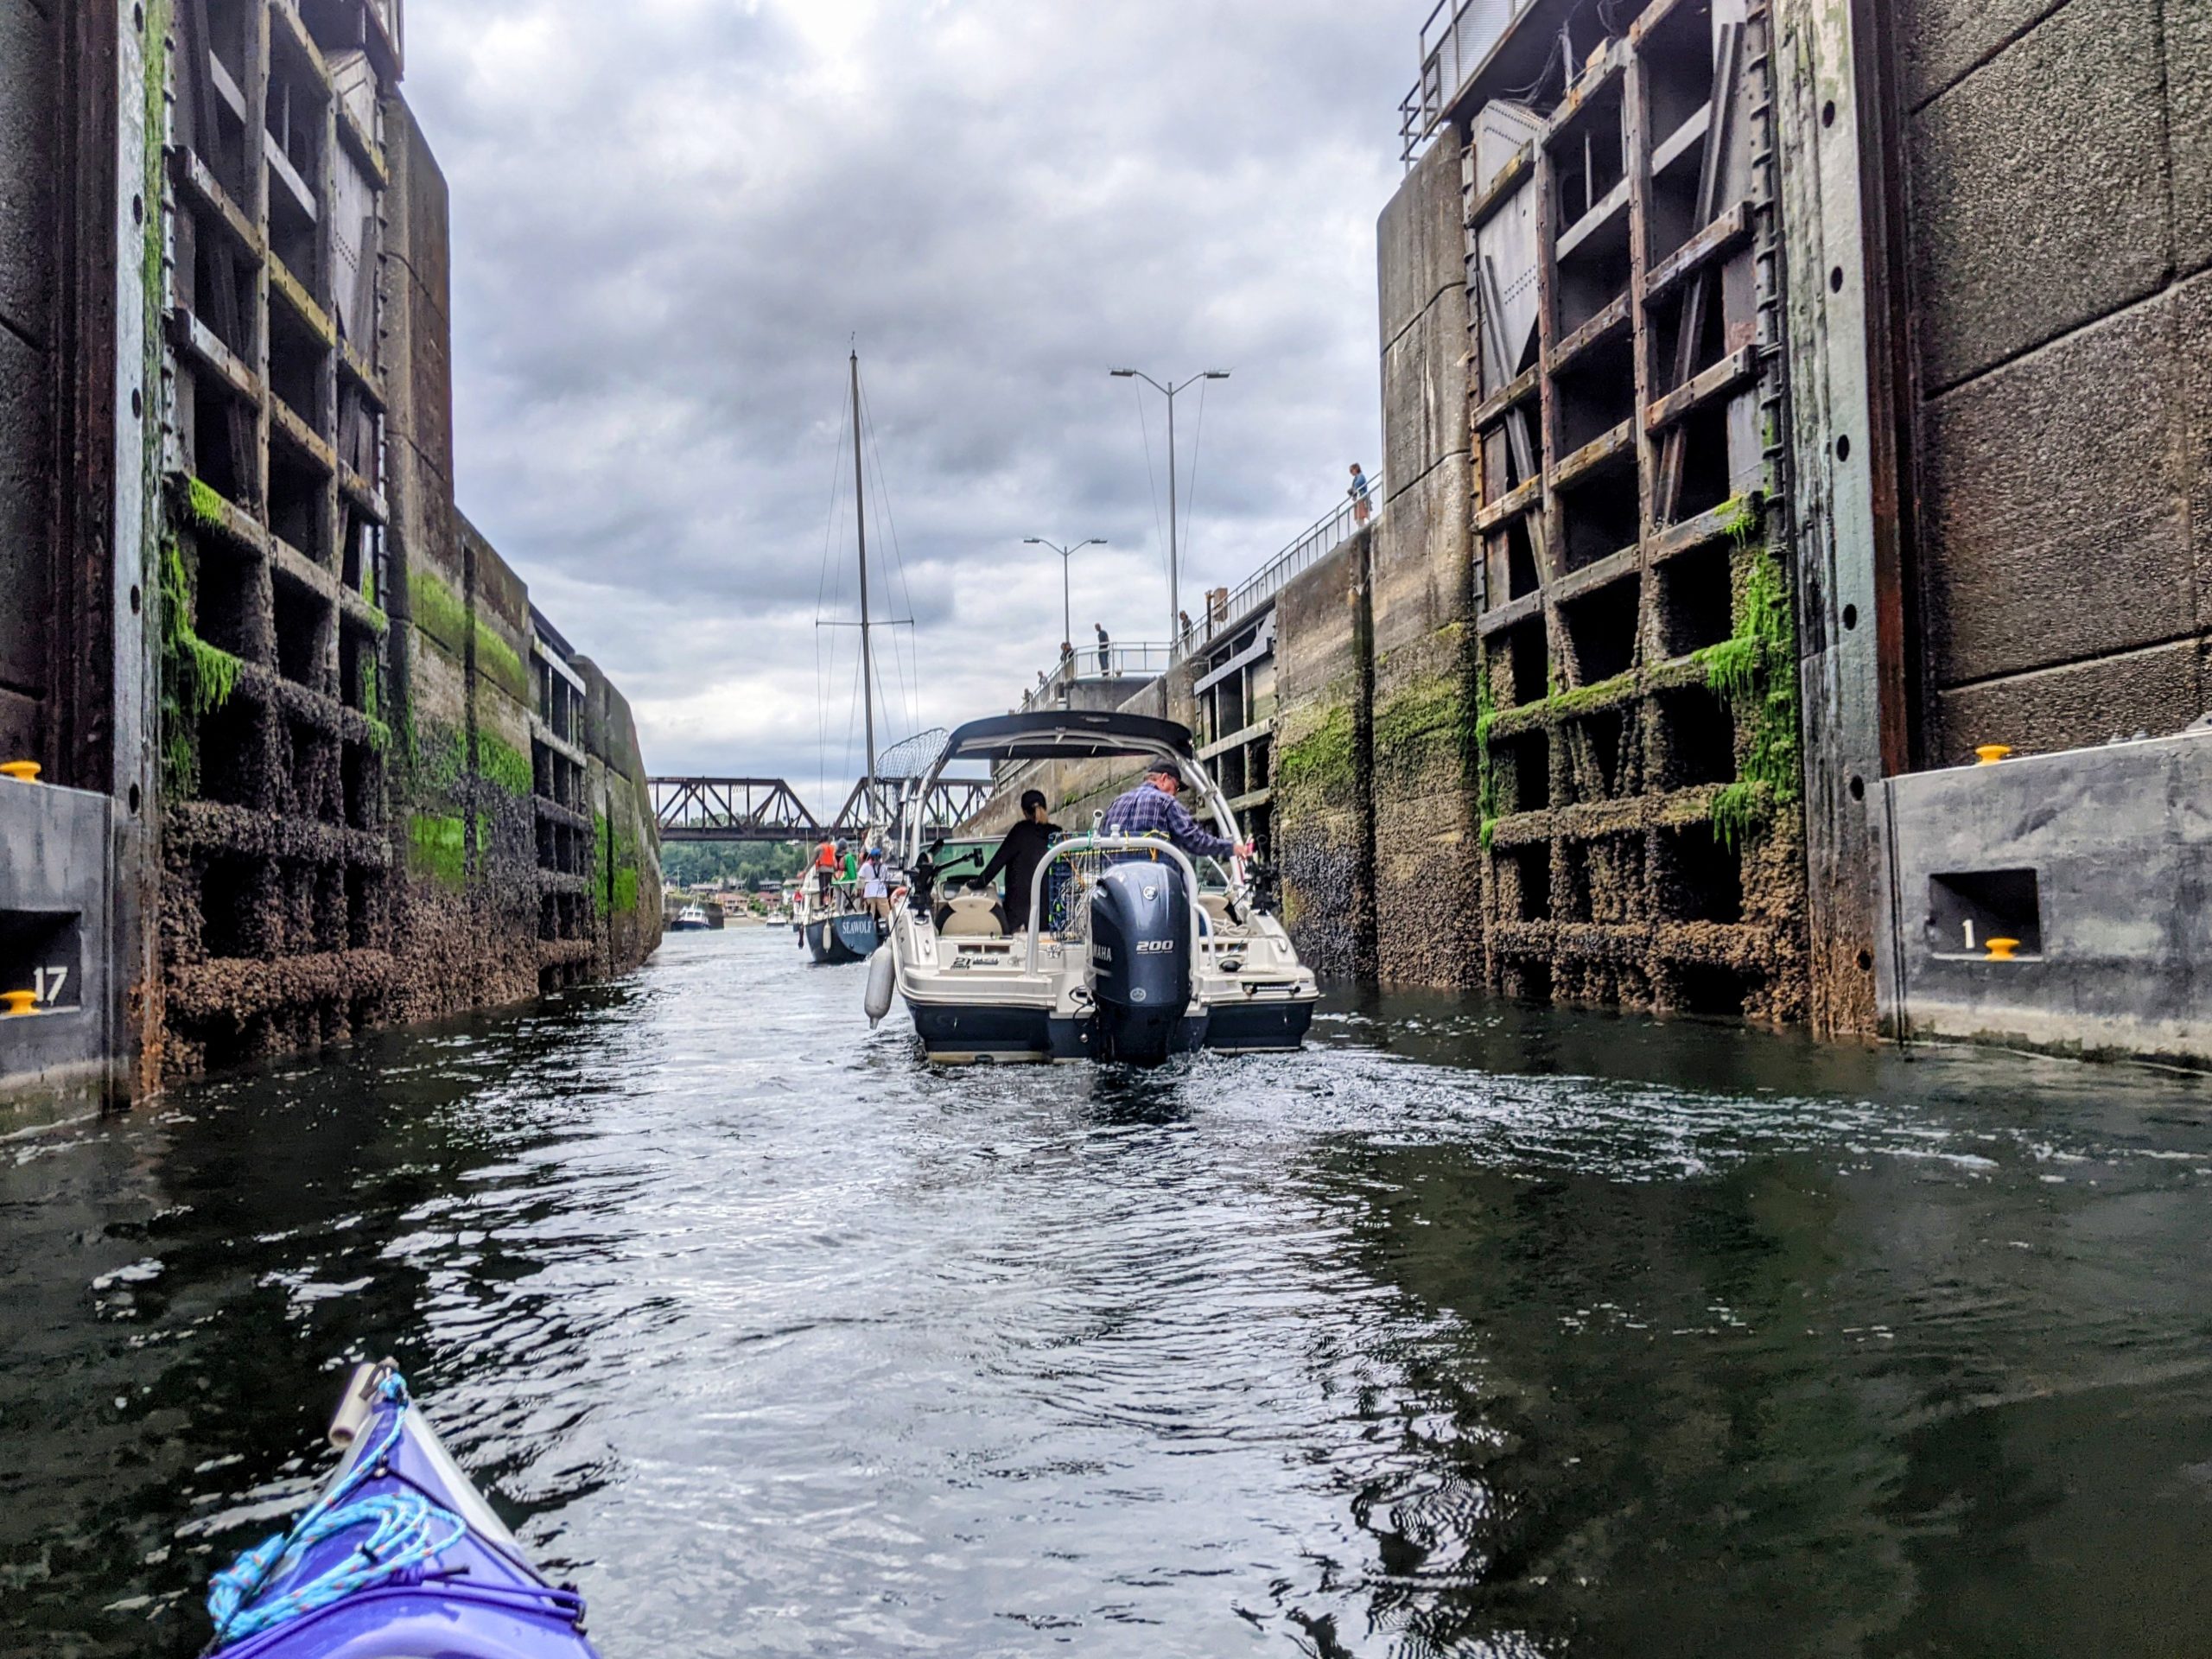
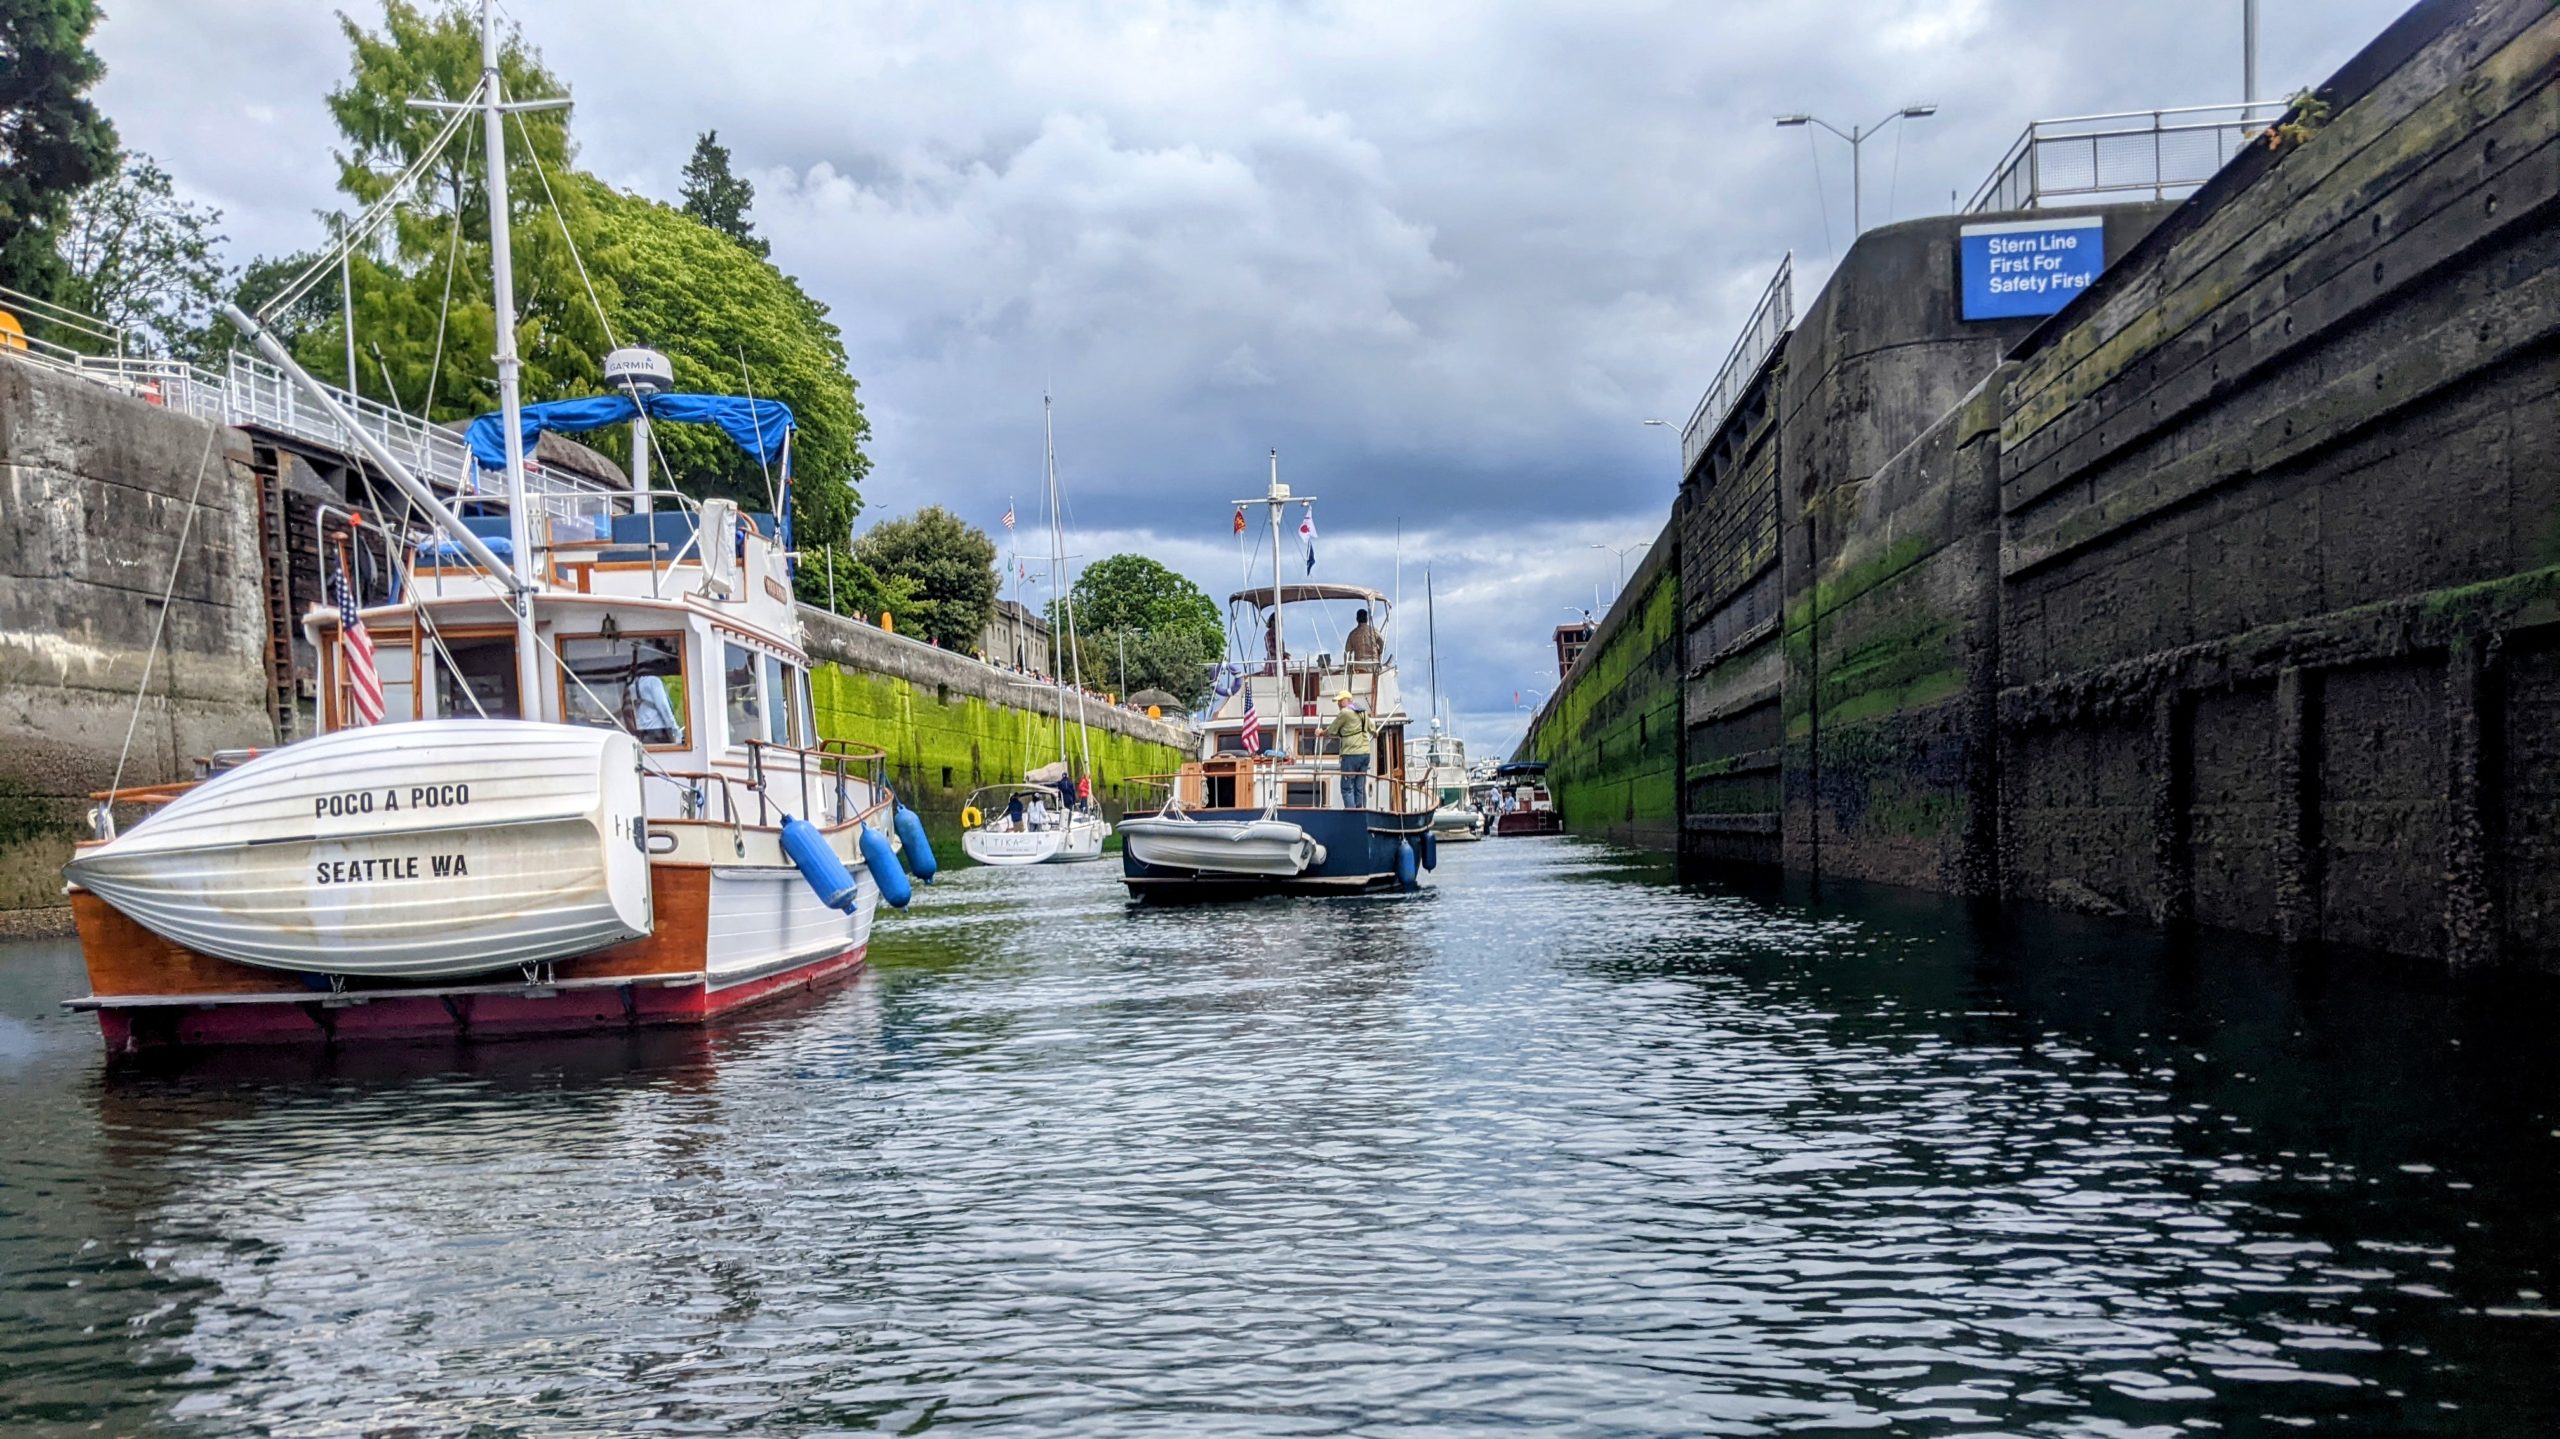
The key element of this route component though are the Ballard Locks, the exchange between the lakes and the Sound. This sounds like it could be intimidating on a kayak, but it’s straightforward. You’re only allowed in the small lock (south side), which has floating walls with paddleboat-level bollards that you just hold onto as the water level goes up or down. The movement is surprisingly subtle, if you closed your eyes and ears it wouldn’t be noticeable, and there’s no current when the doors open. Easy peasy. I was fortunate to spend just a few minutes waiting to get into the lock with three small motorboats.
Approaching the east waiting area for the smaller of the Ballard Locks, pretty much just floating up all “Good day my fellow boaters, I am also a boat that totally belongs here!”
Watching the Argosy go by, a modestly sized sightseeing ship but one of the larger vessels to be in continuous movement around the area, as opposed to the many very large boats that are predominantly docked.


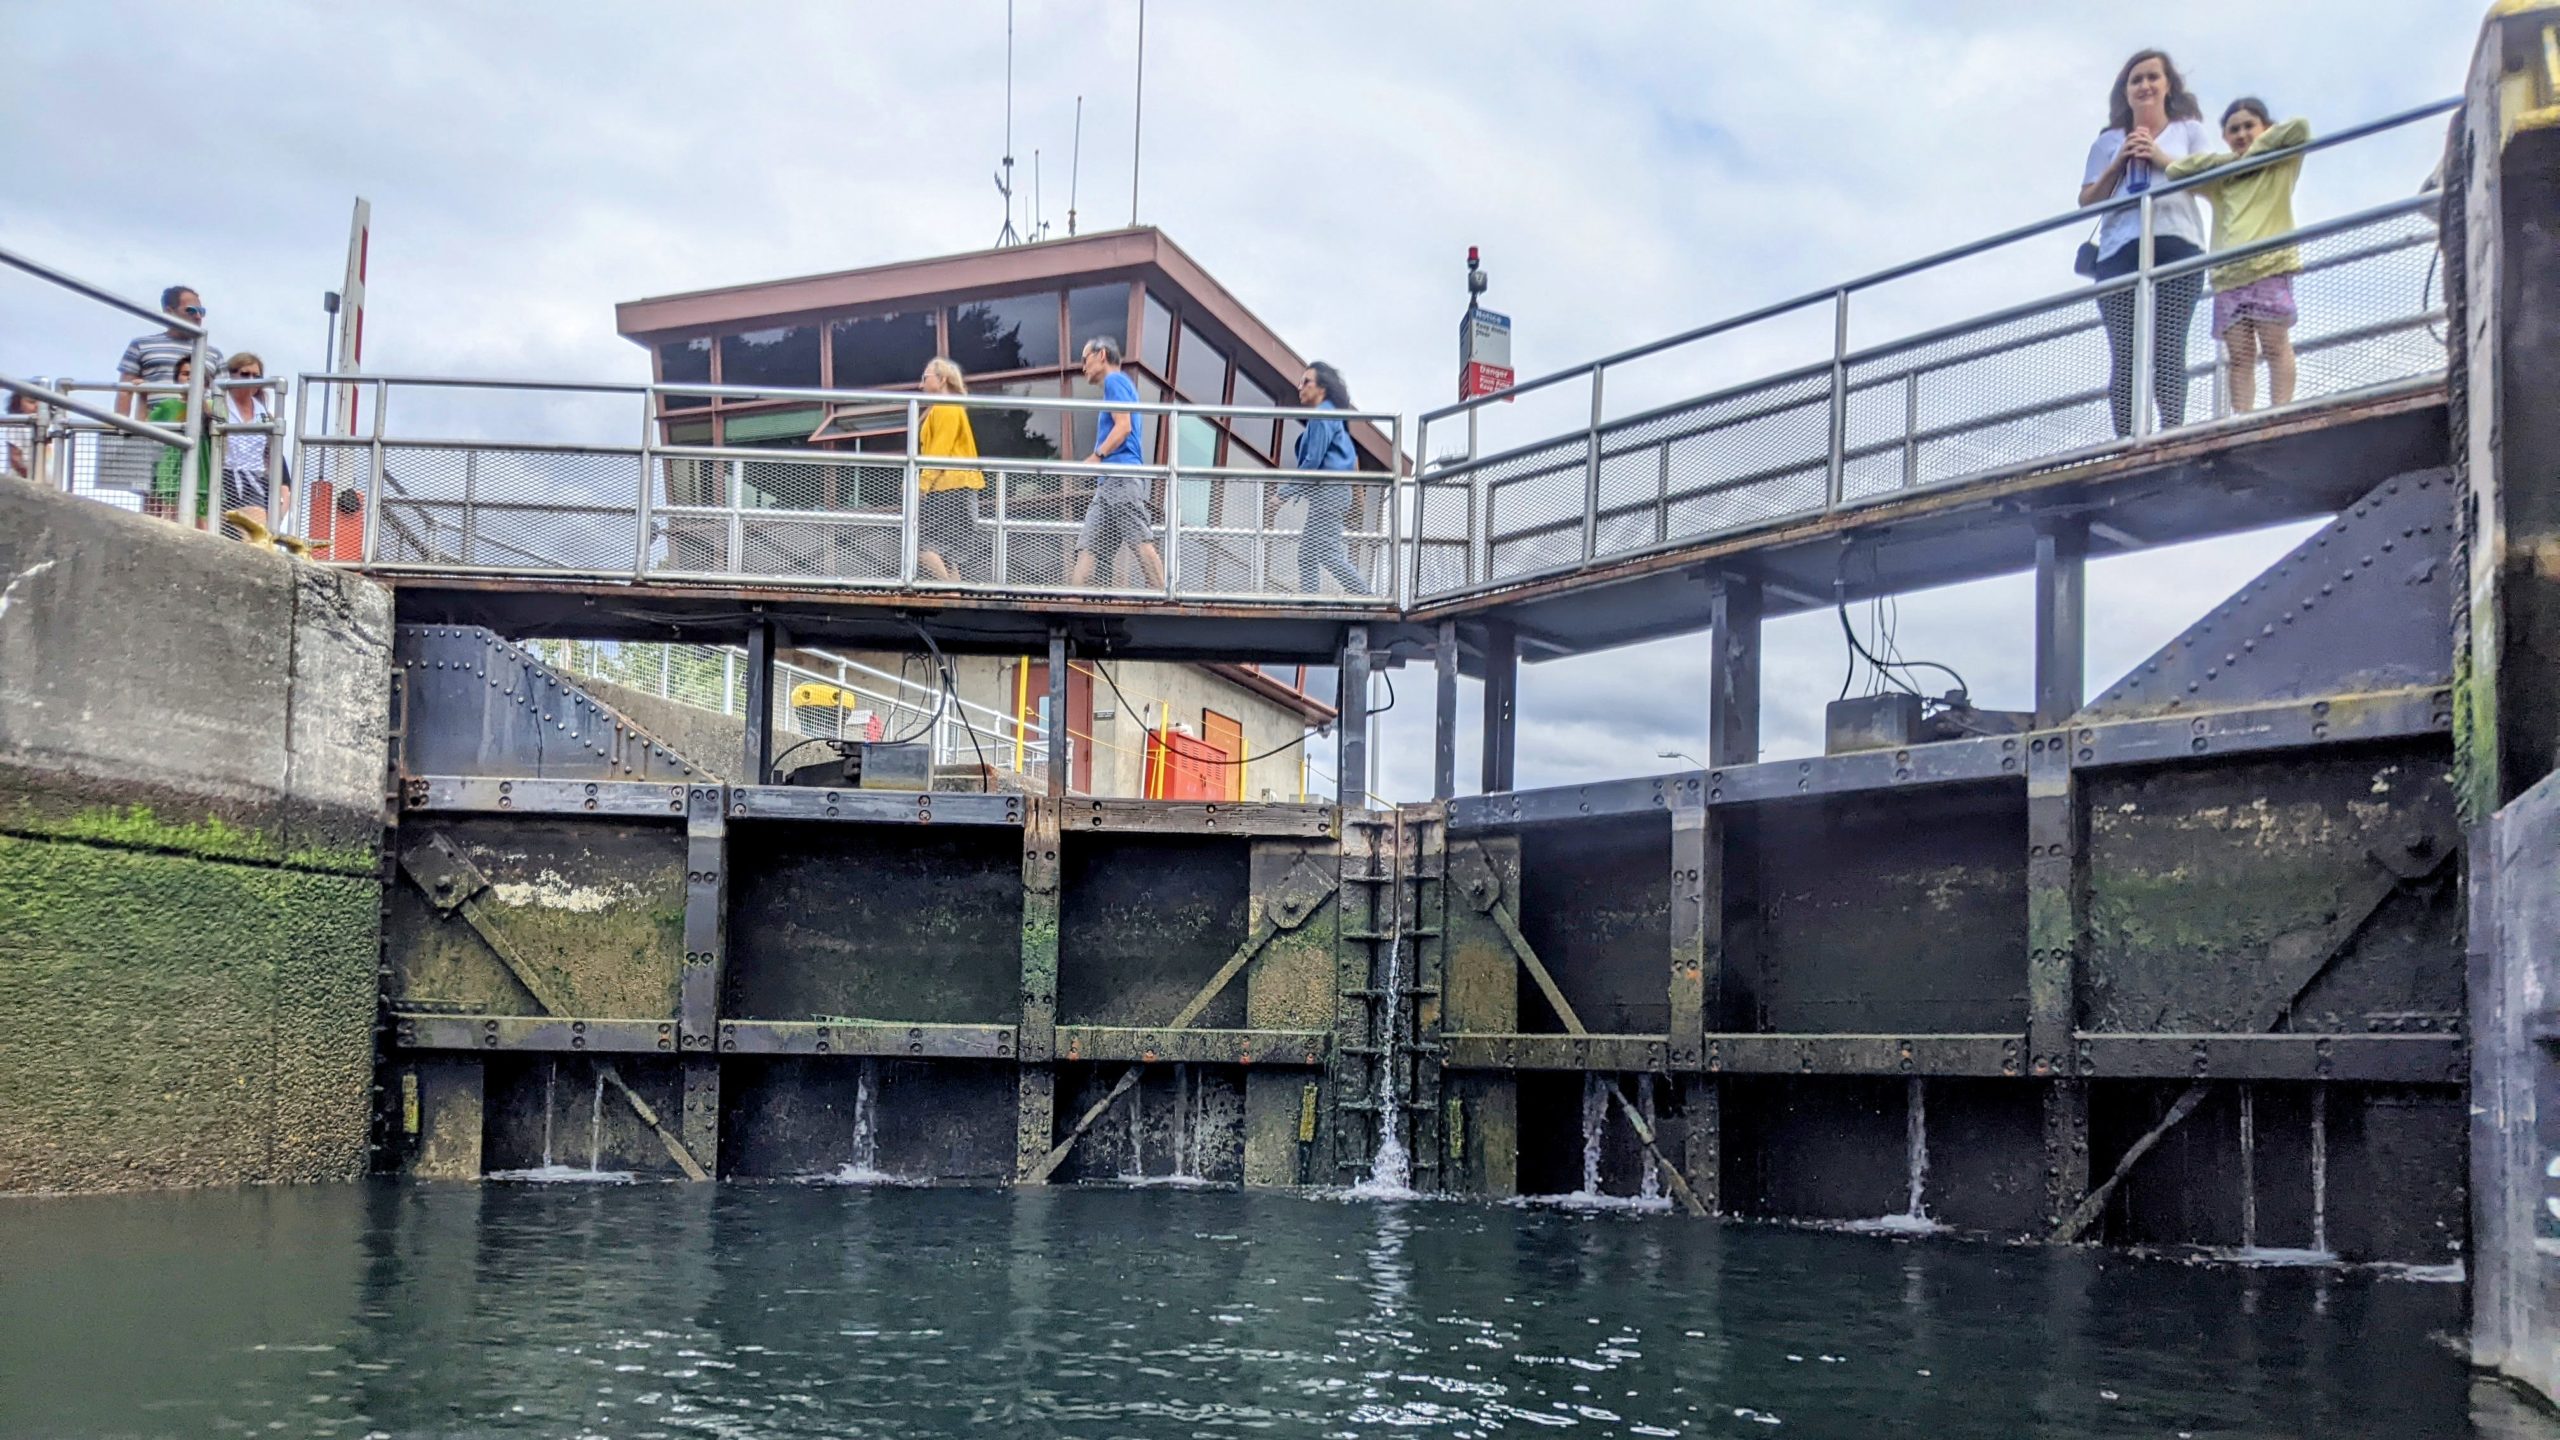
The small lock emptying out.
The west side of the locks is saltwater. There’s an immediate, noticeable water temperature drop, on this day from about 65F to 50F. Upon exiting the lock area you’re in Shilshole Bay, Puget Sound, and the Pacific Ocean.
From the locks I cut north along the shore of Shilshole Bay and through its marina to a break on the beach at Golden Gardens. Coincidentally, slightly earlier in the day my family here went on a beach walk there lead by the Seattle Aquarium , and hung around to catch up with me briefly when I landed. Alice was excited to confirm I was still alive… and then immediately return her attention to some rocks and a tidepool.
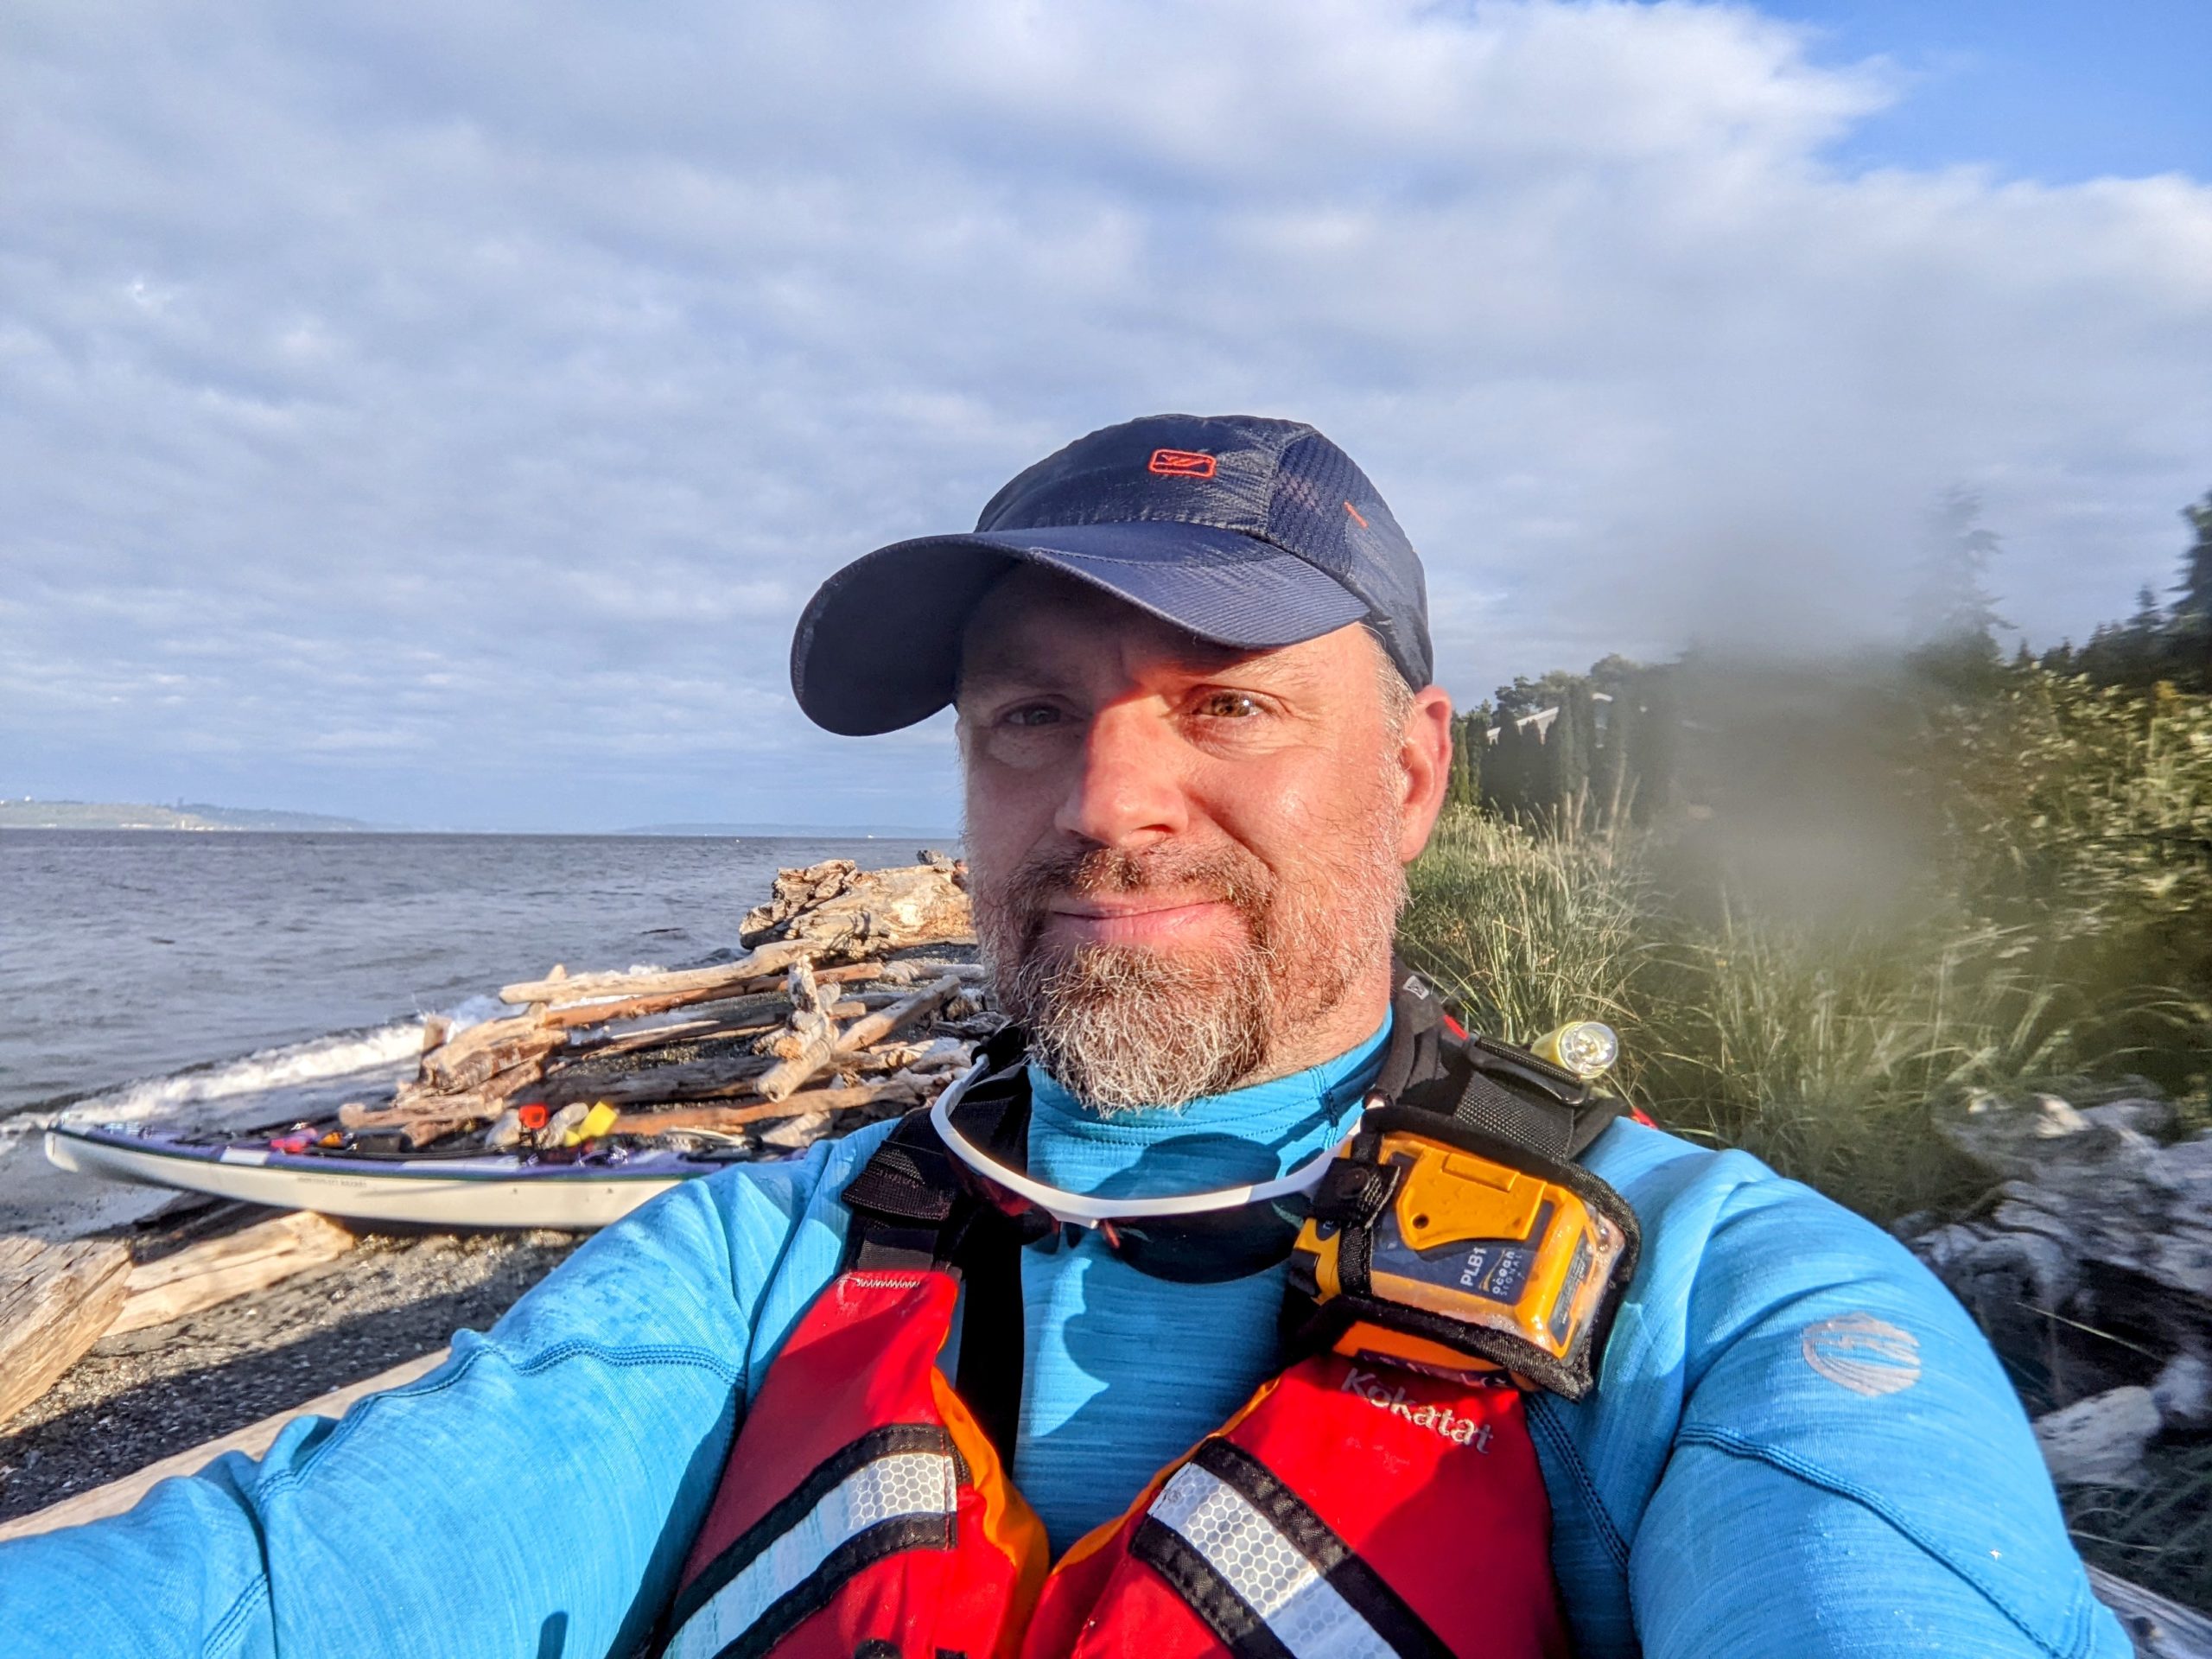
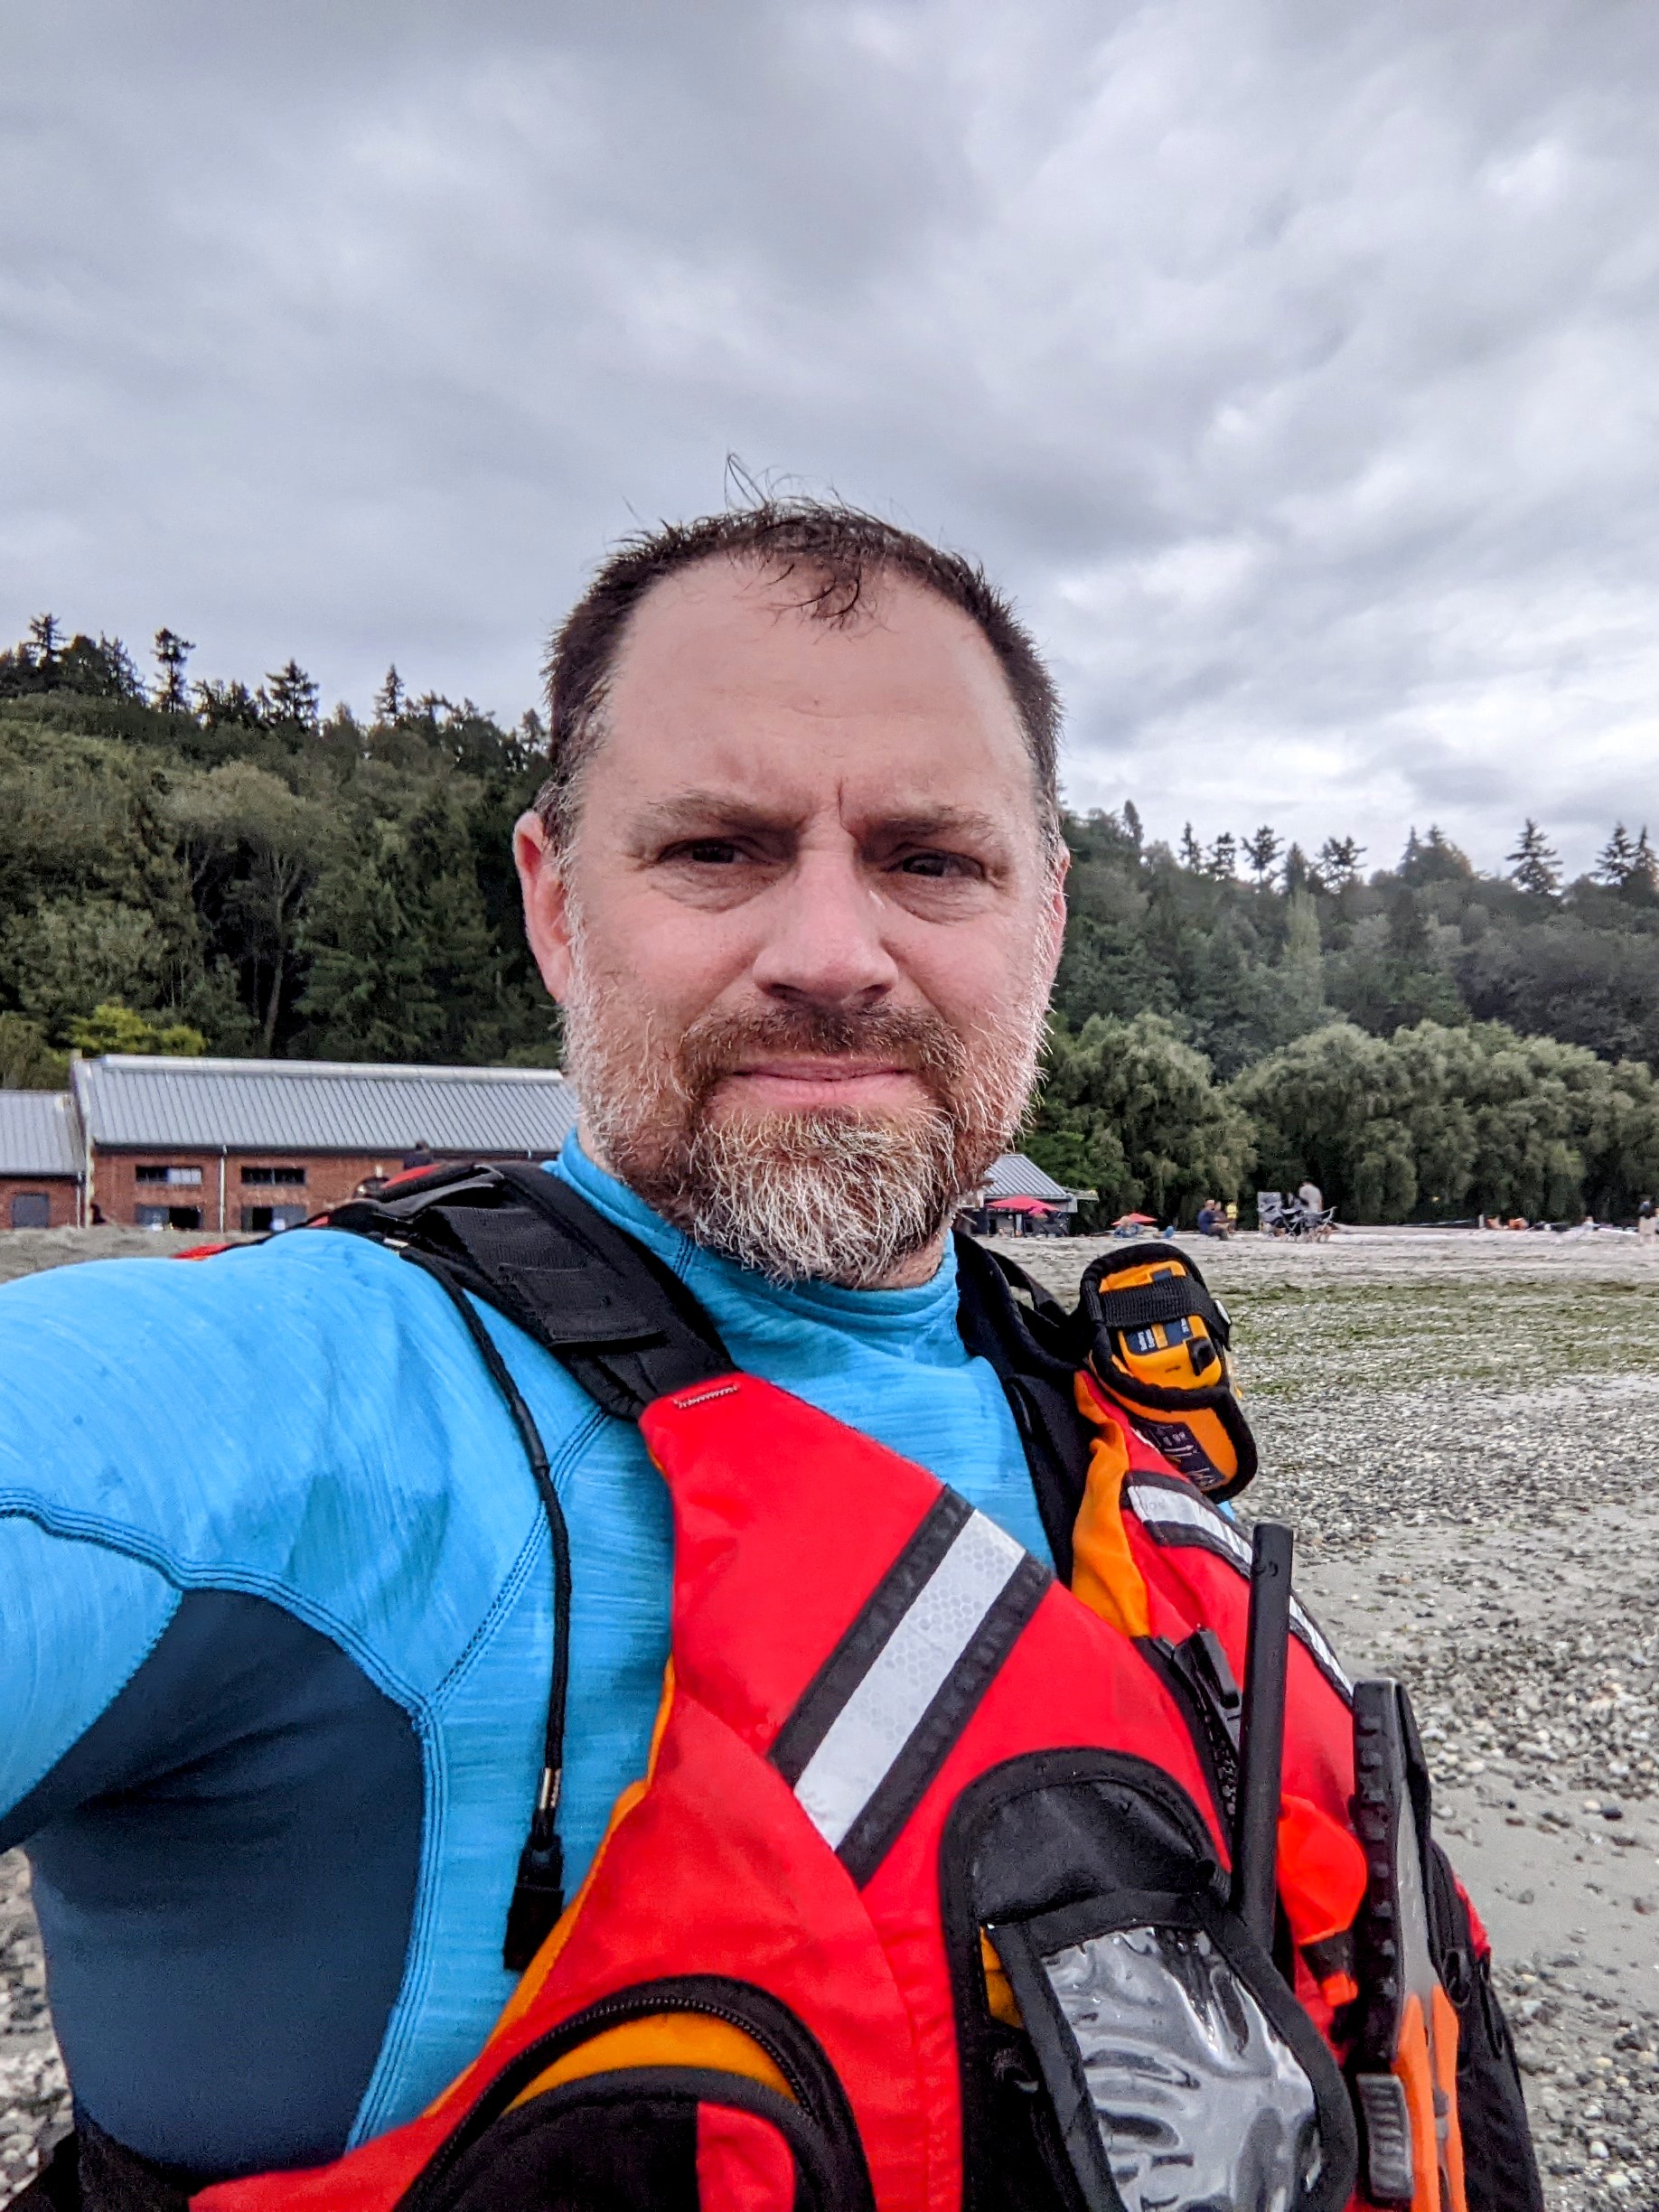
Survival Gear
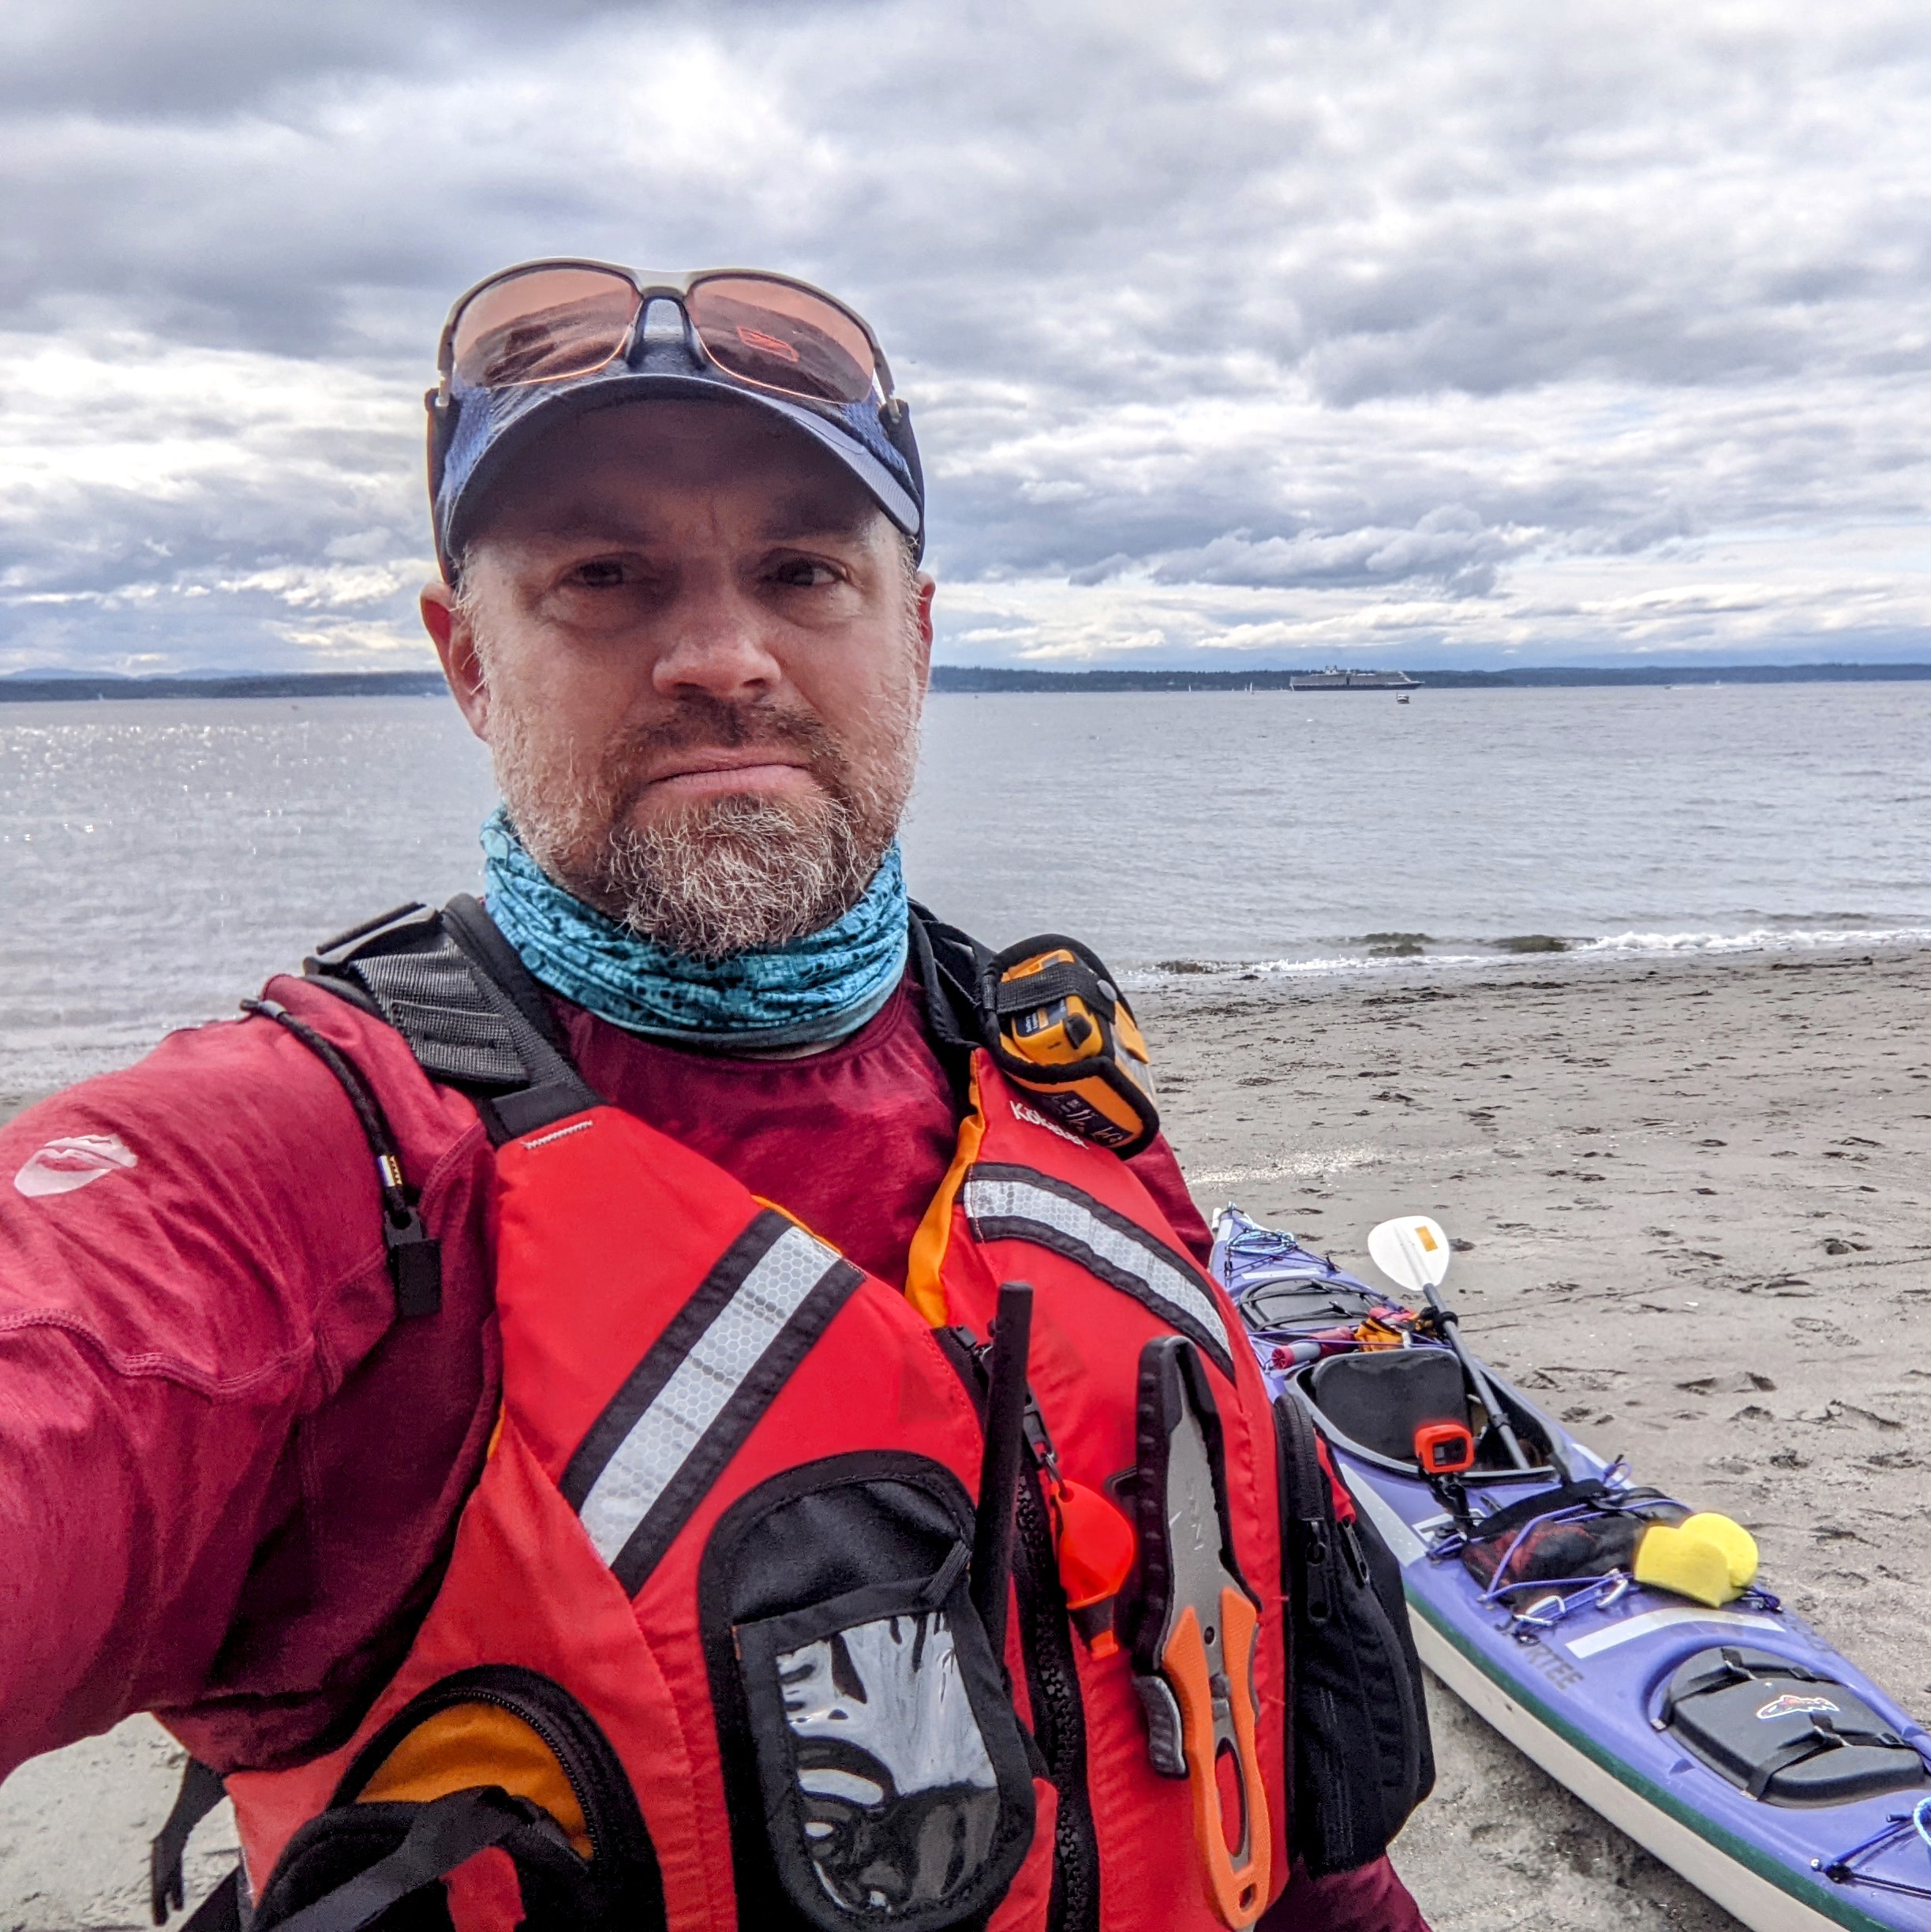
An important activity for me ashore was switching to a heavier top, gloves, and hat for the crossing, more appropriate to the lower 51F water temperature. A quick rundown of the clothes I wear in these conditions and the gear I keep on me directly in case I lose my boat:
- Personal flotation device (PFD)
- 3mm farmer john wetsuit
- Long sleeve 0.5mm wetsuit top
- High-top 3mm wetsuit boots
- Full-finger 0.5mm wetsuit gloves
- Active winter hat or a cap, on a leash clipped to my PFD if necessary
- Sunglasses on a floating strap
- Garmin inReach GPS tracker and satellite communicator
- SARSAT emergency locator beacon
- VHF marine radio monitoring channel 16
- Cellphone in a waterproof enclosure that just barely permits use
- Waterproof LED flashlight / emergency visual beacon
- Whistle
- Compass
- Knife (mostly for cutting away the abundant abandoned fishing line in rivers & lakes back home)
- ID (drivers license), health insurance card, credit card, and some cash in waterproof bag
- Waterproof snacks
- Spray skirt
The wetsuit top and gloves are a bit thin to be comfortable if I was expecting to spend a lot of time in the water at that temperature, but I know they’re enough to keep me functional for a good duration in an emergency. Wearing all this and being sealed inside the kayak while also staying cool paddling strenuously on a warm summer day requires dunking my hat and pouring cold water over myself every few minutes.
Ironically, the one thing missing from this list for prolonged survival is water.

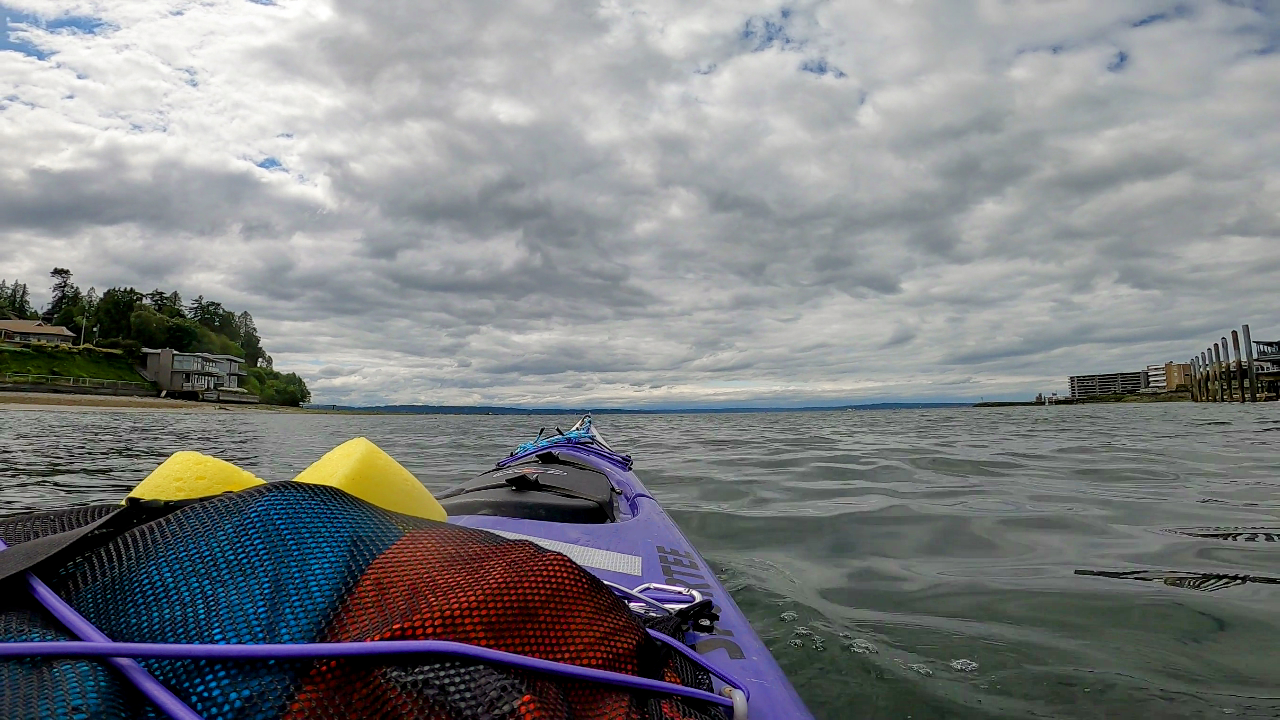
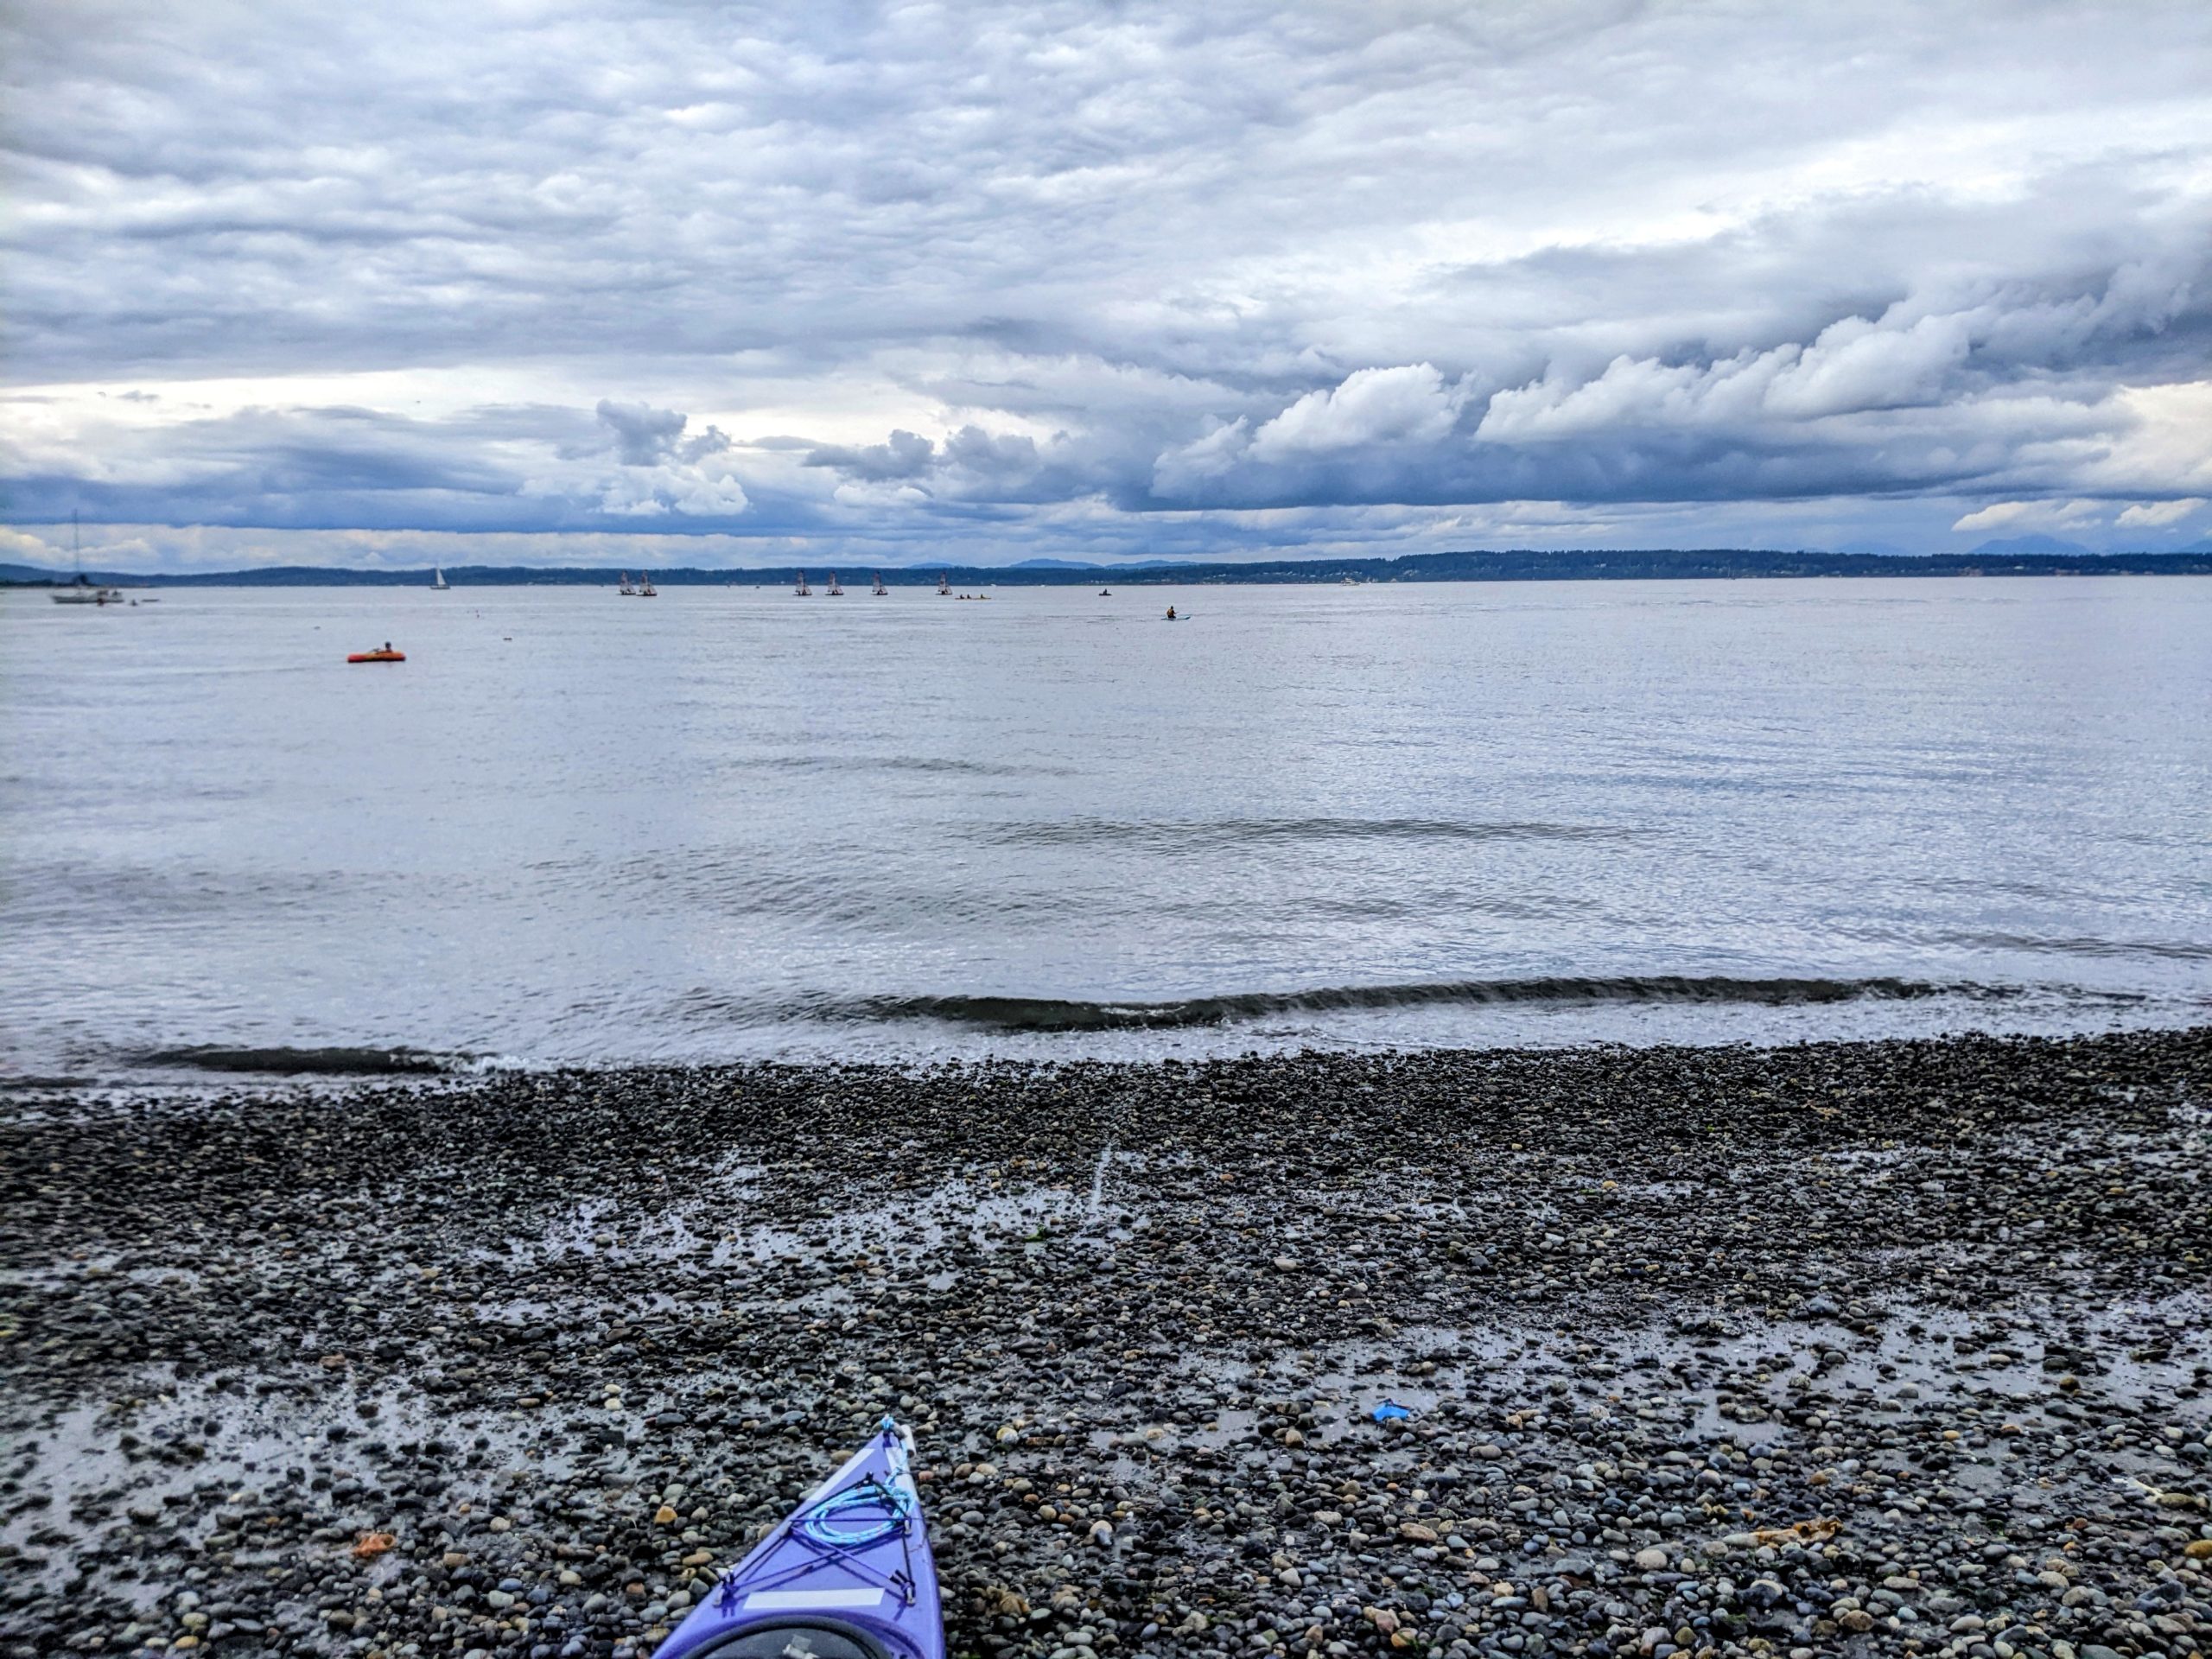
Puget Sound
Last stage, across the Sound.

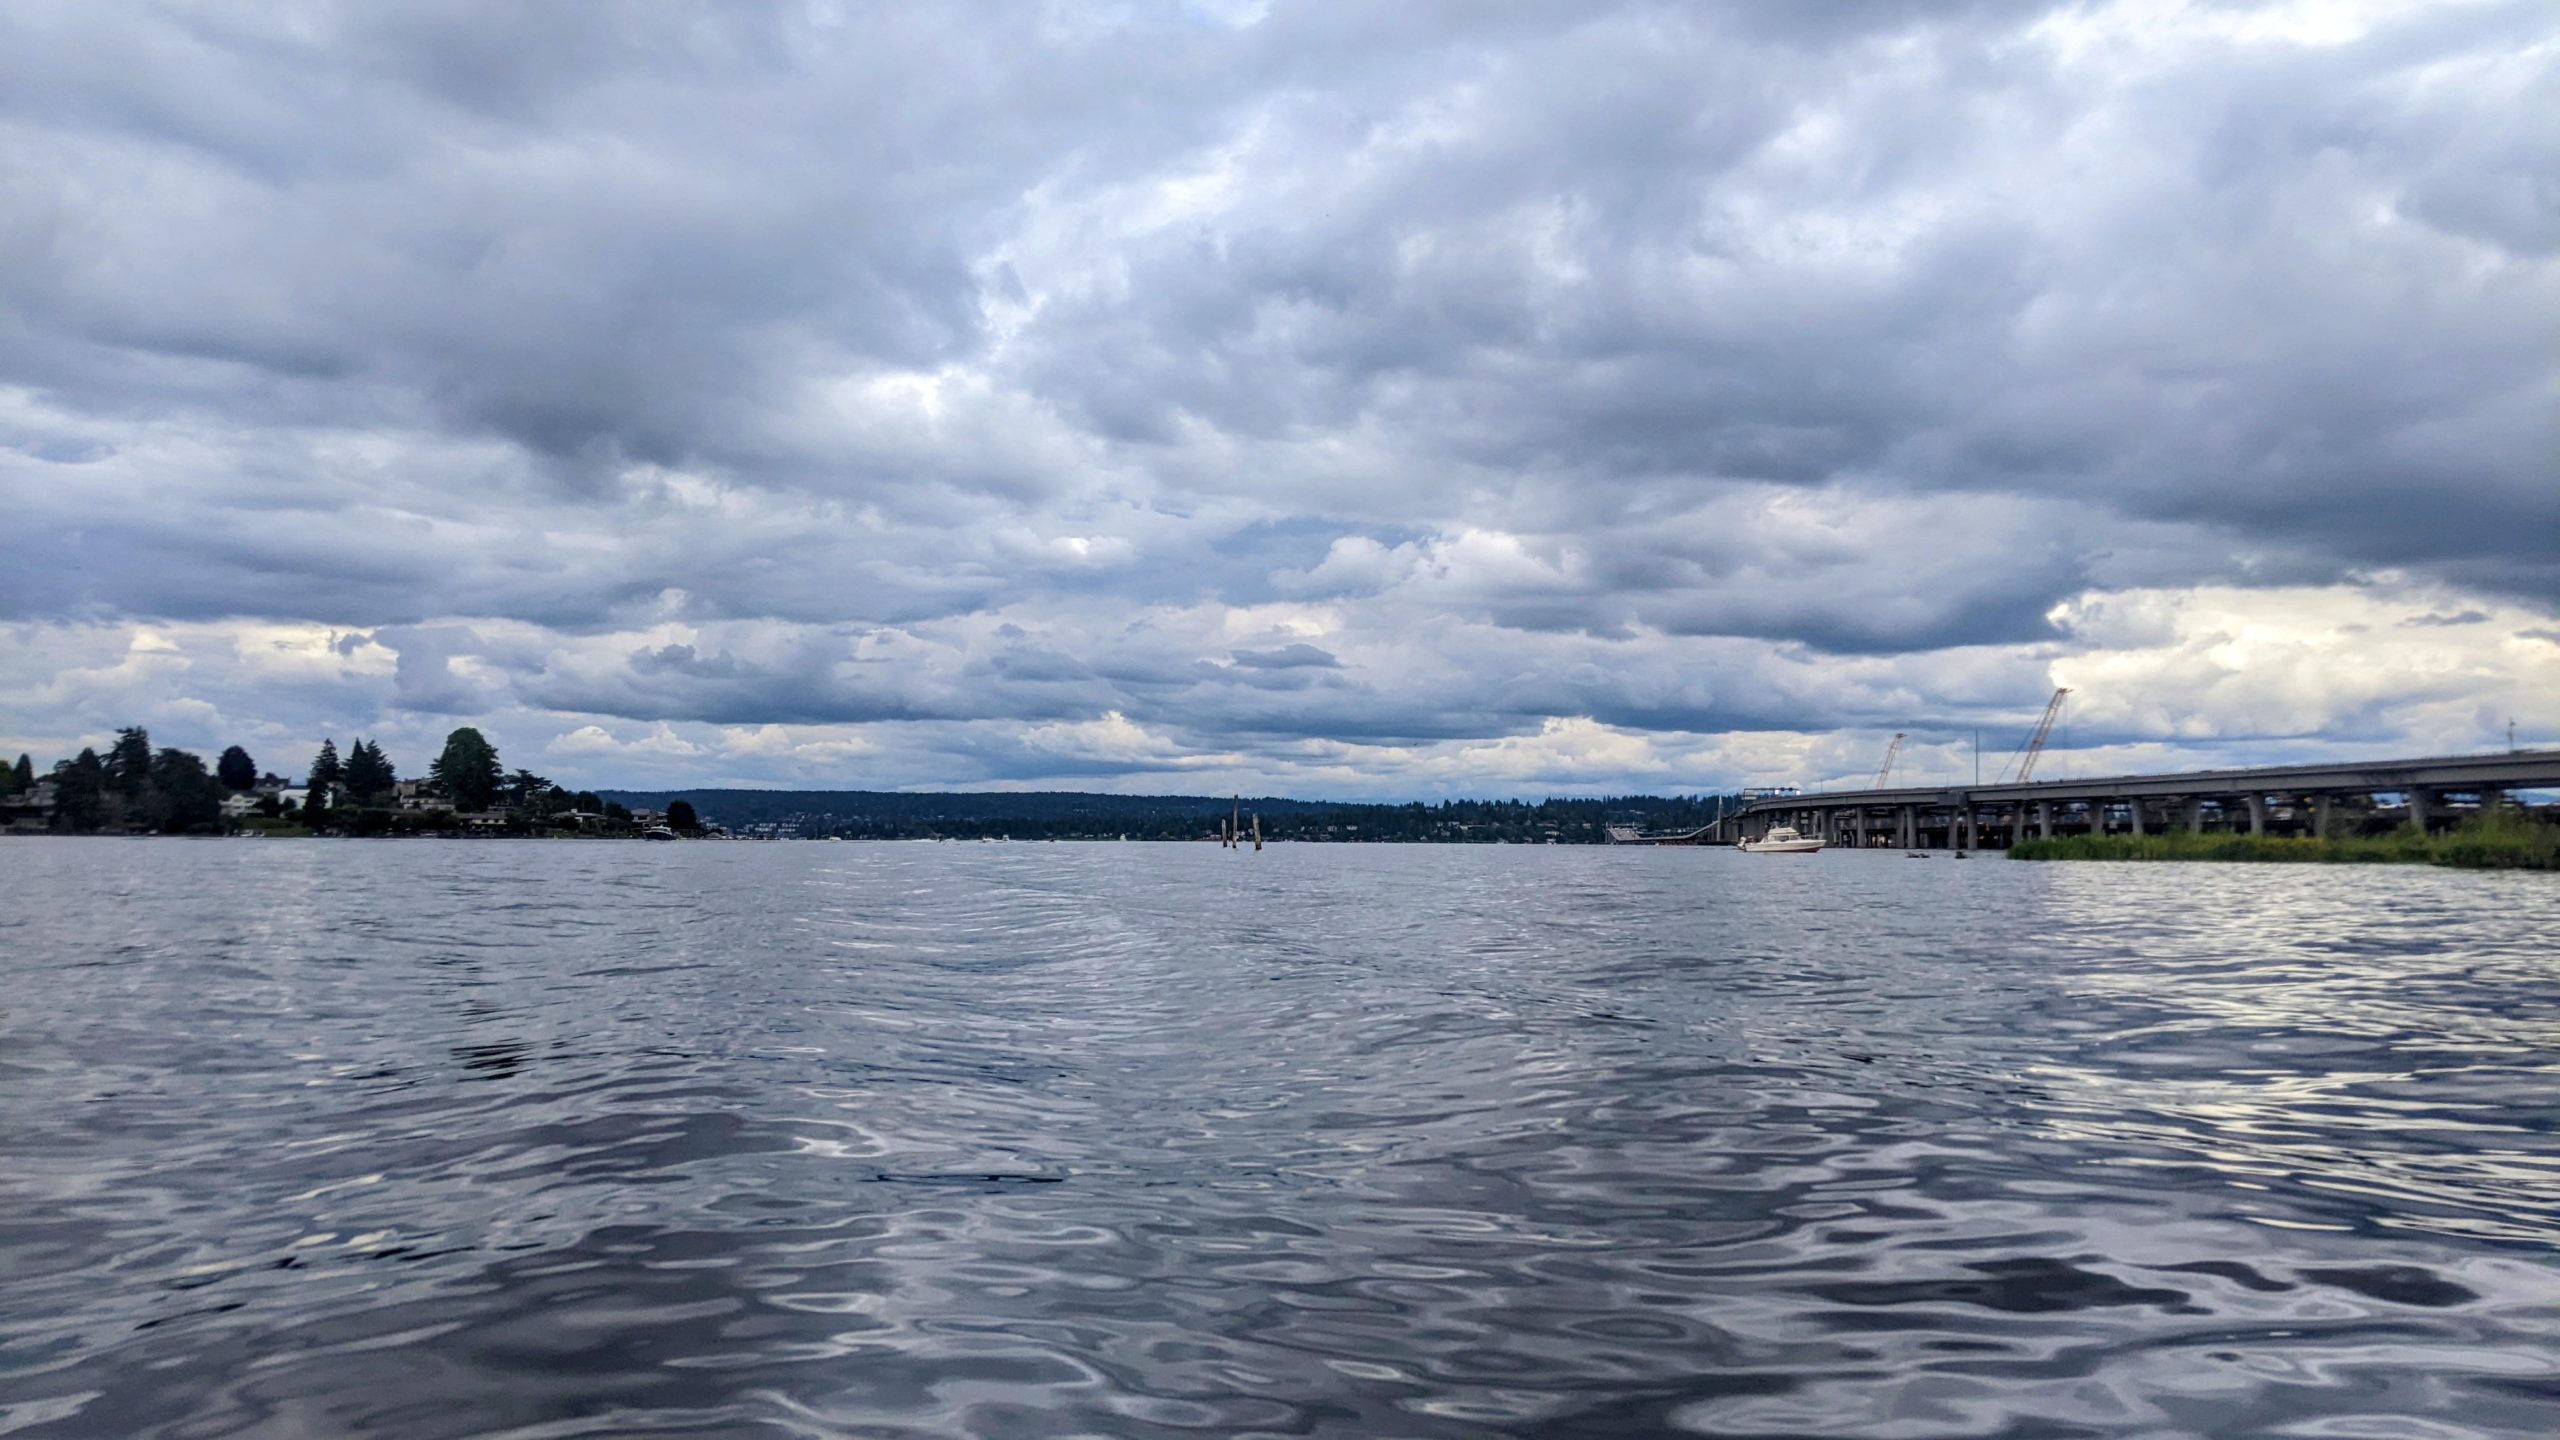
I believe the area of Puget Sound between Shilshole Bay and Bainbridge Island doesn’t have especially strong currents that require careful planning and timing, unlike others. It’s too broad and open. But that doesn’t mean it can’t have significant wind and waves. On this day and at this time both were manageable but definitely noticeable.
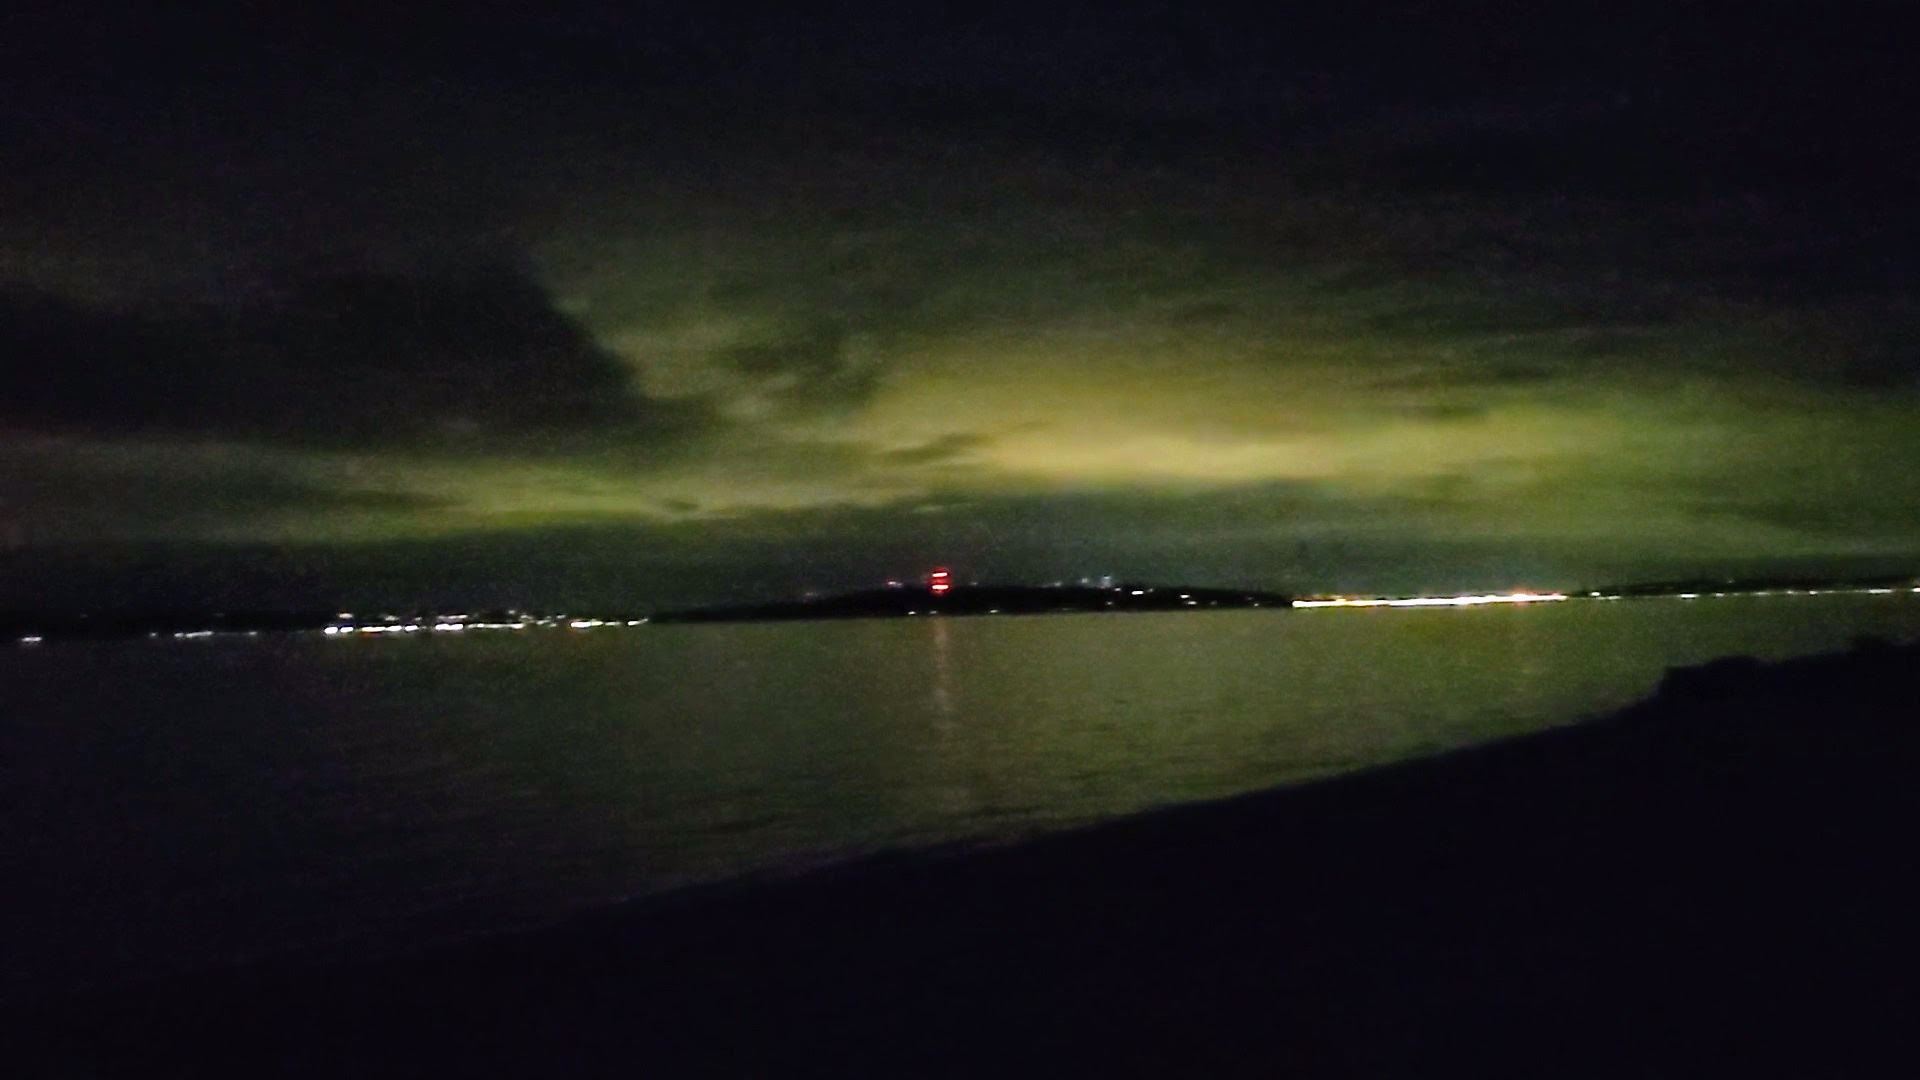
Surf’s up!
Doesn’t seem like much in the video, but it felt like a lot. When I saw the campground caretaker the next day they said they hadn’t even checked the kayak sites because they figured no one was coming across with how rough the water was. Enough so in fact that I wound up not going directly to Bainbridge Island.
What I felt to be the safest and easiest bearing, reasonably bow on to the prevailing waves and wind, put me going northwest toward Indianola. The plan was to follow that across the shipping lanes and then deflect southwest to the campground. But the conditions didn’t let up until I was far across; I did not want to ride across or with those waves; I couldn’t see much at all to the west in the sun glare; I needed to eat, drink, and get my bearings & couldn’t easily in those conditions; and I was somewhat shell shocked after 60+ minutes of pushing through waves, so I acceded to some tunnel vision: “This (bearing) is working, so I’mma just keep on doing it.” After touching land on Indianola I regrouped quickly, pivoted south-southwest, and scooted across to Bainbridge Island.
In all, this detour added 3.5–4 miles to the trip, but not as much time or effort as it’d seem. The gap between Indianola and Bainbridge was very calm, and very quick with the wind somewhat at my back. The bearing to Indianola also let me paddle more efficiently than I would have going straight across or pivoting halfway across the sound. At this point I’m not totally sure how to assess this decision making. That’s a significant percentage of bonus miles. But not much more effort, and it felt a lot safer and much more assured than the direct path.
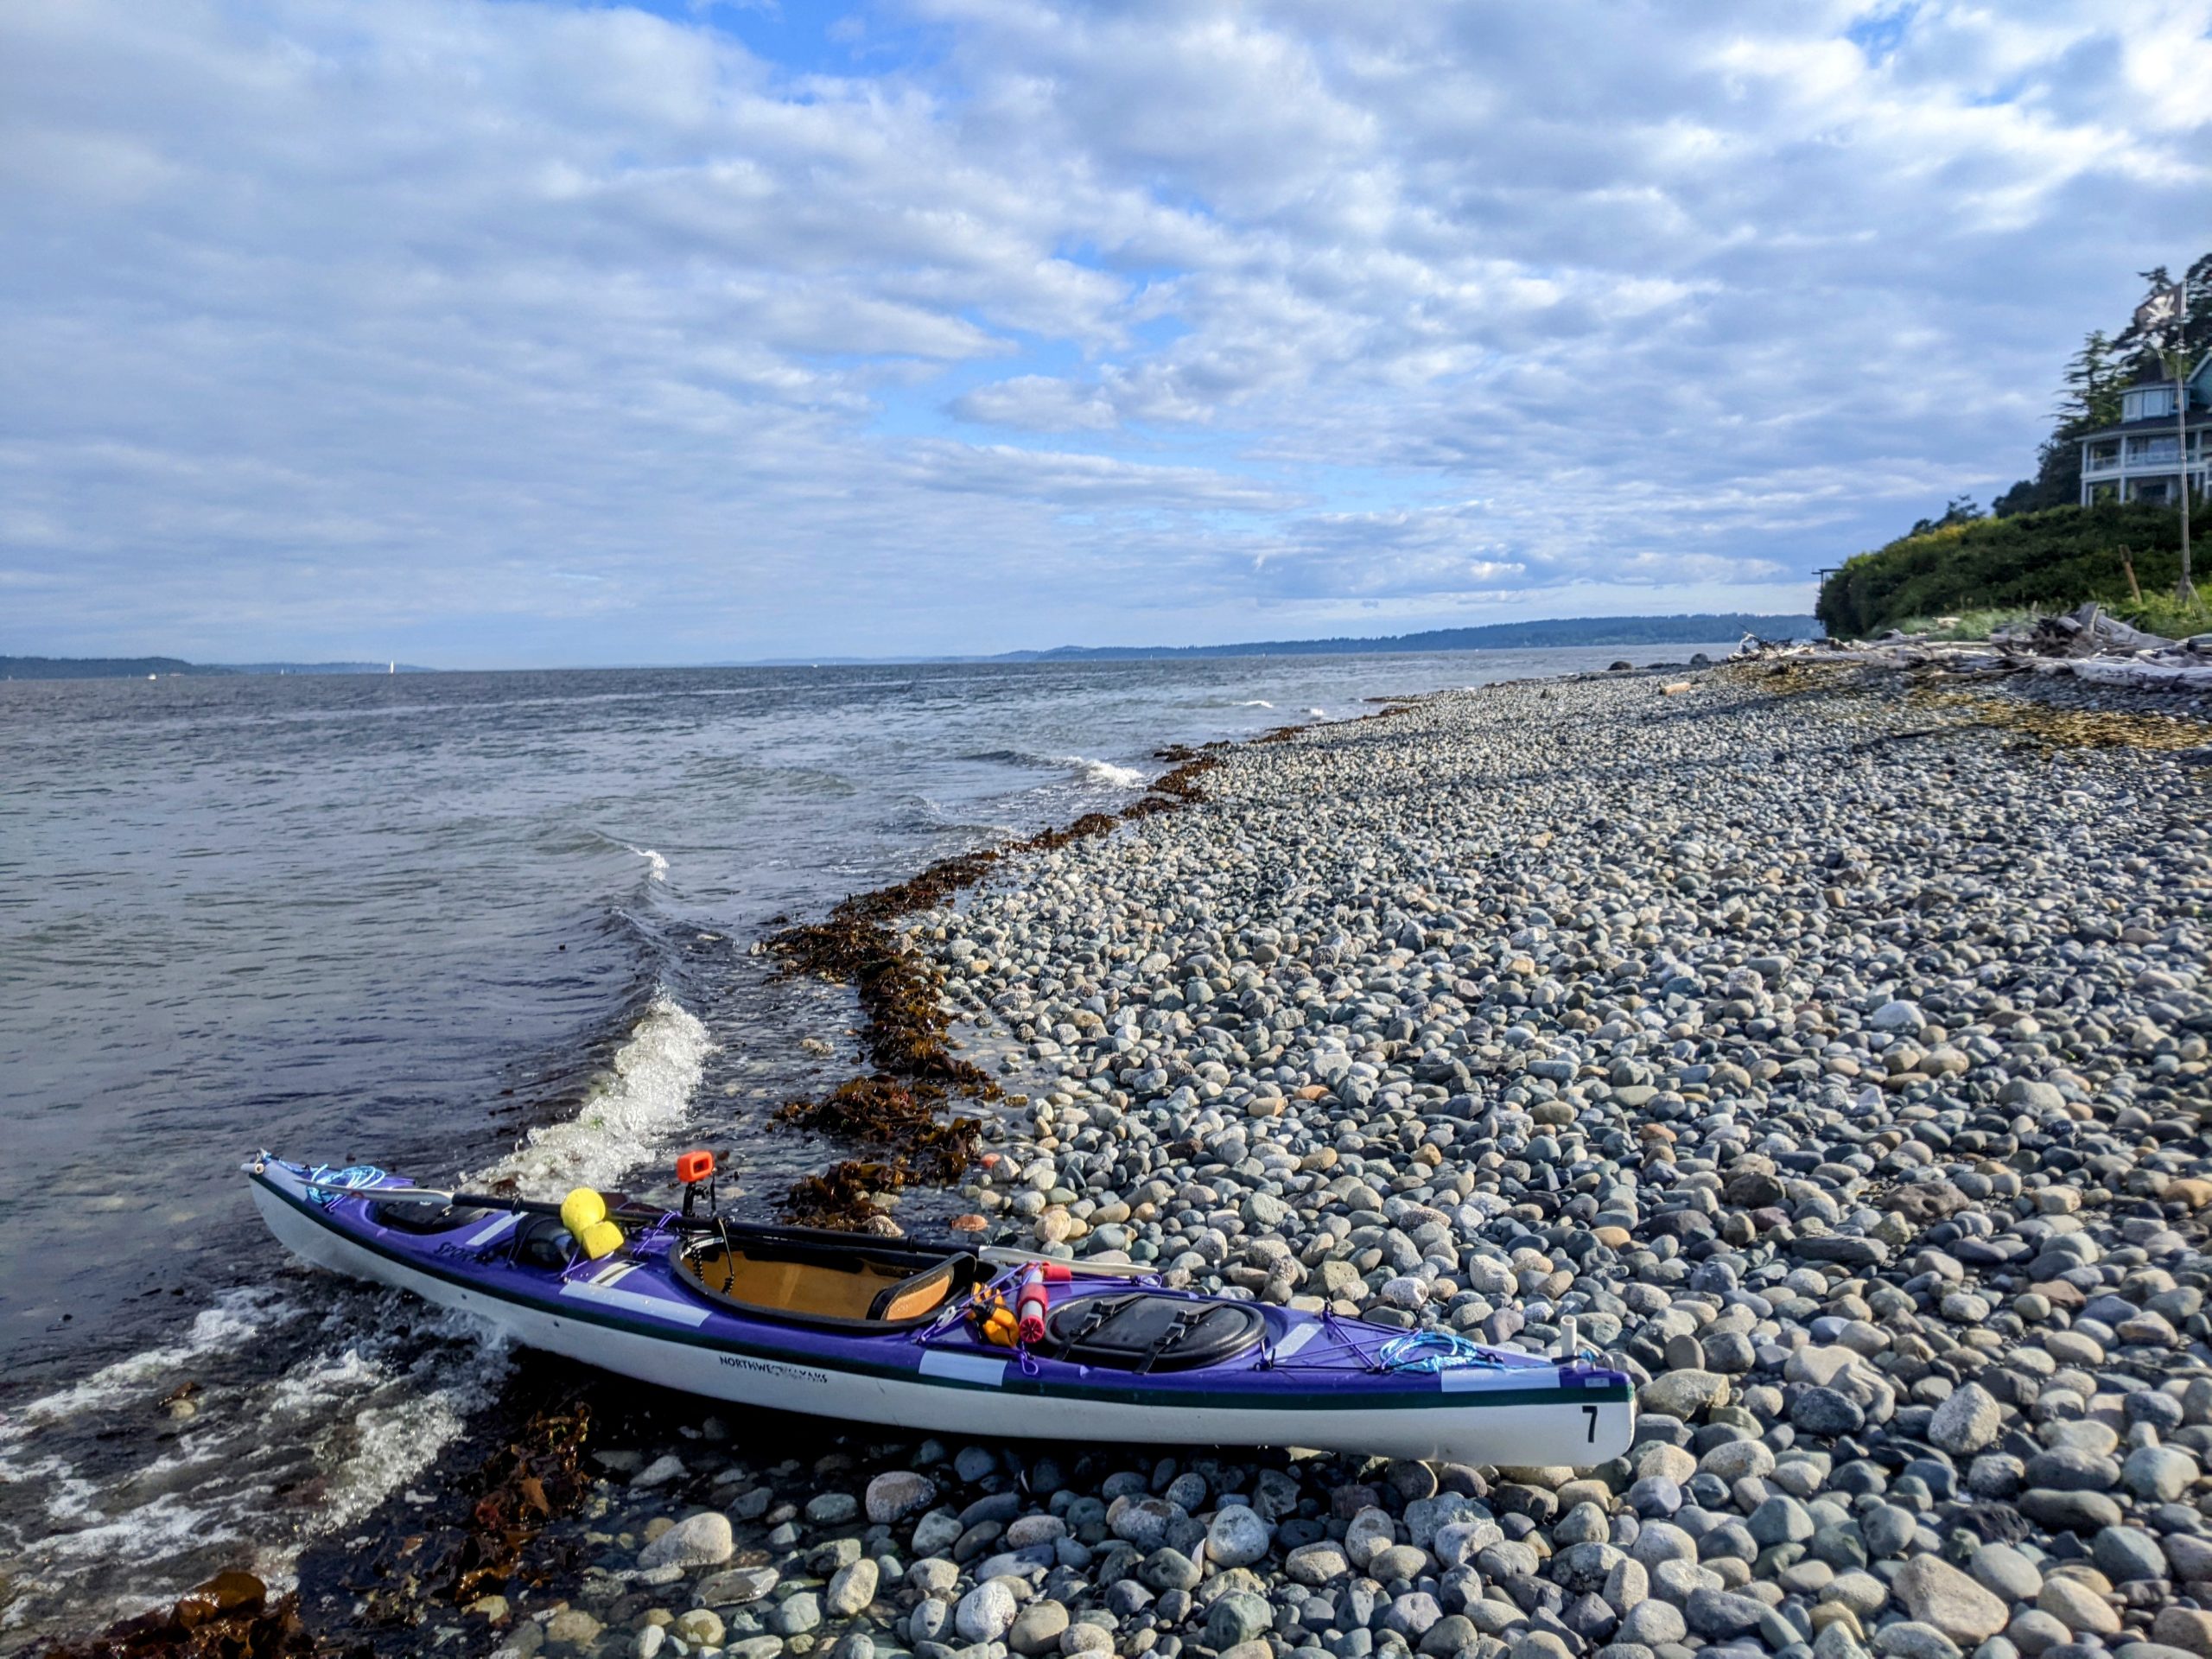

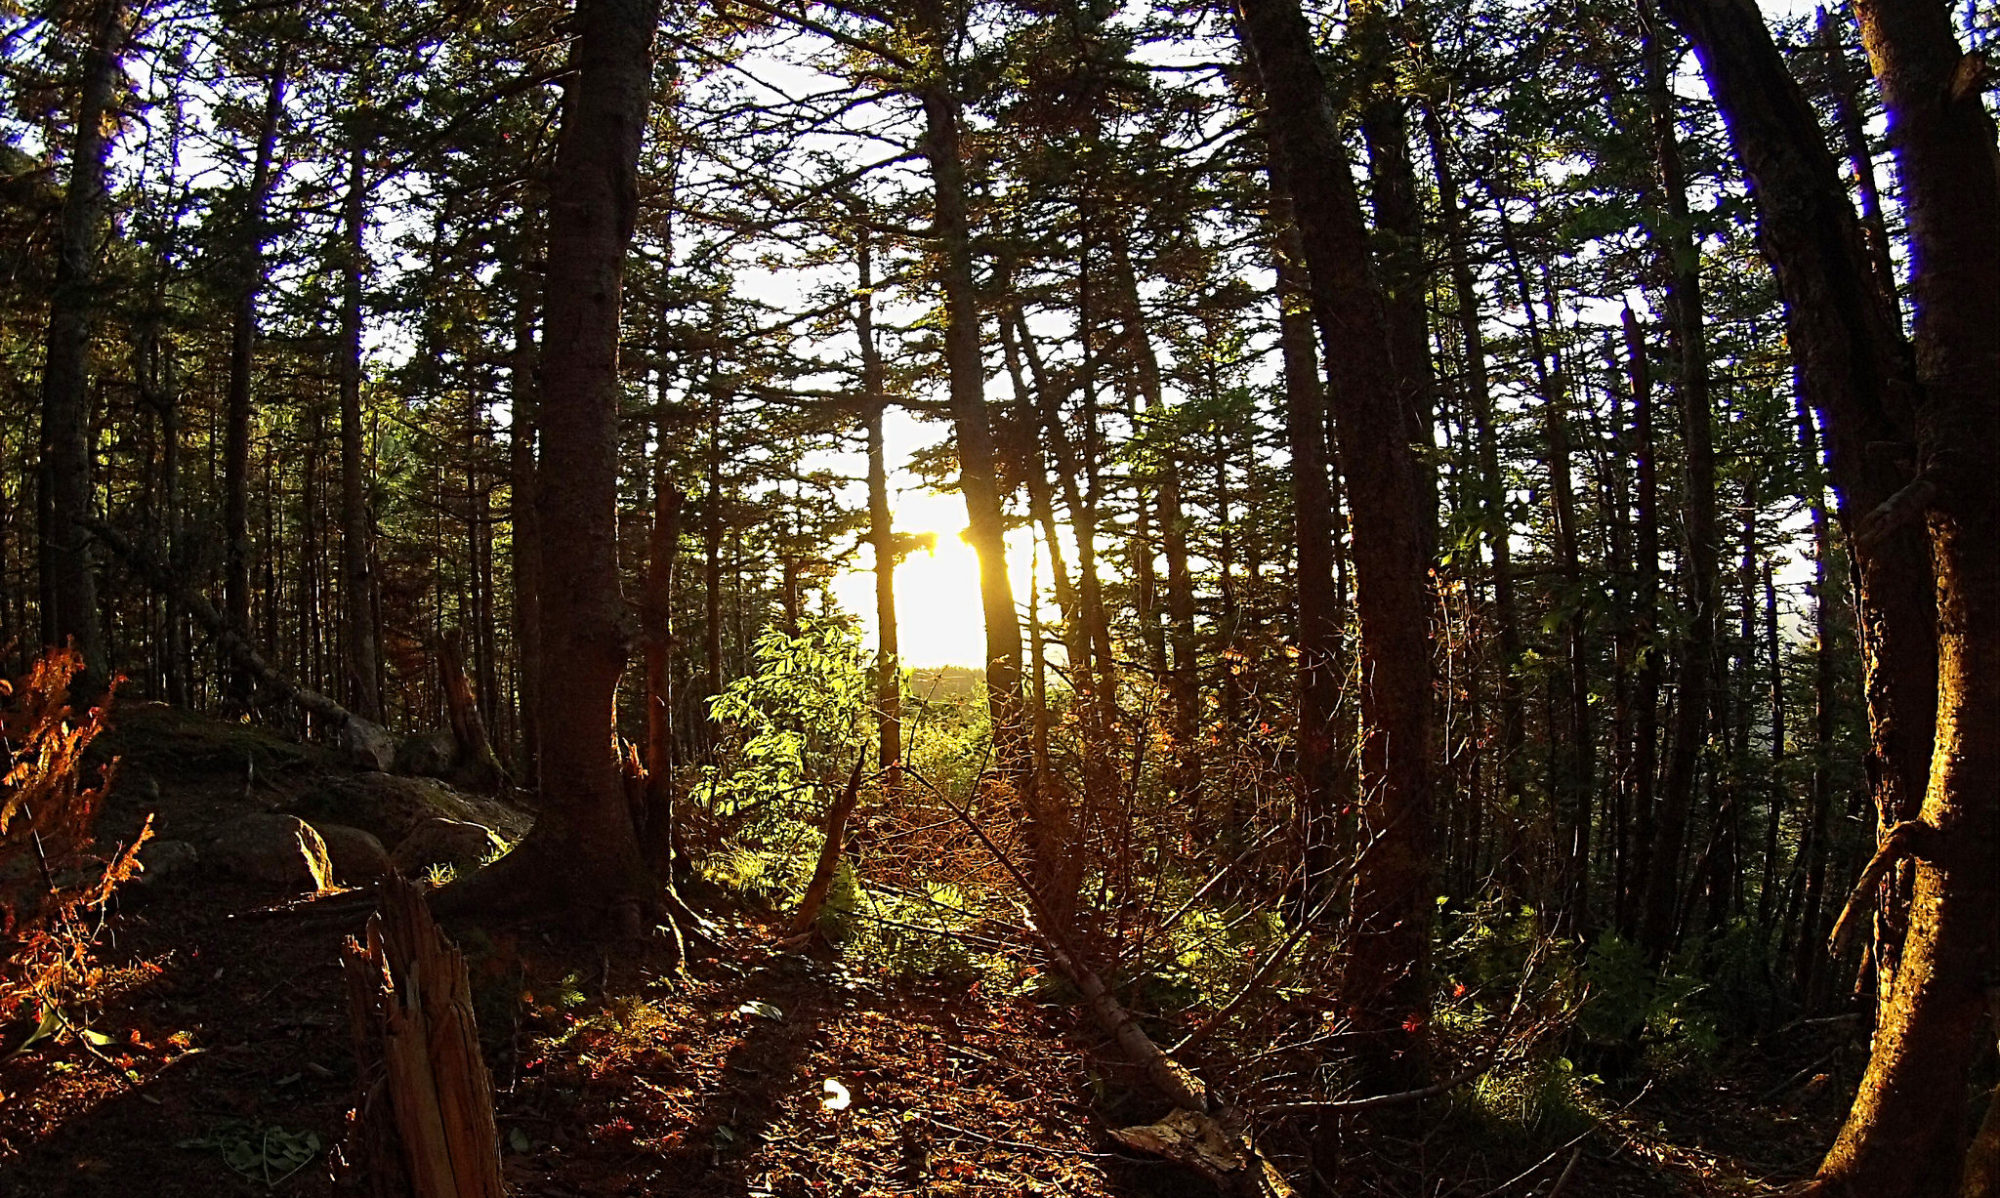
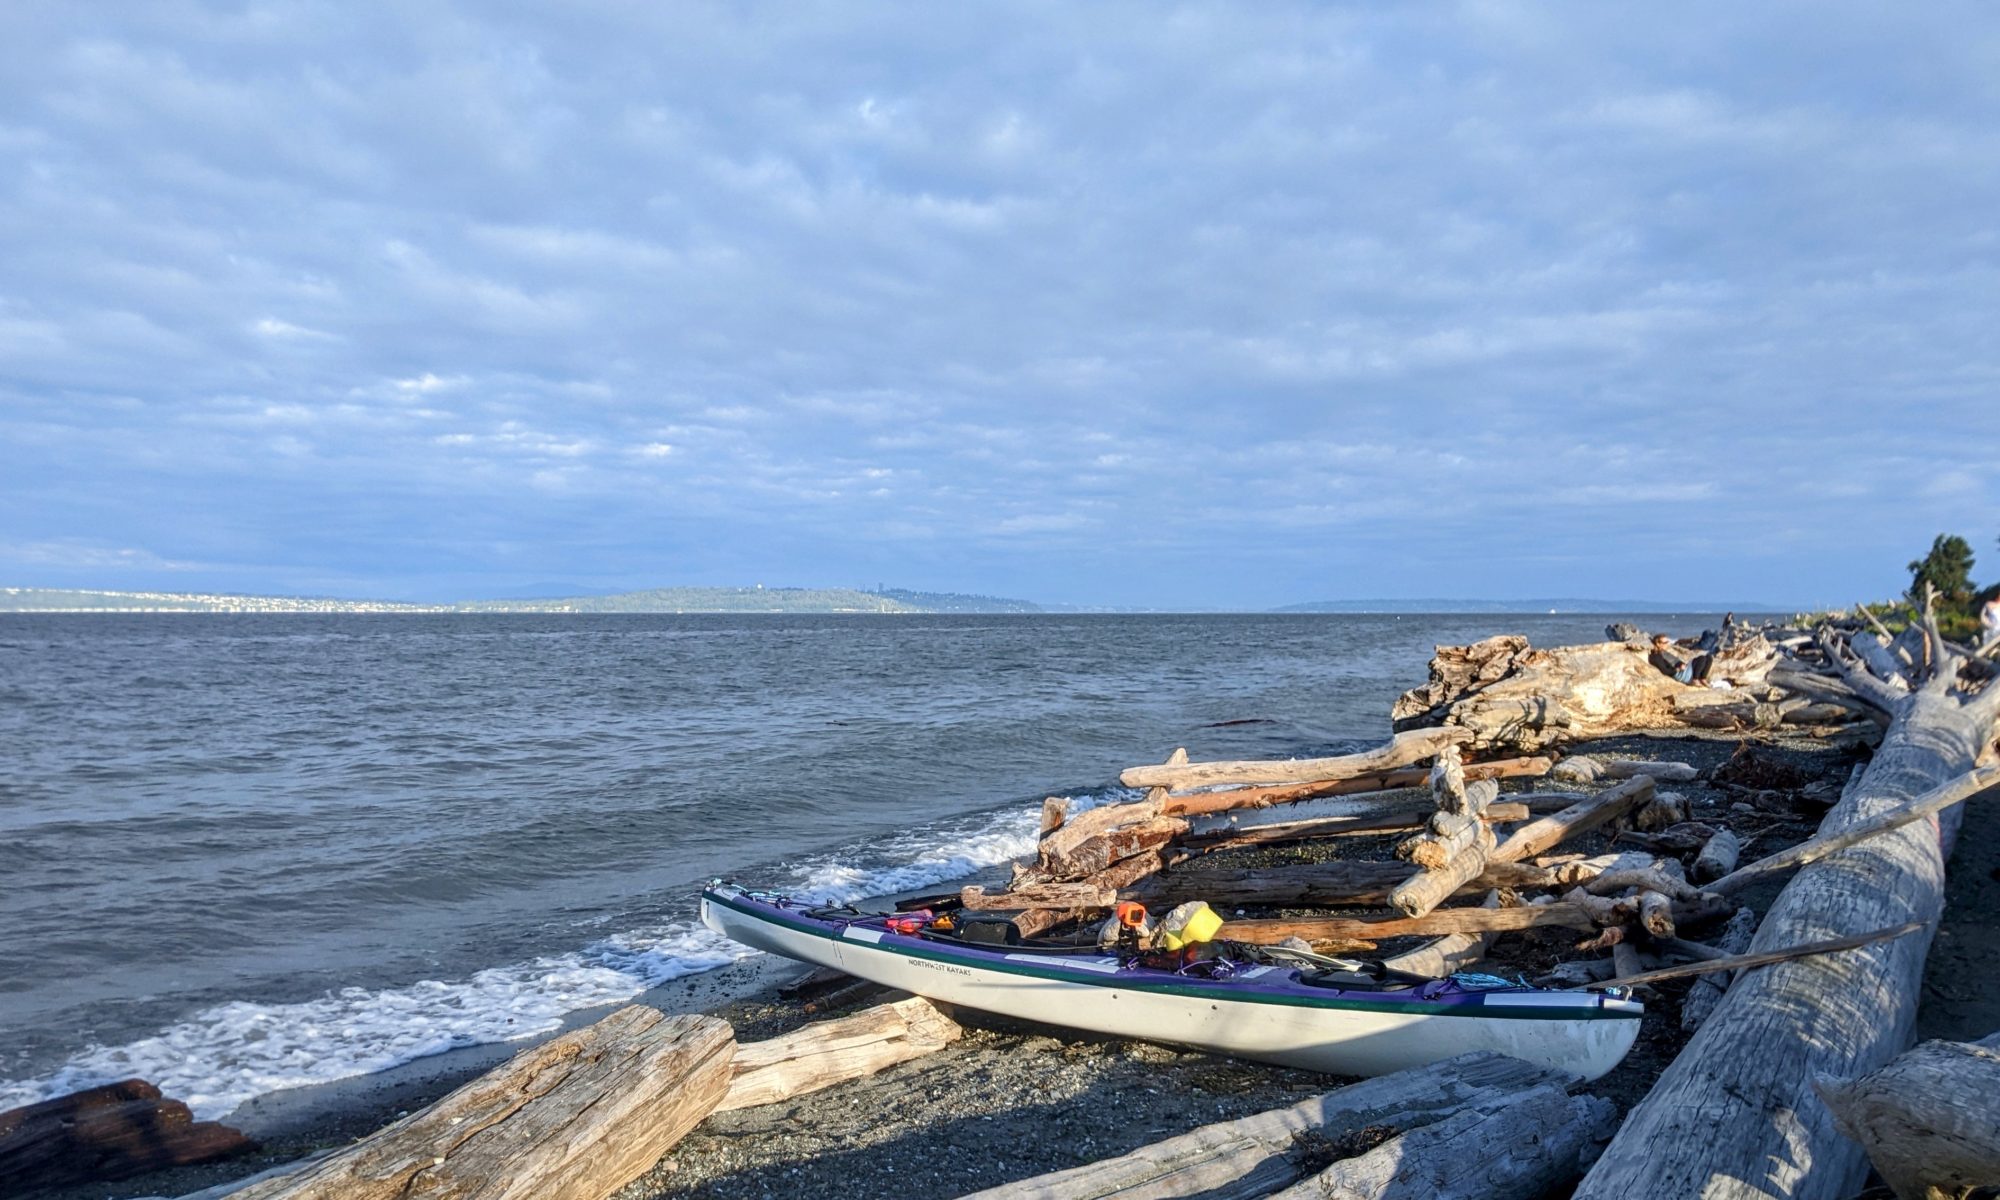
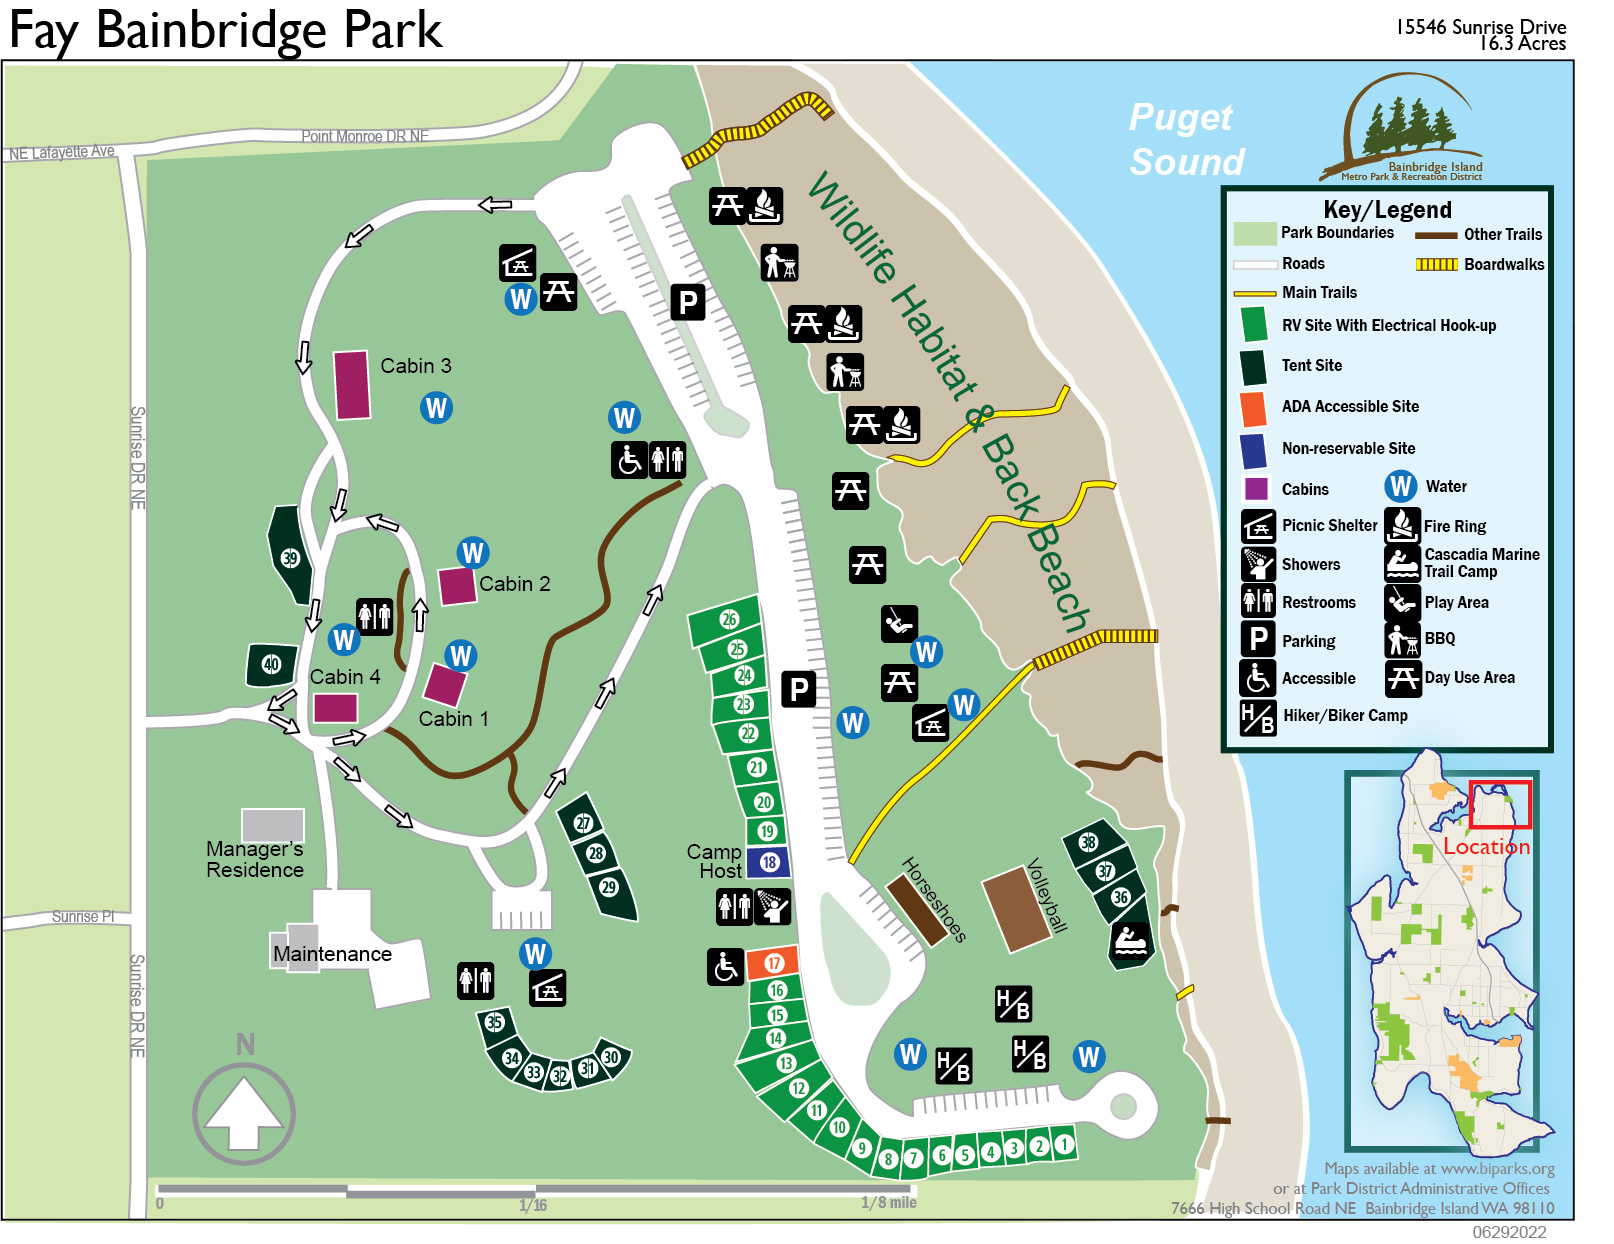
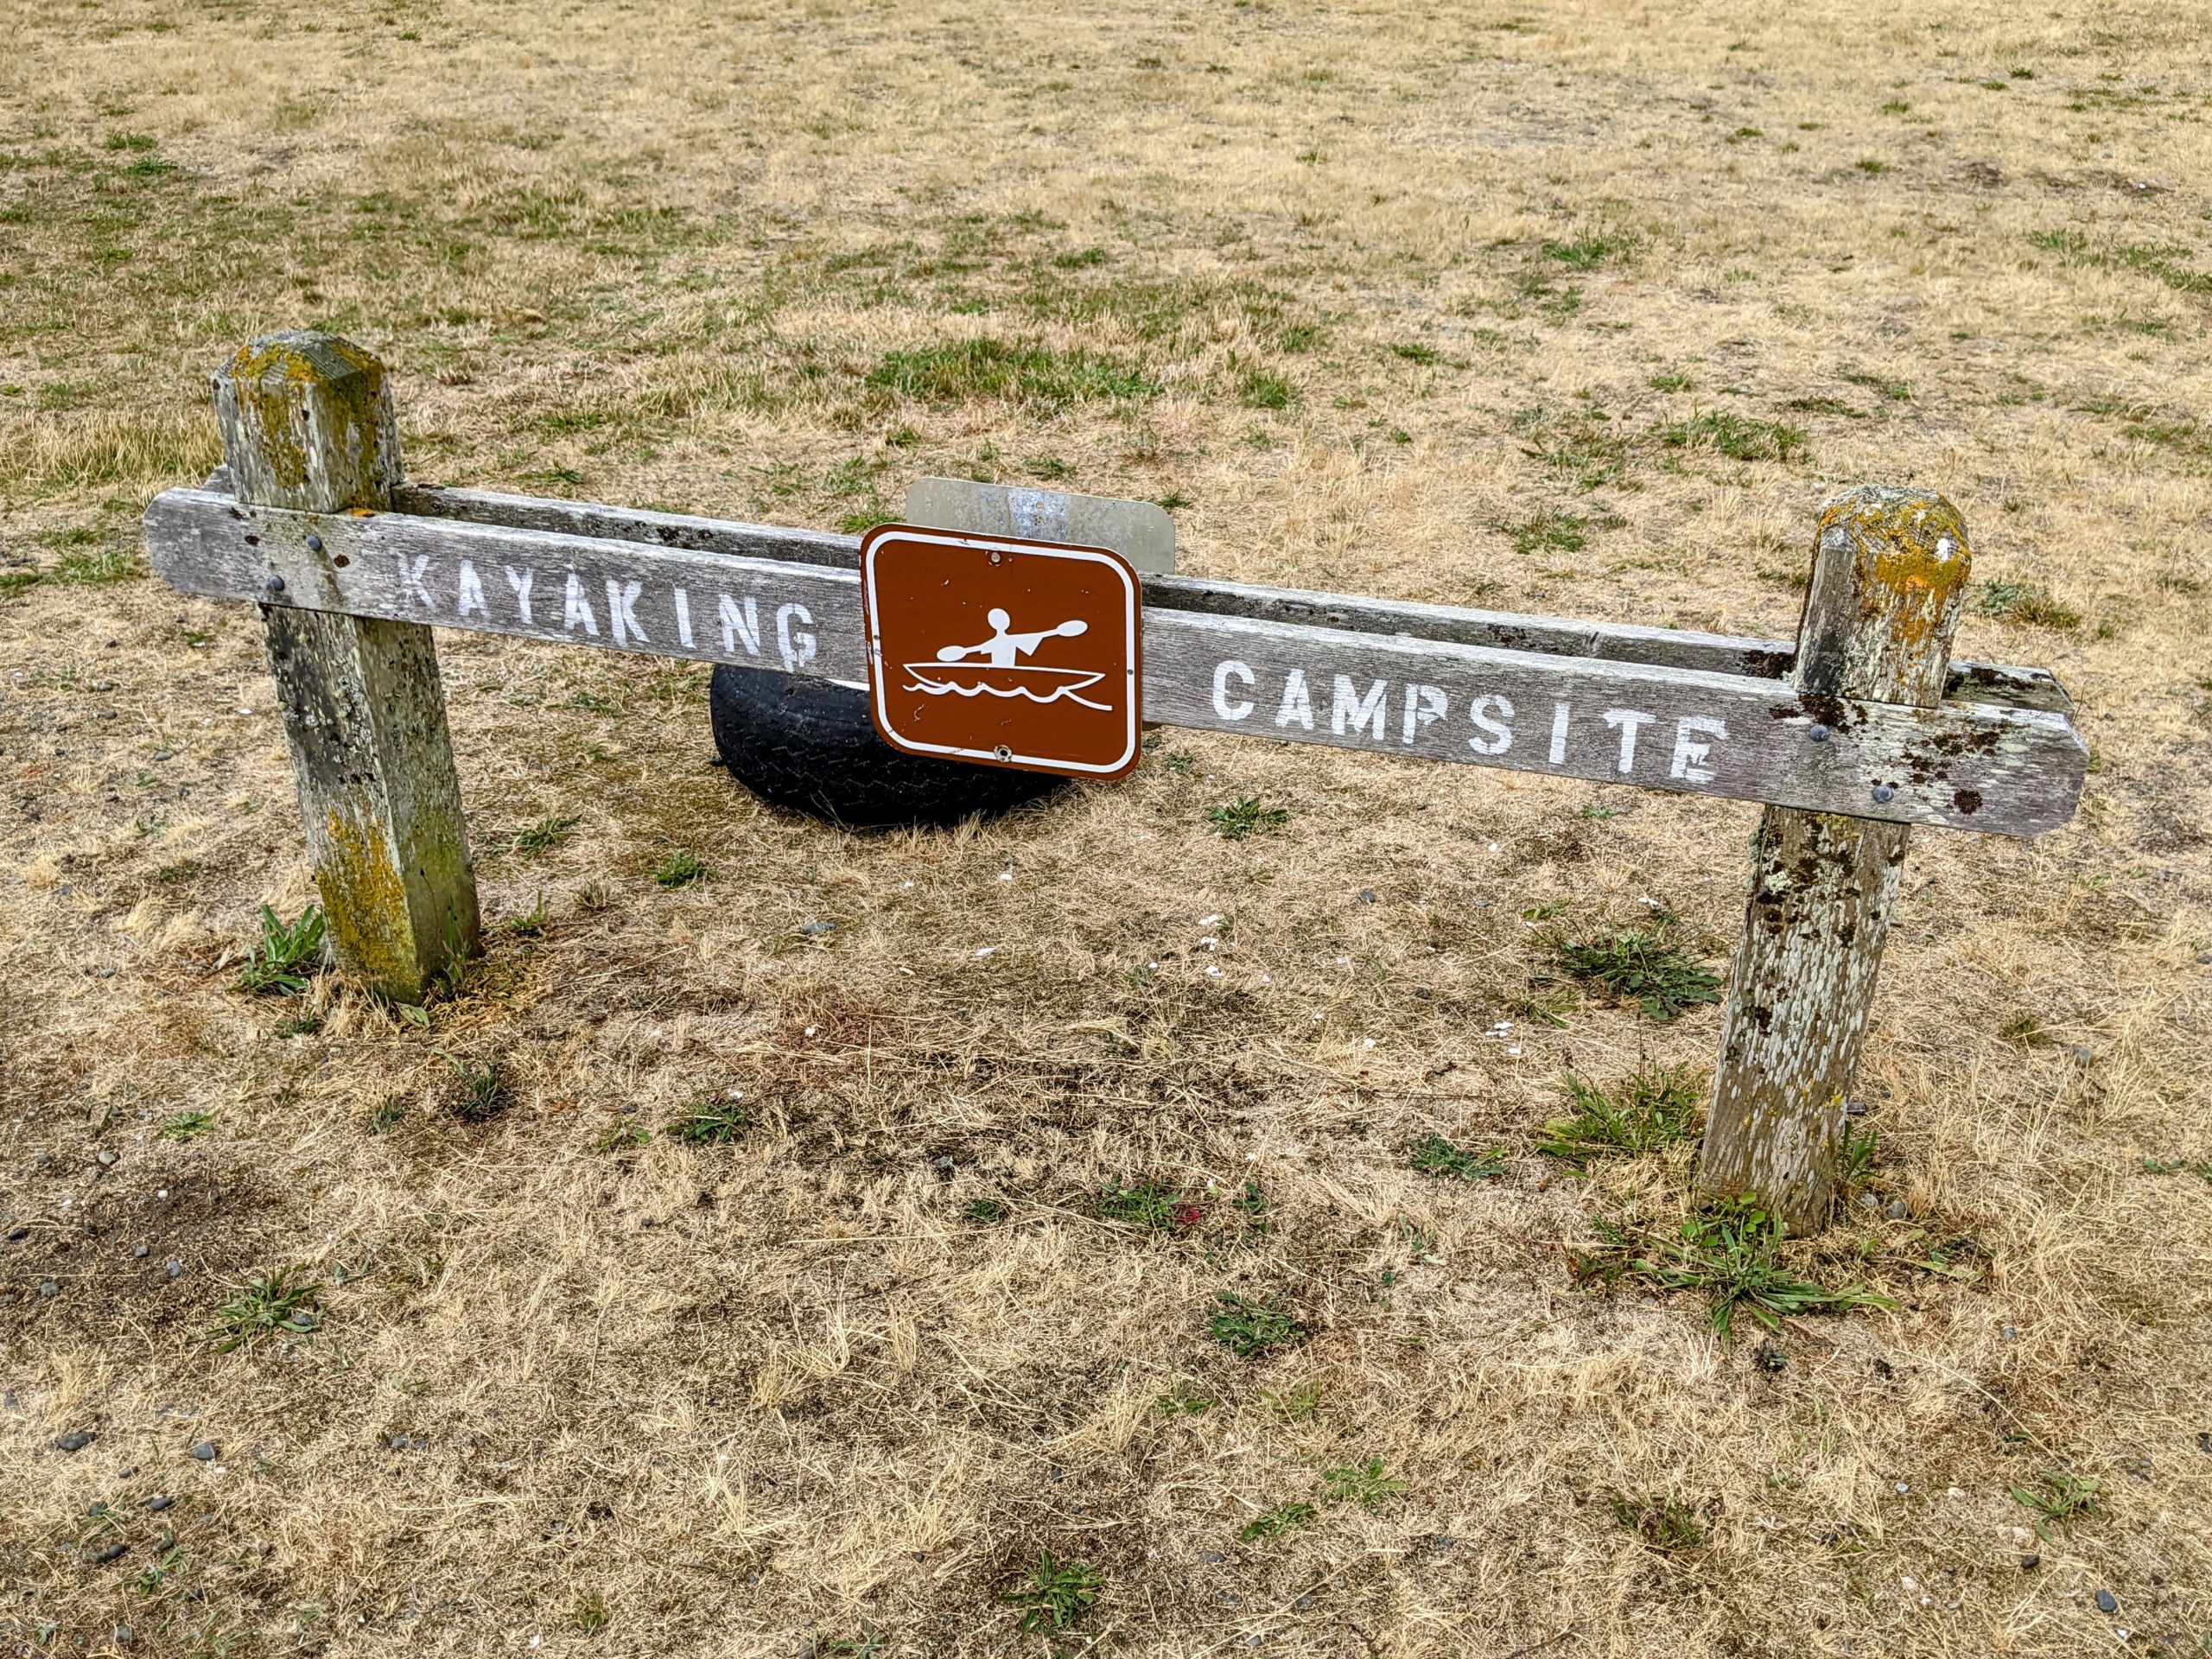
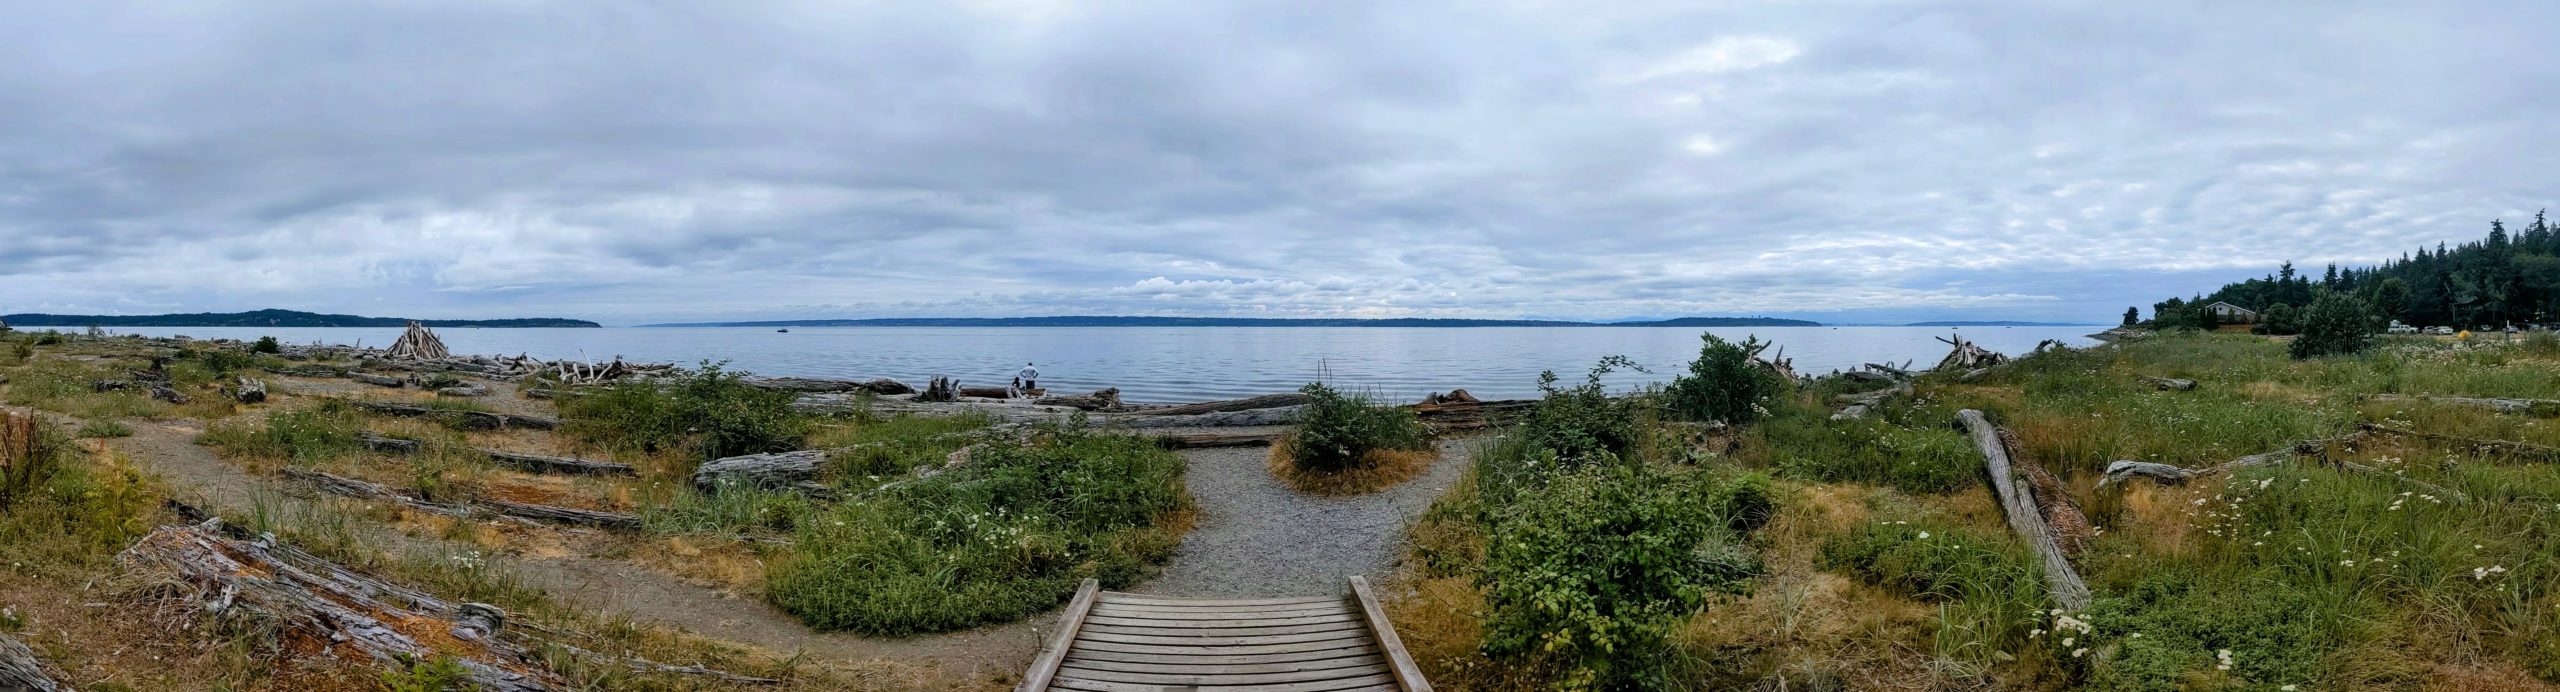
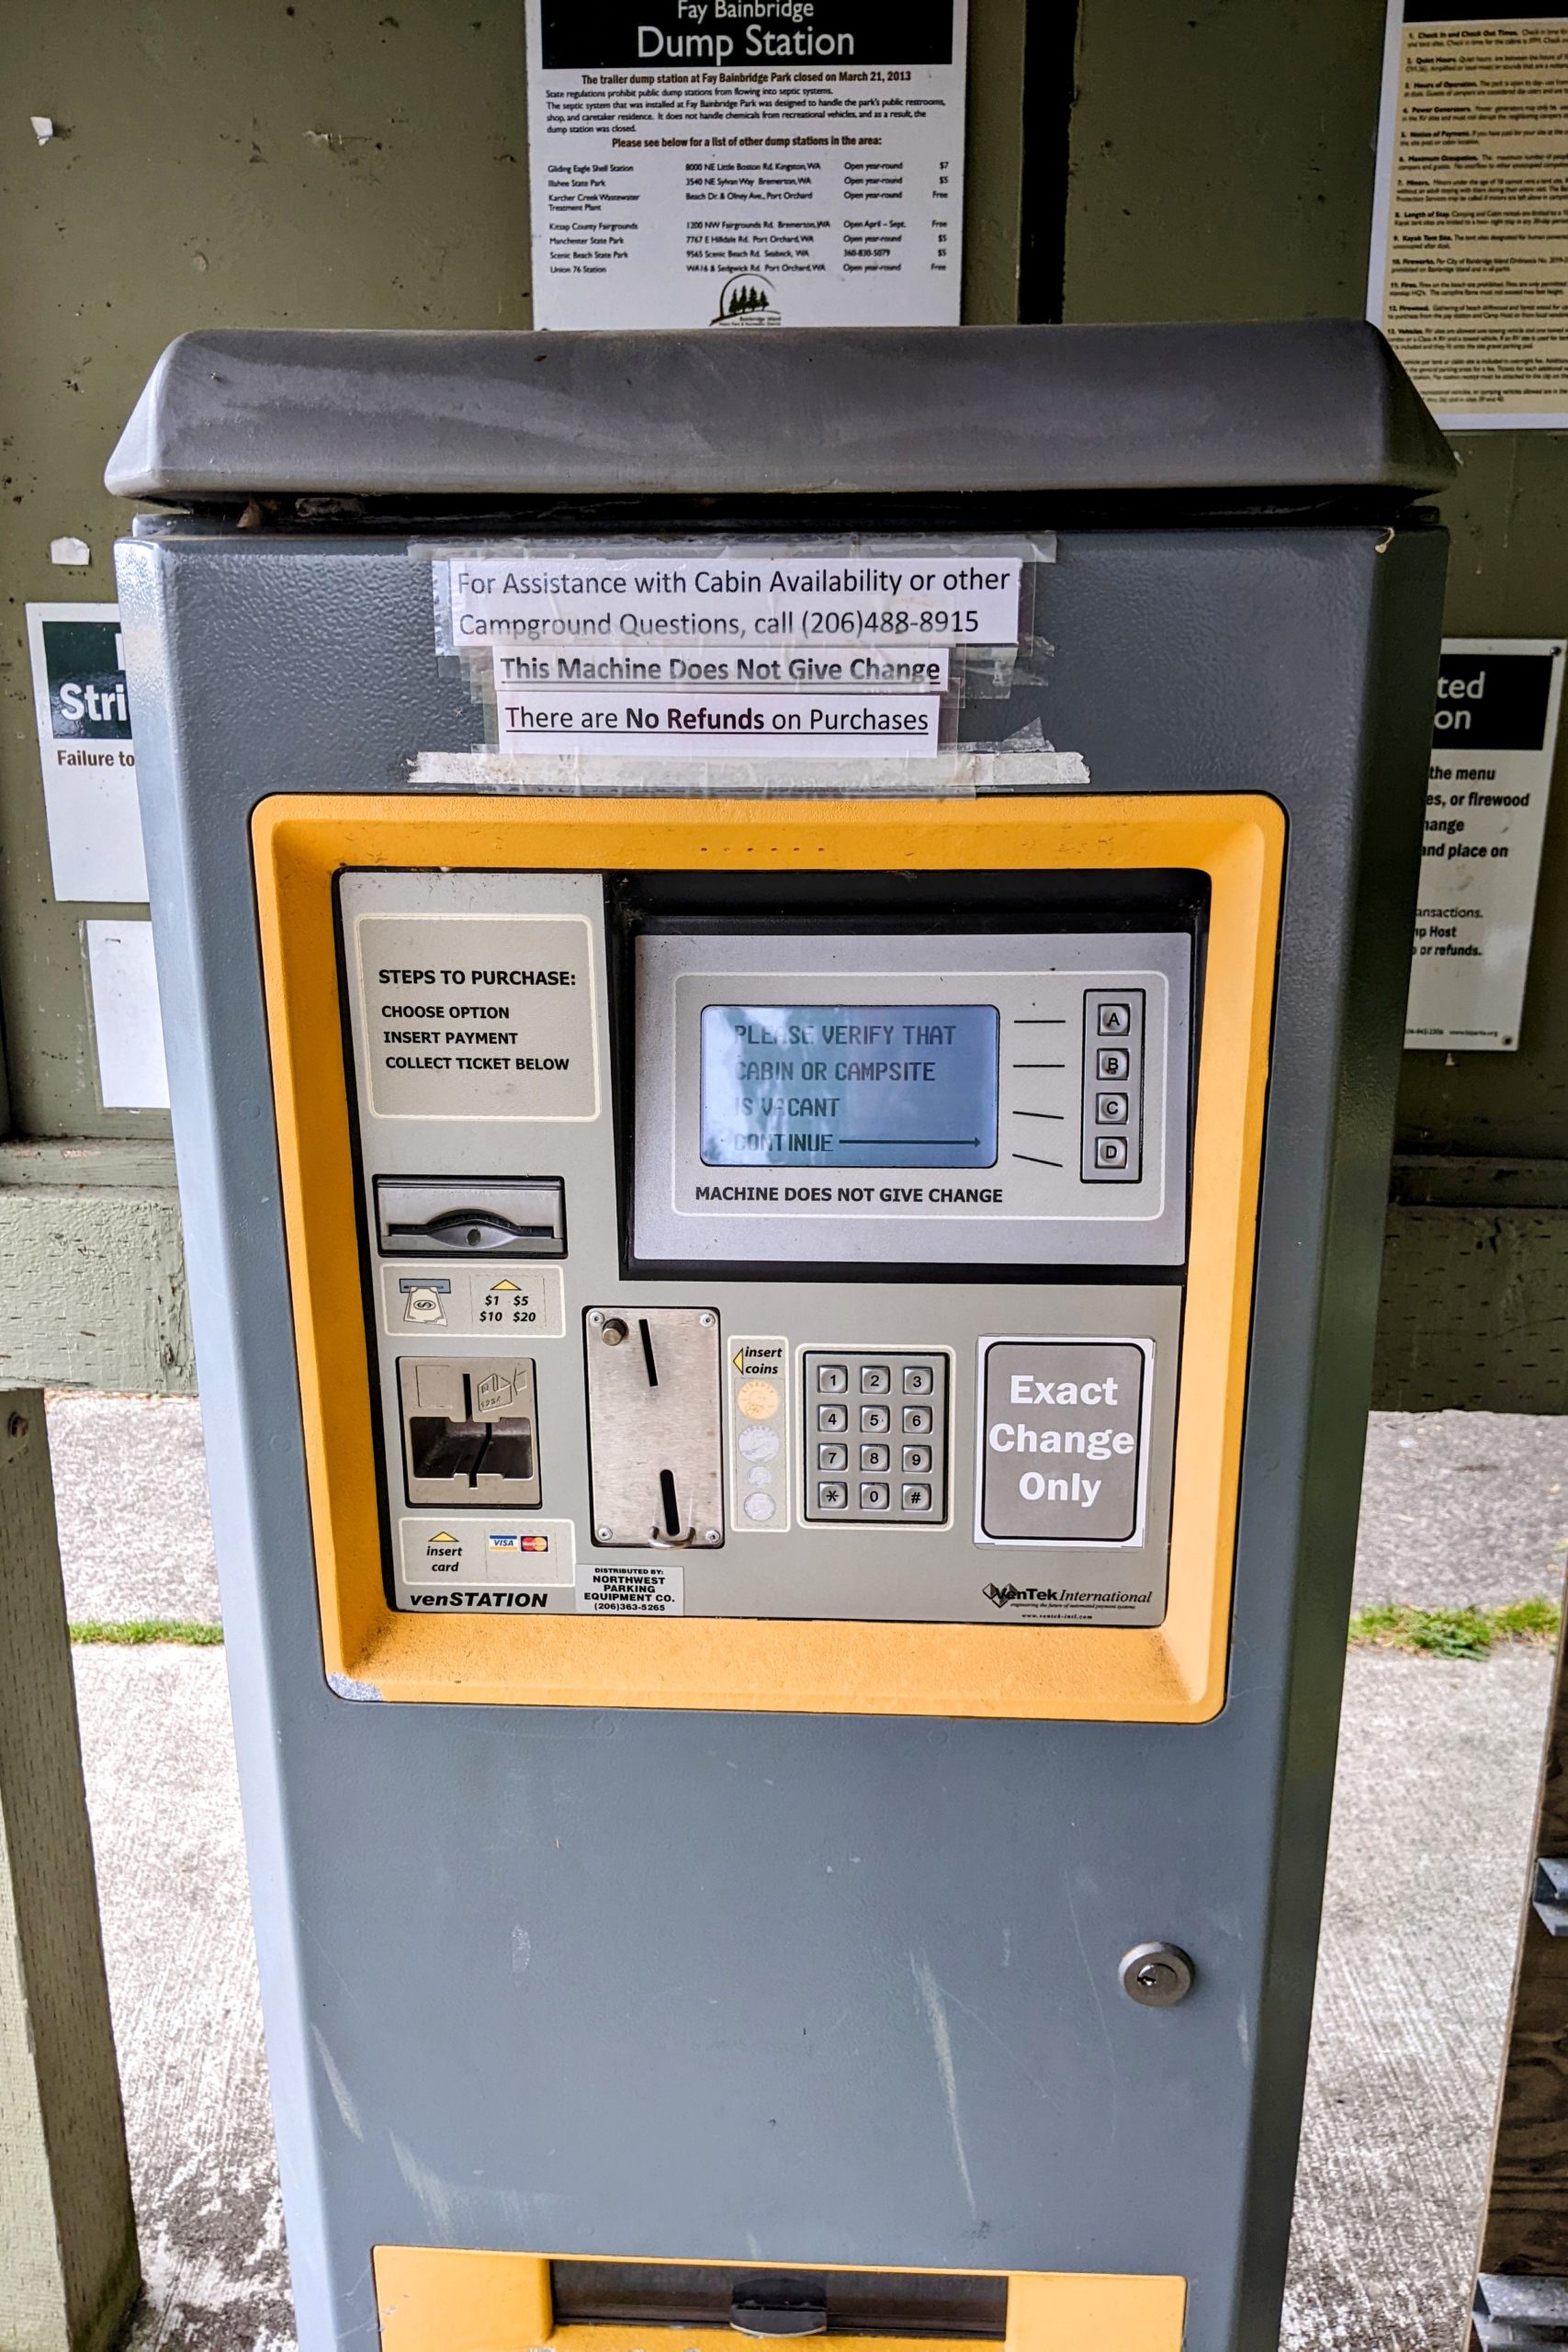
Fay Bainbridge
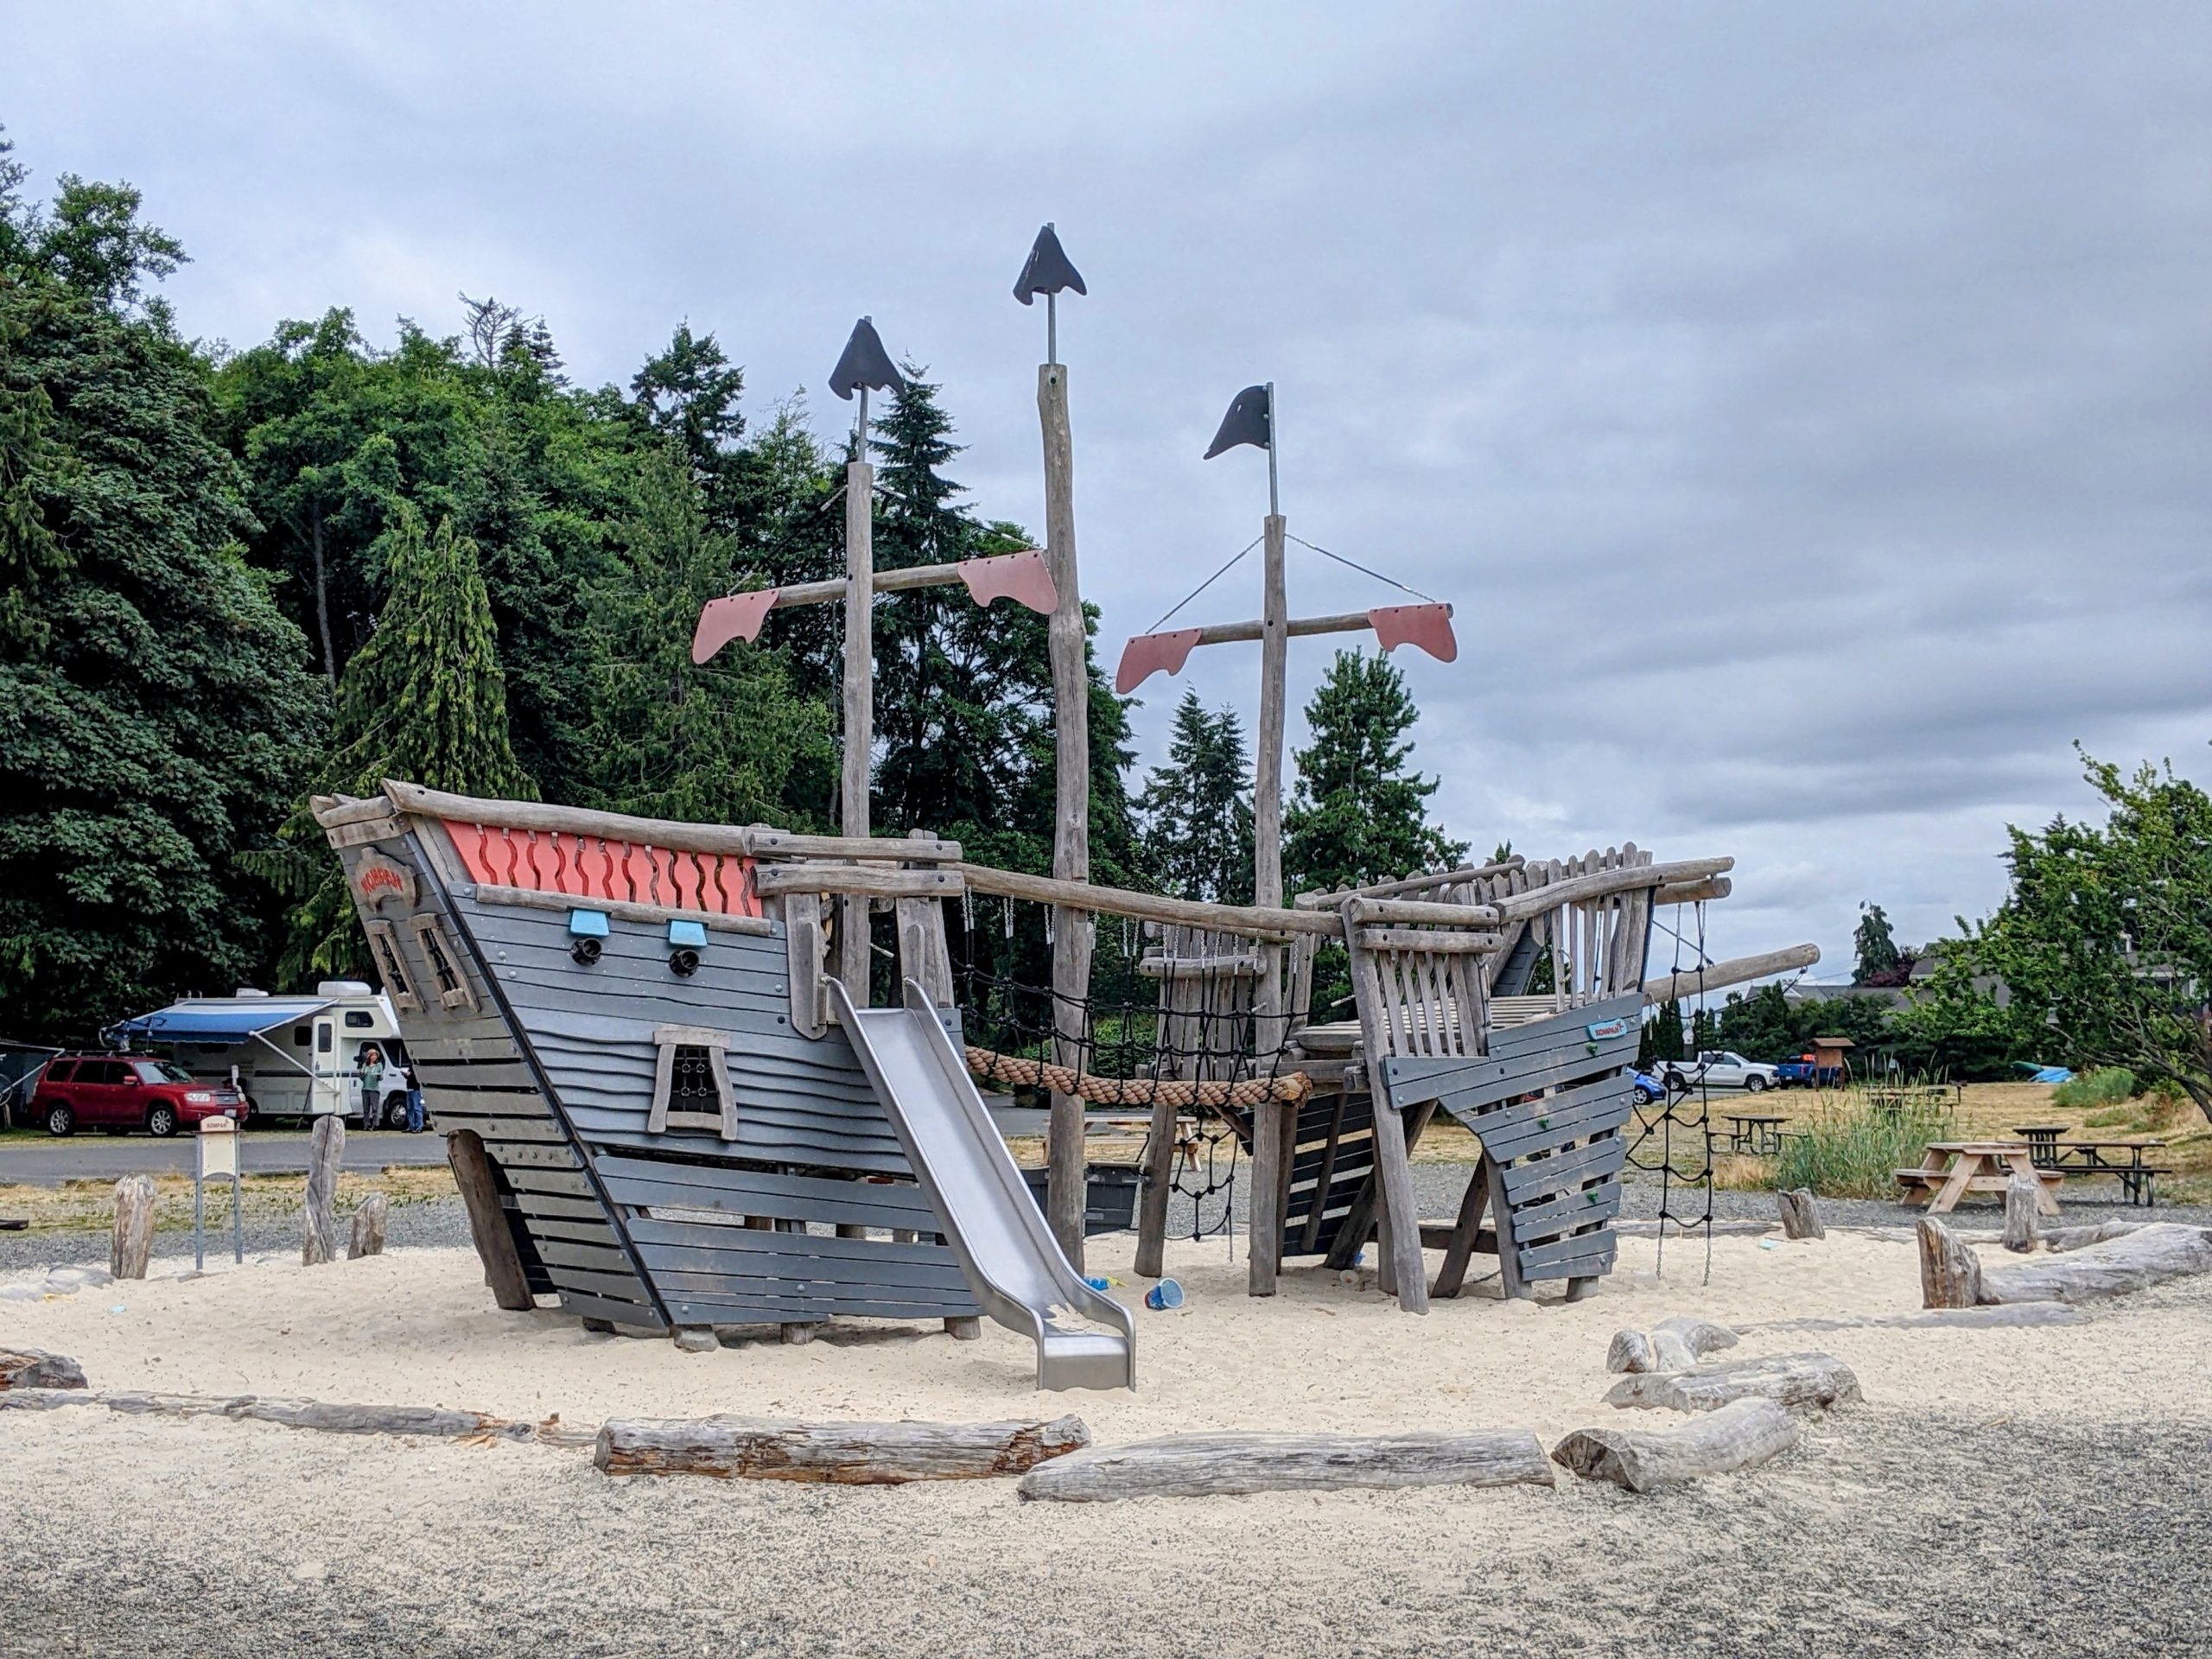
My overnight destination was the Fay Bainbridge Park & Campground at the northeastern corner of Bainbridge Island. I only saw the beachfront part, but it seemed like a great campground. There’s almost no privacy in that section, but I assume there’s more in the wooded sites. Everybody was quiet in the evening, and most people were older or had young kids with them. A good number of people, including a bunch of the kids, had bikepacked in after taking the ferry across from Seattle. There are no reservations for kayakers, but they’re allocated a big field that would take a huge quantity of people to fill. In addition to bathrooms and plentiful water spigots, the camp does have showers and WiFi, though I didn’t use them. Cellular coverage also seemed usable.

Camp
I brought a substantial volume of kayaking gear with me to Seattle but not much camping gear other than my ultralight summer sleeping bag. I borrowed some items like cookware from my in-laws, but I didn’t feel like carrying a full tent. So I fashioned a windbreak out of a $10 tarp, a couple tent stakes, two lines, and the boat’s break-apart paddle. This came out amazingly well given that I ran out of time to do a test run before departing, so I figured it all out on the fly at camp, having just paddled for ~7 hours and being awake coming on 40 hours.

The key skill to know for this construction is how to make a shear lashing to securely bind the paddle halves (or some sticks, etc) into an A-frame. It’s a straightforward knot, the main thing being to wrap the poles and then frap that wrapping so it can’t move up and down the poles (wrapping being a line looped around a pole or other structural element to bind it, while a frapping is a line run around and binding itself). To create an A-frame you make all these bindings just slightly loose so you can spread the poles apart. Combined with the tension of the staked tarp and an additional line run fore & aft from the A-frame, this setup seemed pretty sturdy and was reasonably spacious.

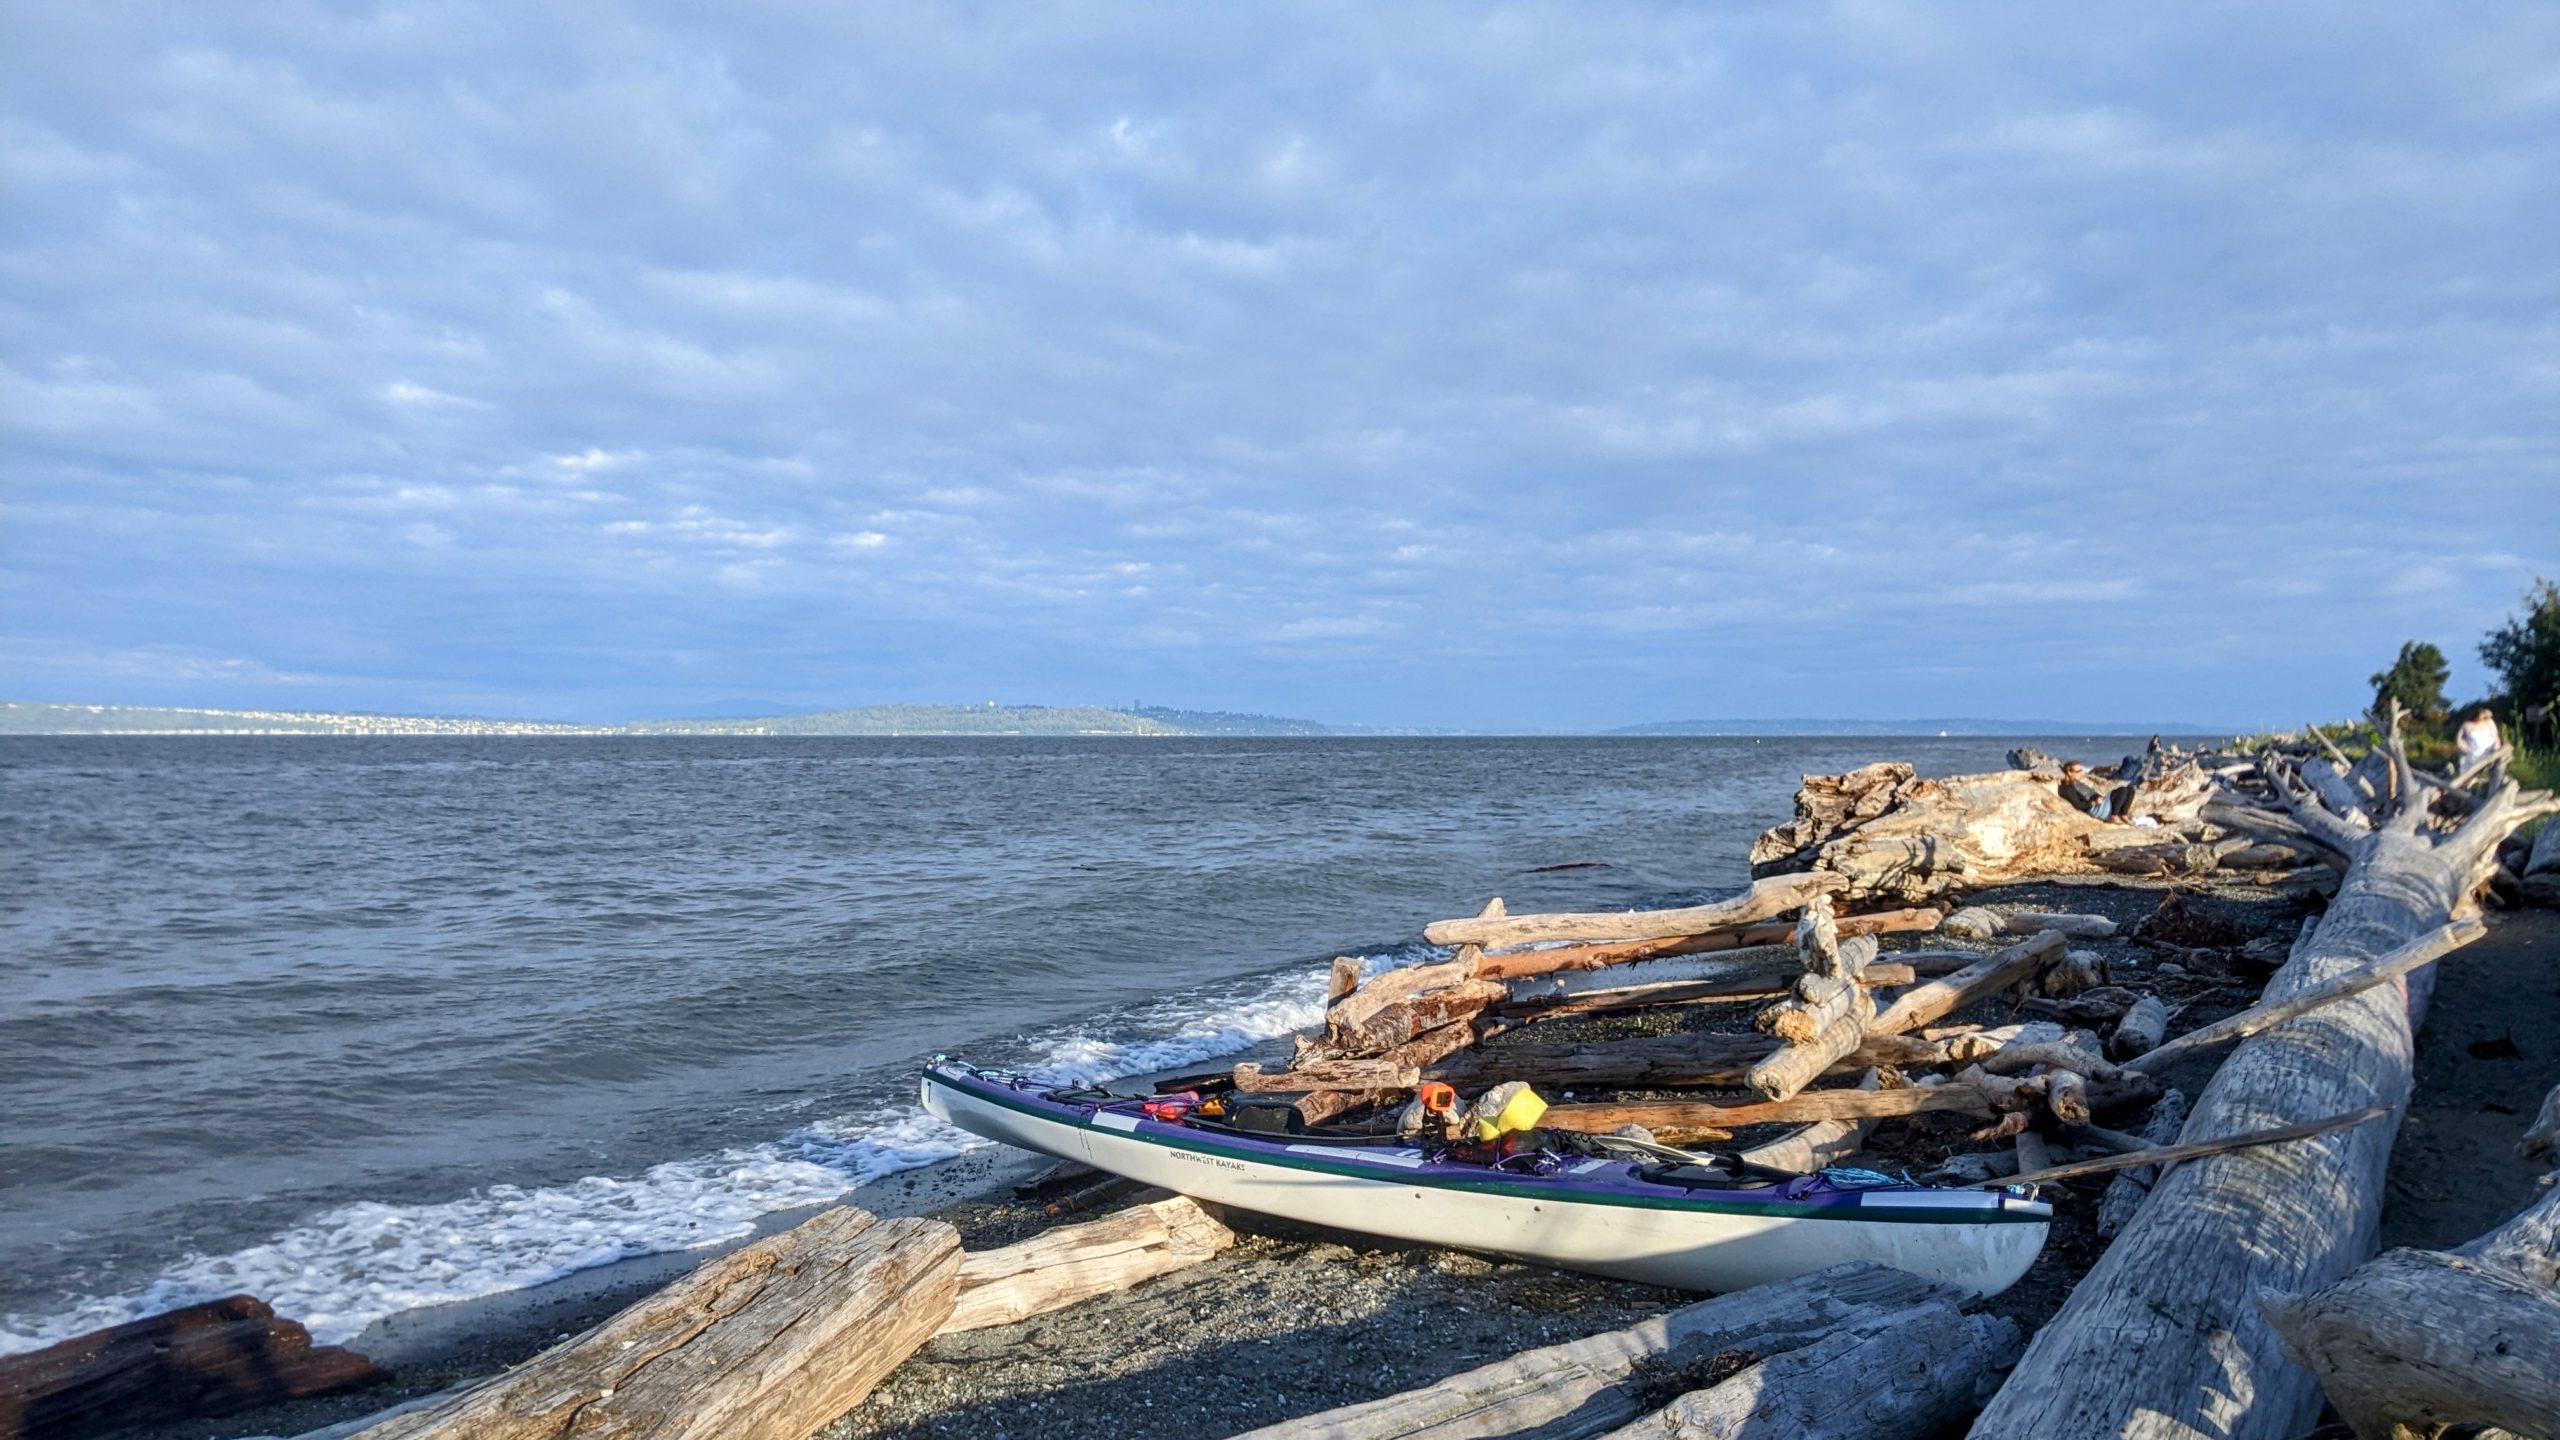
Returning
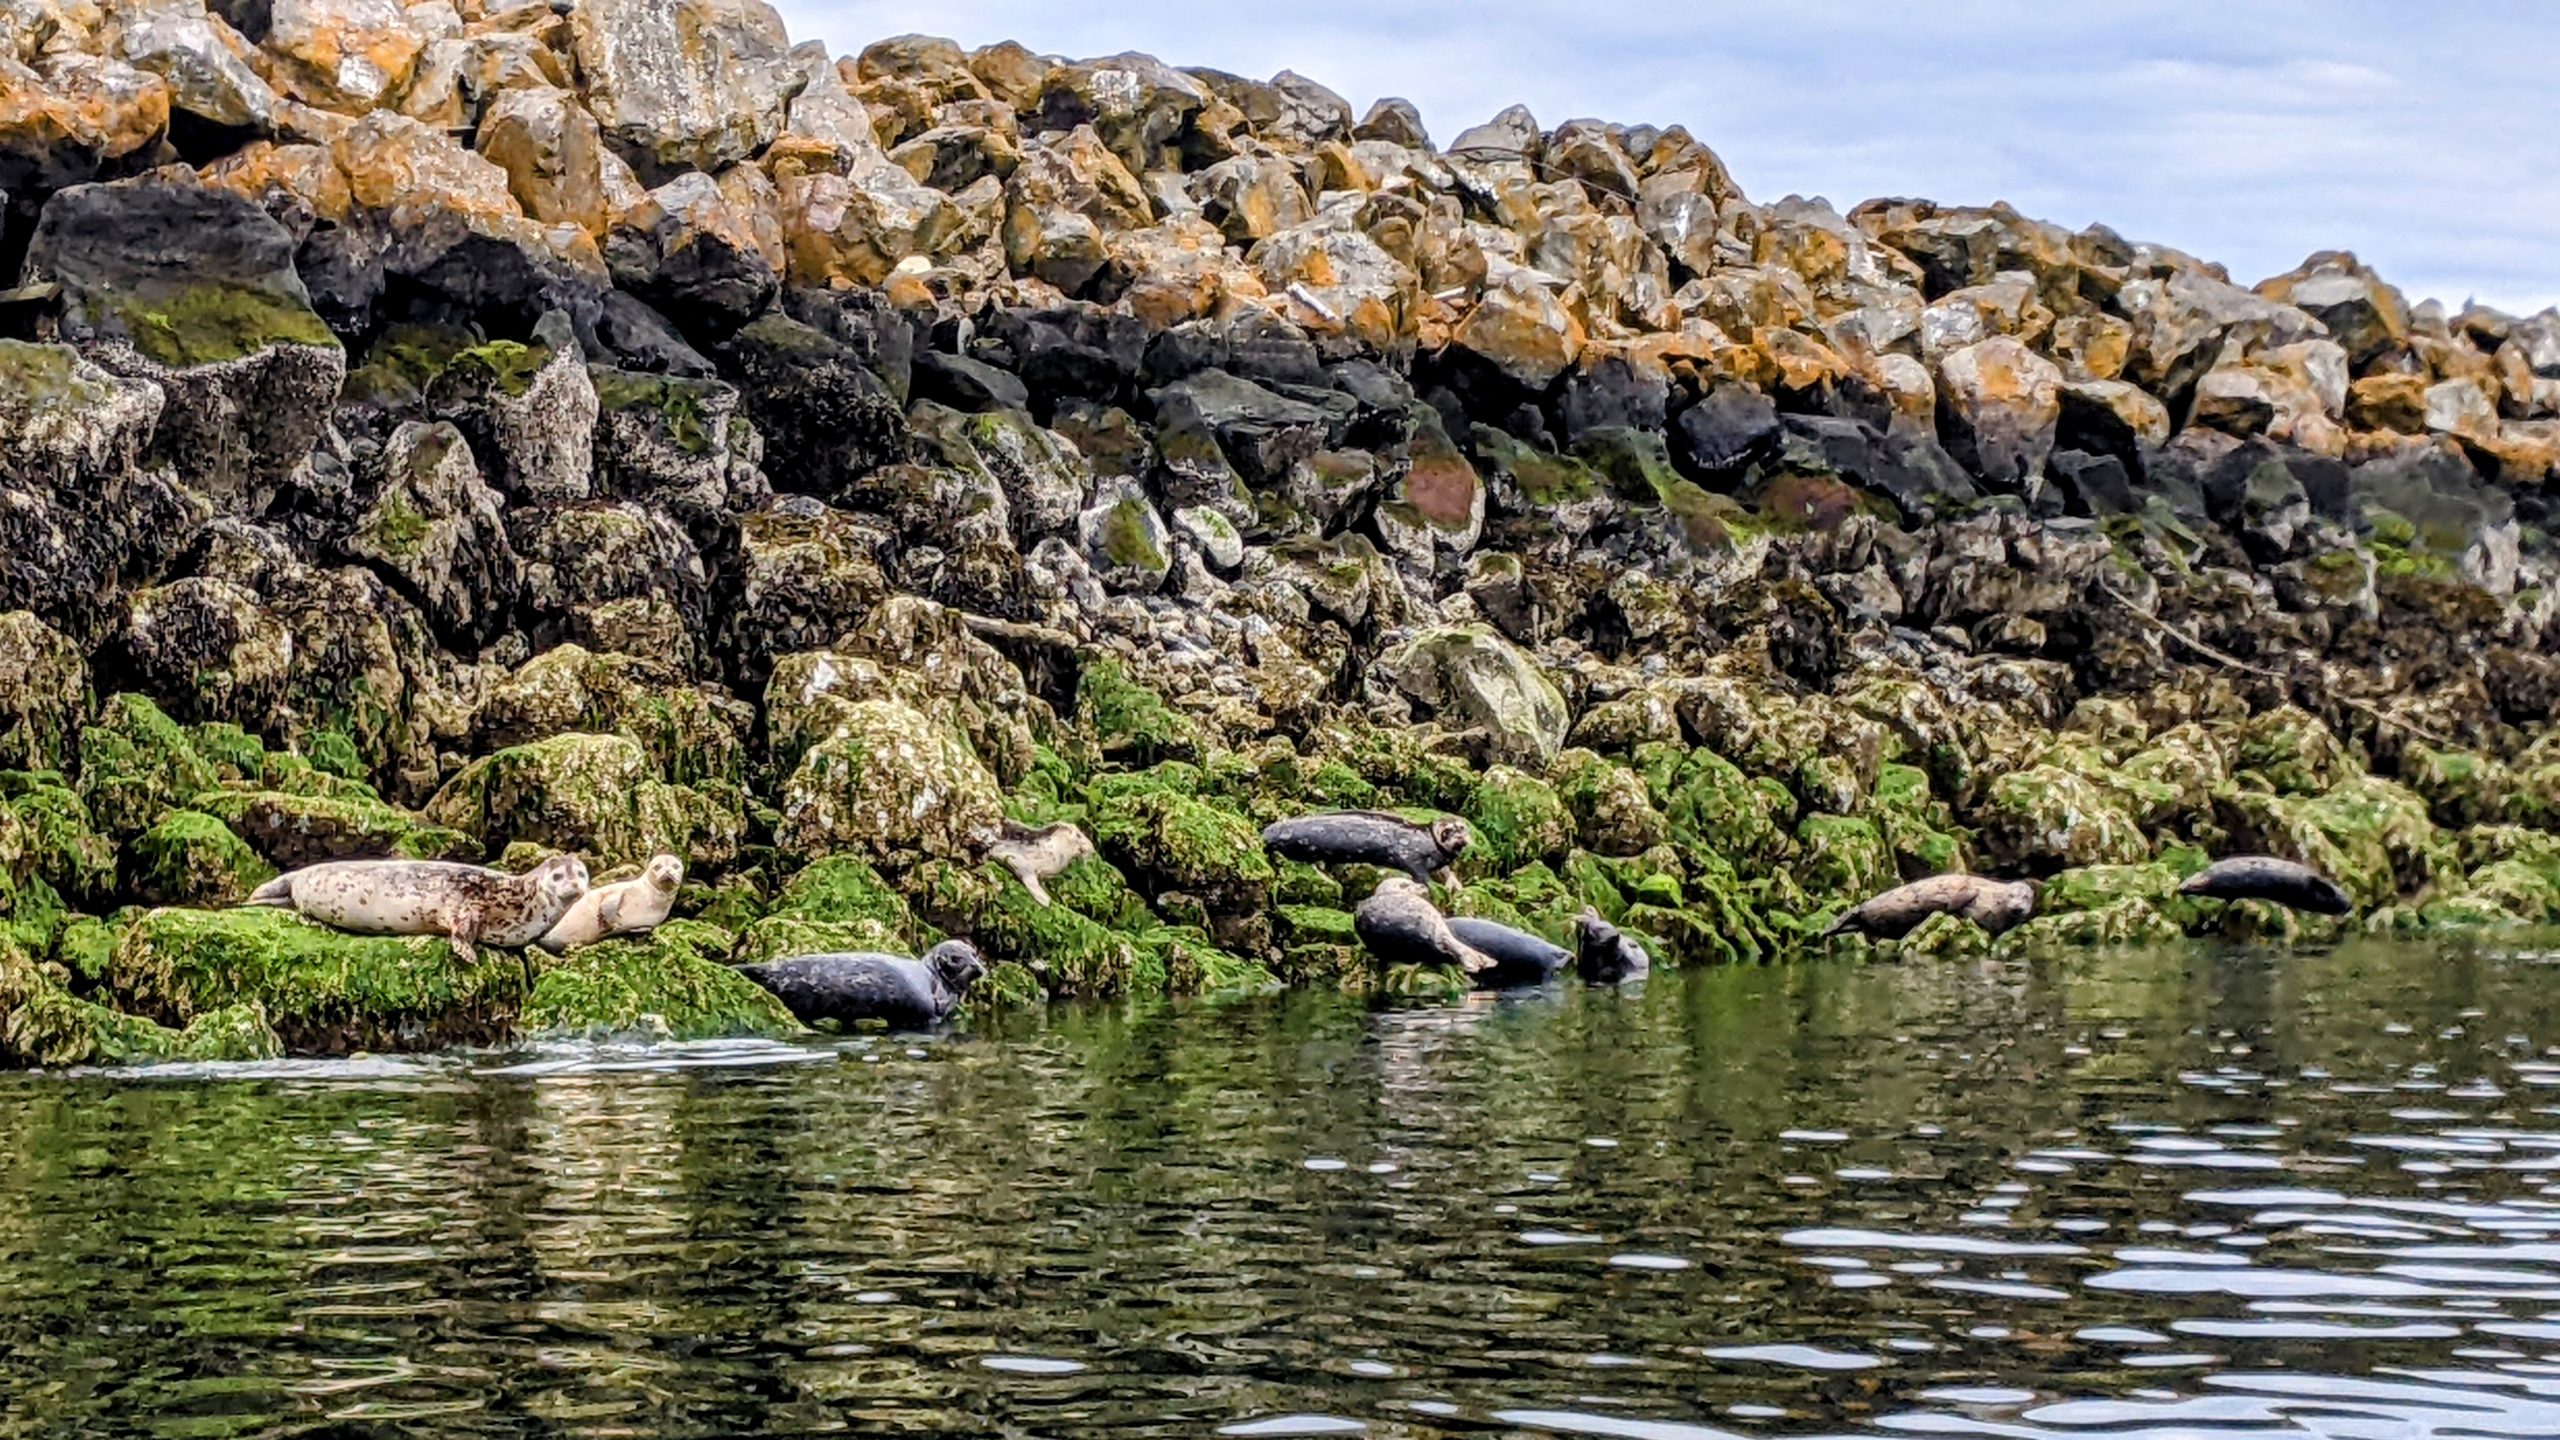
Next morning’s return across Puget Sound was comparatively very calm, and a fast trip straight across to Golden Gardens and a quick break before heading into Shilshole Bay. Fortunately there was a good-sized seal colony lazing around there because Caitlin had specifically requested a wildlife report on my return and I hadn’t seen much up until then.
Delay at the Locks
The eastbound trip through Ballard Locks heavily averaged out the very minimal wait I encountered the other way: I wound up waiting, in my kayak, for 2 hours. No idea why, they just weren’t running either the small or large locks. Other boats in line had waited an hour or more on top of that. But this was actually a great time. I hooked up with a pair of people in a small rubber dinghy coming back from having put out crab traps in the bay. So I held on to their boat instead of station keeping with my paddles for two hours, and we talked all about the local waterways and kayaking and so on as we watched the local goings-on.
Their help was also very useful in that eventually only the large lock was opened, in which kayaks are not permitted. A small dinghy like my friends’ also wouldn’t normally go through it. But with no idea how much more of a wait it would be before the small lock resumed operations, we decided to go with it. As the lockmaster, invested in getting traffic moving again, declared upon seeing us puttering in with me hanging on to the dinghy: “We don’t usually let kayaks in the large lock, but I didn’t see nothin’!” Previously I’d guessed the prohibition was due to the impracticality of securing kayaks along the large lock’s towering blank walls—lockworkers in retractor harnesses secured to a rail run back and forth up top throwing and tightening ~50ft ropes to secure the motorboats. But that’s only part of the story.
Unlike the small lock, when the large lock’s doors open there is a substantial current. All the boats shifted backward, the motorized dinghy struggled a bit to make controlled forward progress as we left, and it would have taken serious effort to keep place and then get out of there paddling. Just holding on through the initial surge placed substantial strain on my hand and arm (I had not tied up because in that kind of situation I think it’s generally safer to be able to separate immediately). So even if it were to be permitted for some reason, as in this case, traversal of the large lock in a kayak or similar is not to be undertaken without confidence in your ability to hang on tight to whatever boat you wind up rafting alongside, let alone paddling upstream into strong current. I could have done it alone, but especially with the large volume of traffic stacked up behind us, I took the most expedient option of hanging on to the dinghy until my newfound friends pulled me well clear.

Blister Care
A bit after that I stopped again at the public floating low dock in Fremont as I had on the outbound trip to stretch, eat, and change back into my lighter top clothes having returned to the warmer freshwater.

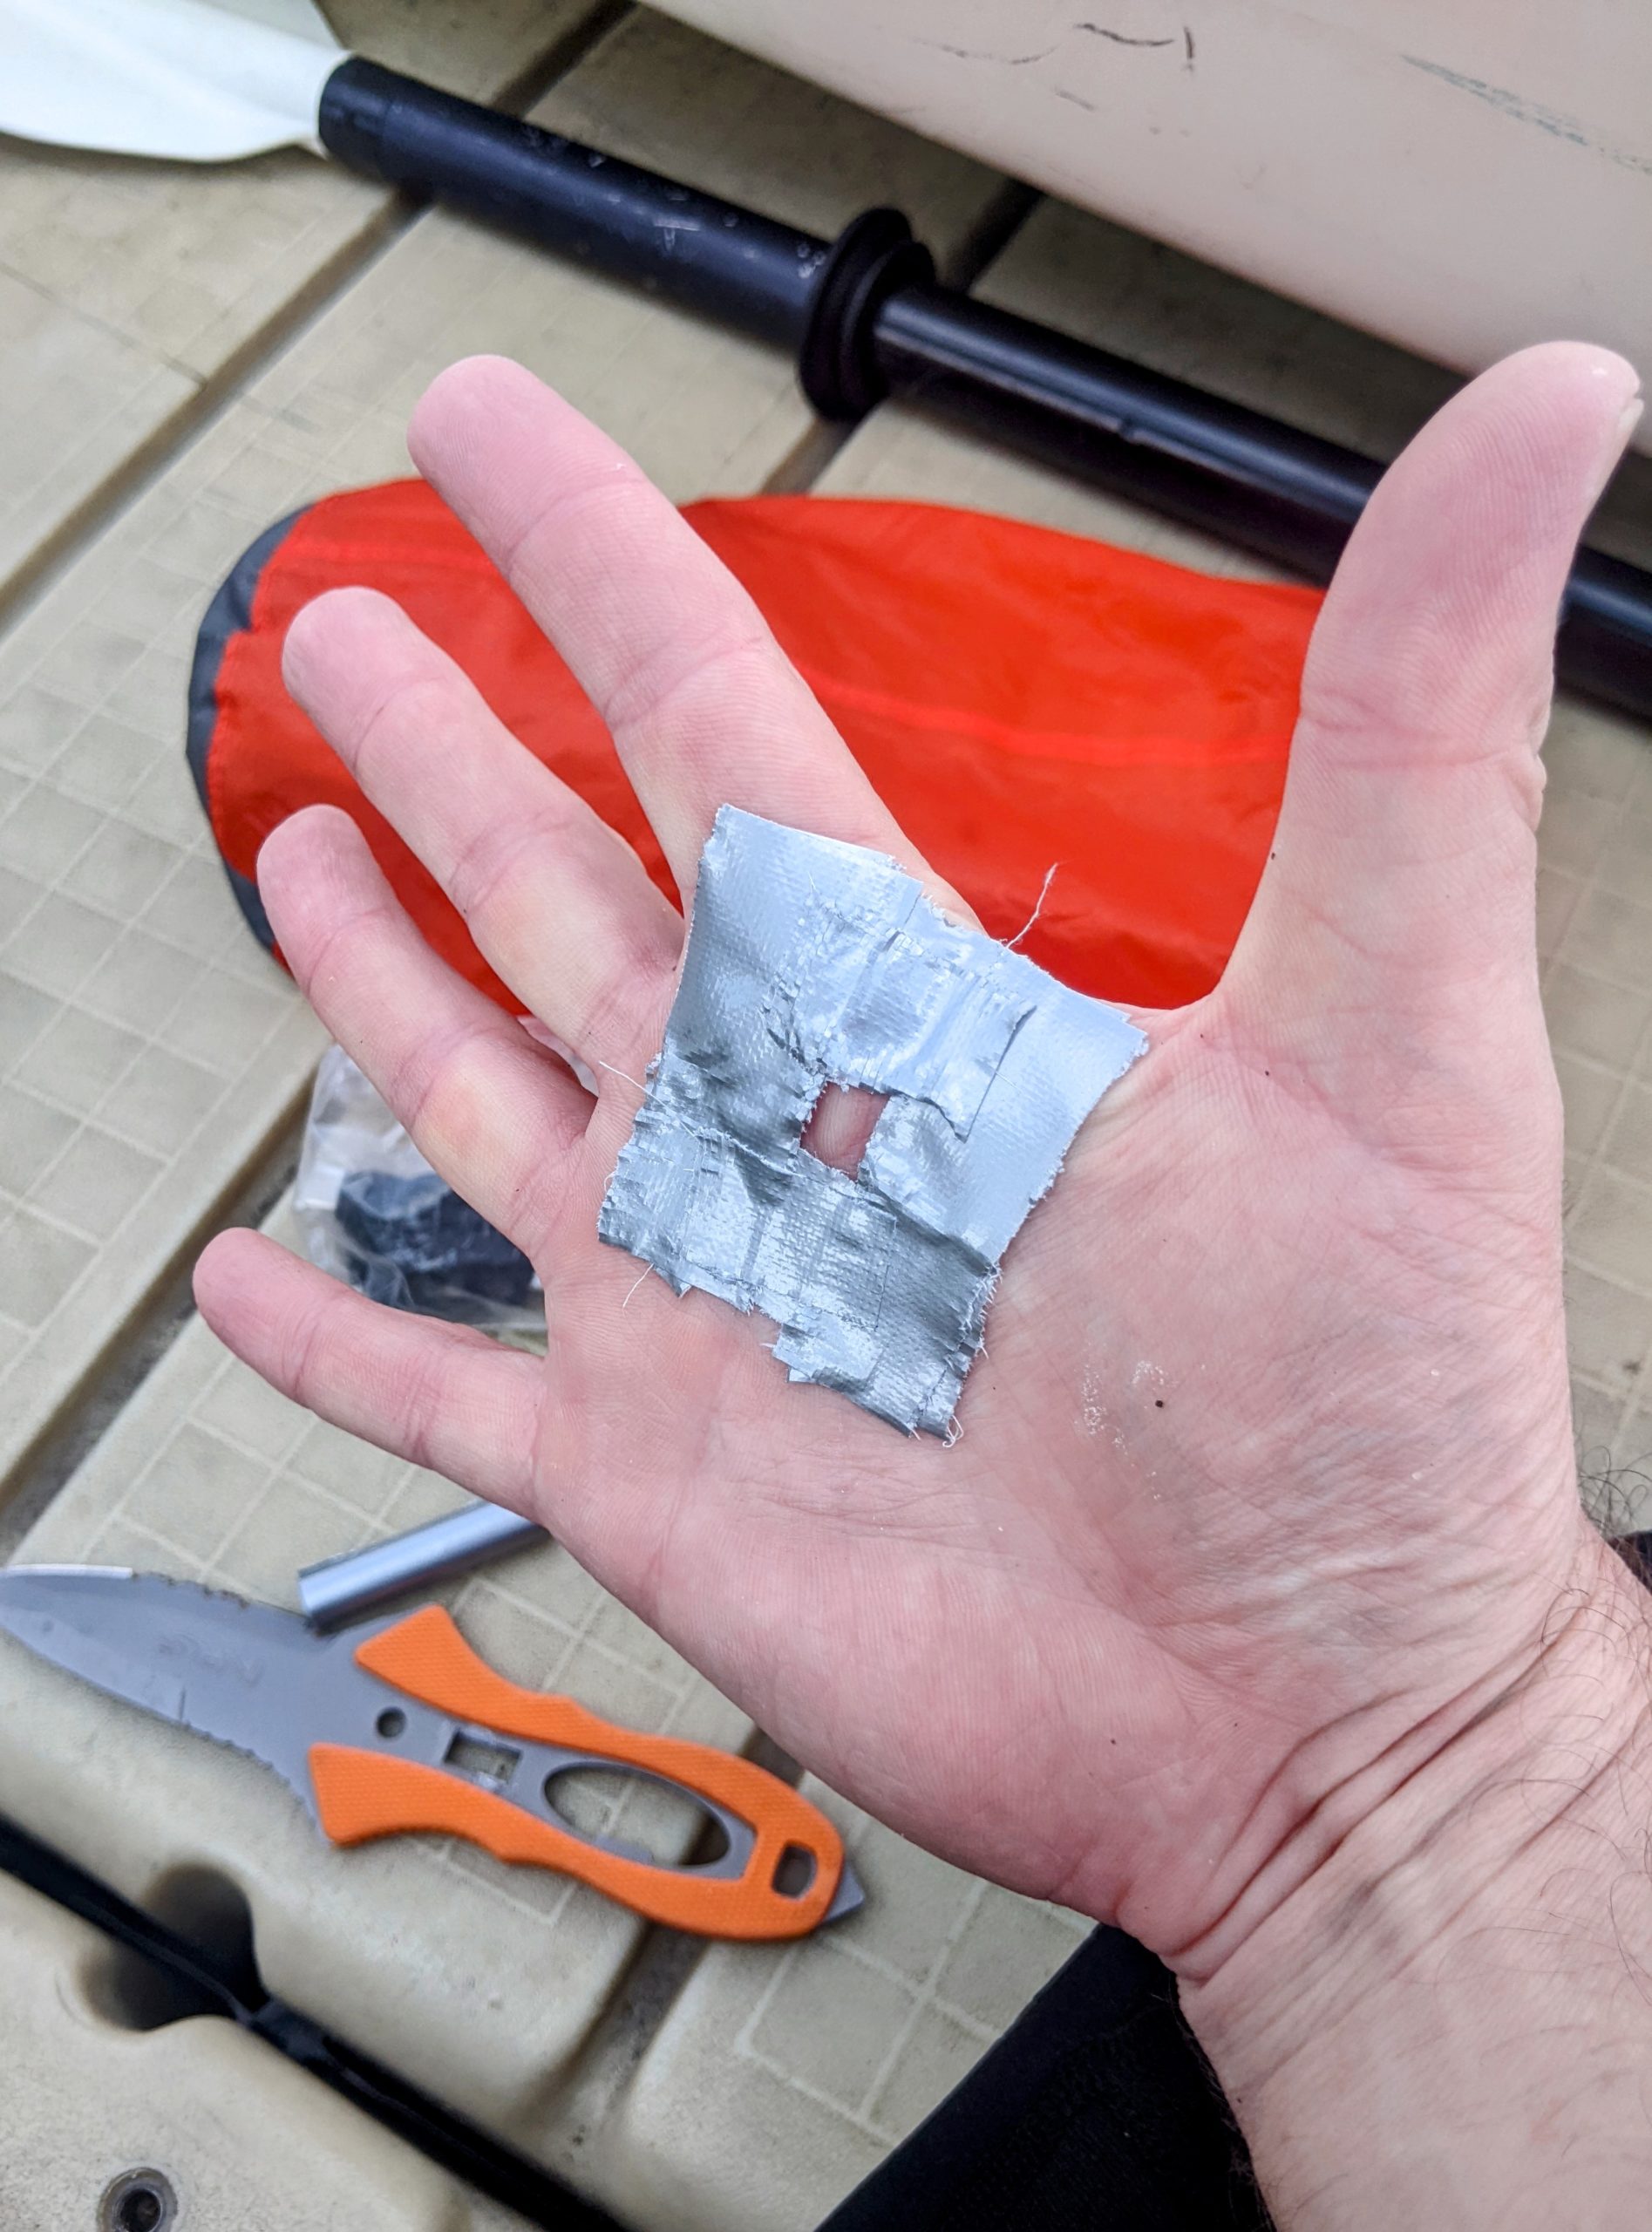
At this point I also had to deal with a blister that’d been developing on my right palm. I’ve never had any success with purpose-made blister pads and tapes. They just don’t adhere well enough to be useful, even in clean & dry conditions, which kayaking is decidedly not. So as usual I invoked the galactic all-purpose ultimate solution for all troubles mechanical or otherwise: Duct tape.
The two main lessons I’ve picked up in doing this kind of blister care are that:
- You need to build a pad around the blister, not just cover it. The goal is to create a roughly level surface with the blister, so the pad takes all or a lot of the pressure otherwise going onto the blister.
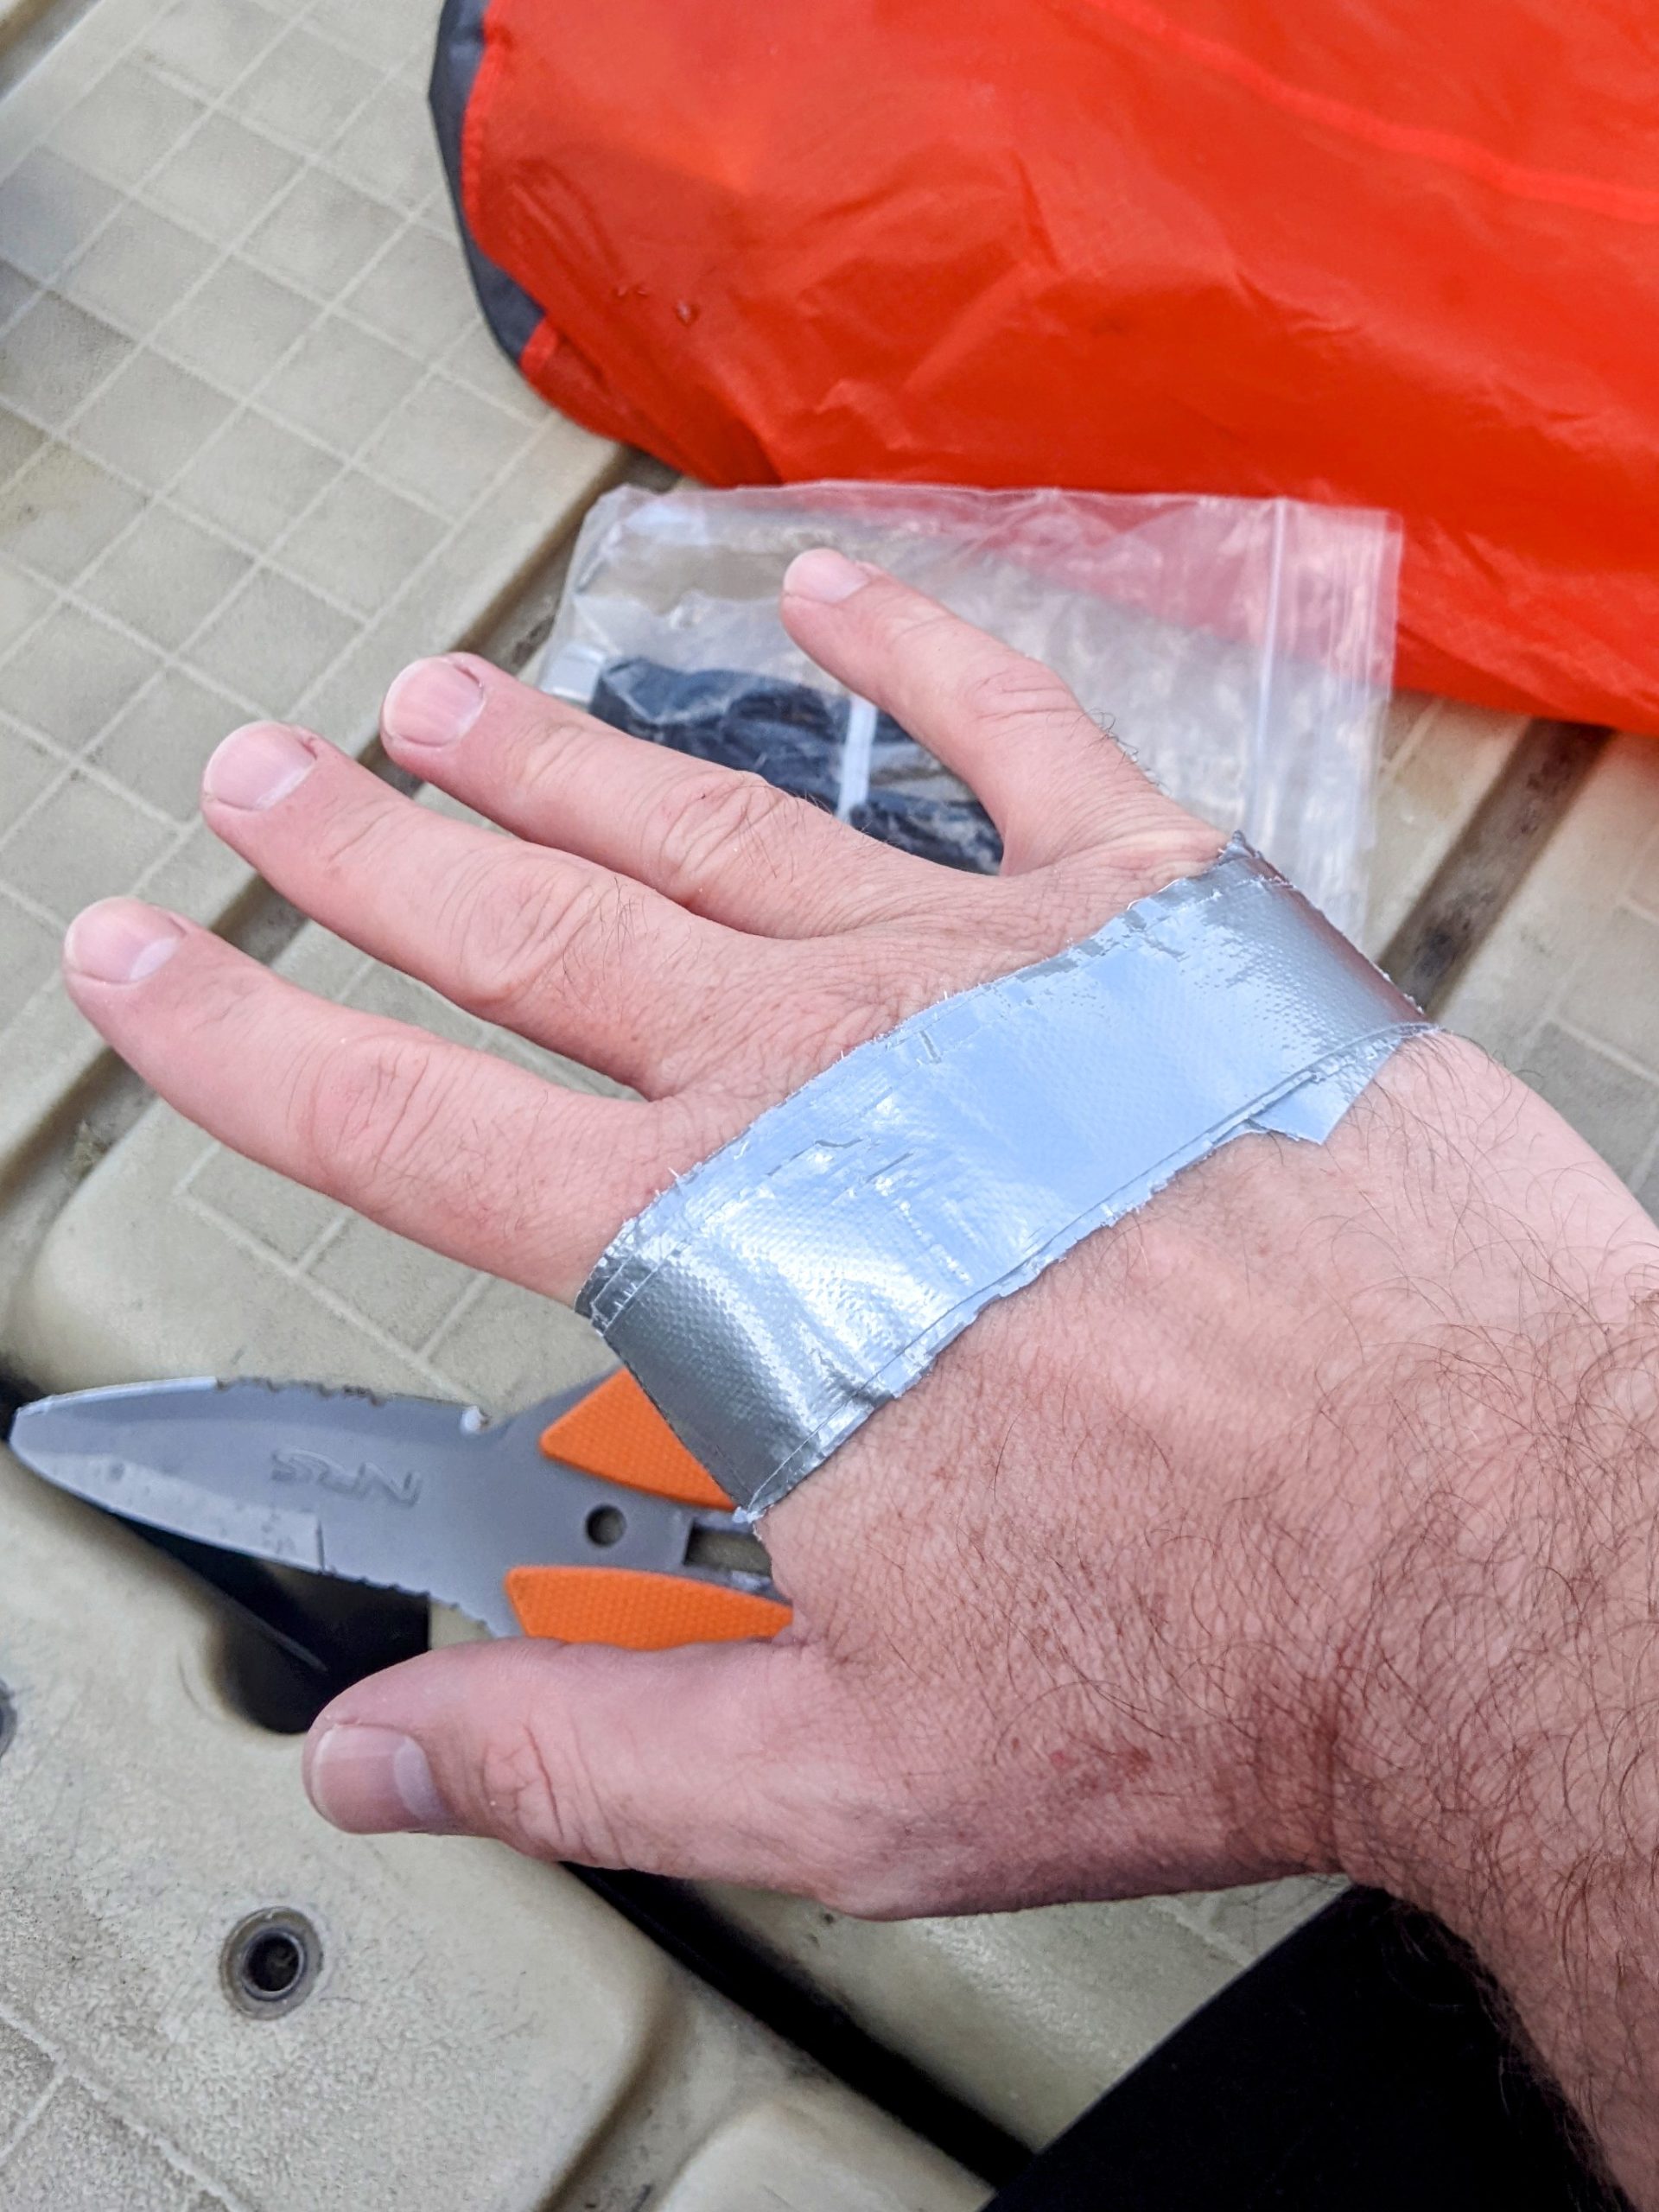
- Even duct tape isn’t going to adhere for long to skin subject to motion, which is most of the places blisters are likely to develop. So the pad needs to be overlaid with long strips, ideally wrapping around the body part and adhering to themselves (that being a stronger bond).
I find duct tape to be much stronger than moleskin & other blister pads, but it’s still best to minimize the motion to which the wraps are subject so they don’t eventually loosen. In this case of a palm blister, it’s critical to cut the long wrapping strips in half lengthwise, so they’re narrow and not especially impacted by movement of the thumb, fingers, and webbing.
This treatment held up awesome for the remaining couple hours of my cruise and entirely eliminated my discomfort in that hand.

Homecoming
Having crossed the Sound and cleared the Ballard Locks, after that stop it was mentally and pretty much literally clear sailing—over Lake Union, through the Montlake Cut, and back across Lake Washington to home. Took some time still, but just paddling along.
Underscoring the seriousness of parts of the endeavor though, crossing Lake Washington I could hear the Coast Guard on the radio coordinating the (successful) rescue of a kayaker in distress farther south in Puget Sound.
However, I was doubly fortunate to make it home just in time for family dinner.

